
Here is the original recipe for “MyLevain sourdough bread” with overnight rising.
I have made some improvements to the recipe below which will help you make even better sourdough bread, more easily, even for beginners.

In this recipe, the rising work will be done at night, so cooking is done in the early morning. Ideal for those like me who have time on Saturday evening, and who like to have a good sourdough bread on the table on Sunday lunch or Sunday evening, which will be shared throughout the week without losing its taste and flavor. flavor.
This is a 100% natural sourdough bread recipe, for lovers of good taste, authenticity and tradition: 100% sourdough bread (especially no yeast!), no additives, only time and passion: only flour, water, salt, and sourdough (well prepared and controlled sourdough). This recipe is for me the best, and above all the simplest. The taste, appearance, and nutritional value of this bread are all second to none.
It is quick, simple, and practical: the fermentation takes a long time, and is done while you sleep.
Description & Preparation of the recipe
In this recipe we make a loaf (round ball) of approximately 1kg, therefore with 500g of T65 flour, on Saturday evening, for baking on Sunday morning. You can just as easily make baguettes or any other shape. The desired shape is chosen during the “shaping” phase on the cooking day.
Step-by-step recipe for “Sourdough Bread” – MyLevain method
INGREDIENTS
GUIDE / INSTRUCTIONS
Go !
D-1: PREPARATION OF THE SOURDOUGH (SATURDAY NOON)
Take your dose of sourdough from your sourdough starter. This will be your “all point” sourdough.
Important note: if your sourdough is young or not in very good shape, you may need to refresh it twice during the day. Start your refreshment earlier in the morning (1st refreshment), do the 2nd at the beginning of the afternoon (2nd refreshment), and bake in the evening as planned below with your « all-point » sourdough.
Proceed to refresh the sourdough “all point” once it has been taken out of the fridge. It is when your leaven is at its highest that it should be used.


D-1: MIXING THE INGREDIENTS (SATURDAY EVENING)
– In the large salad bowl, pour your flour.
If you have several flours, mix them by hand, and before adding any liquid. This is called frasage, it allows good homogeneity of the mixture of different flours.
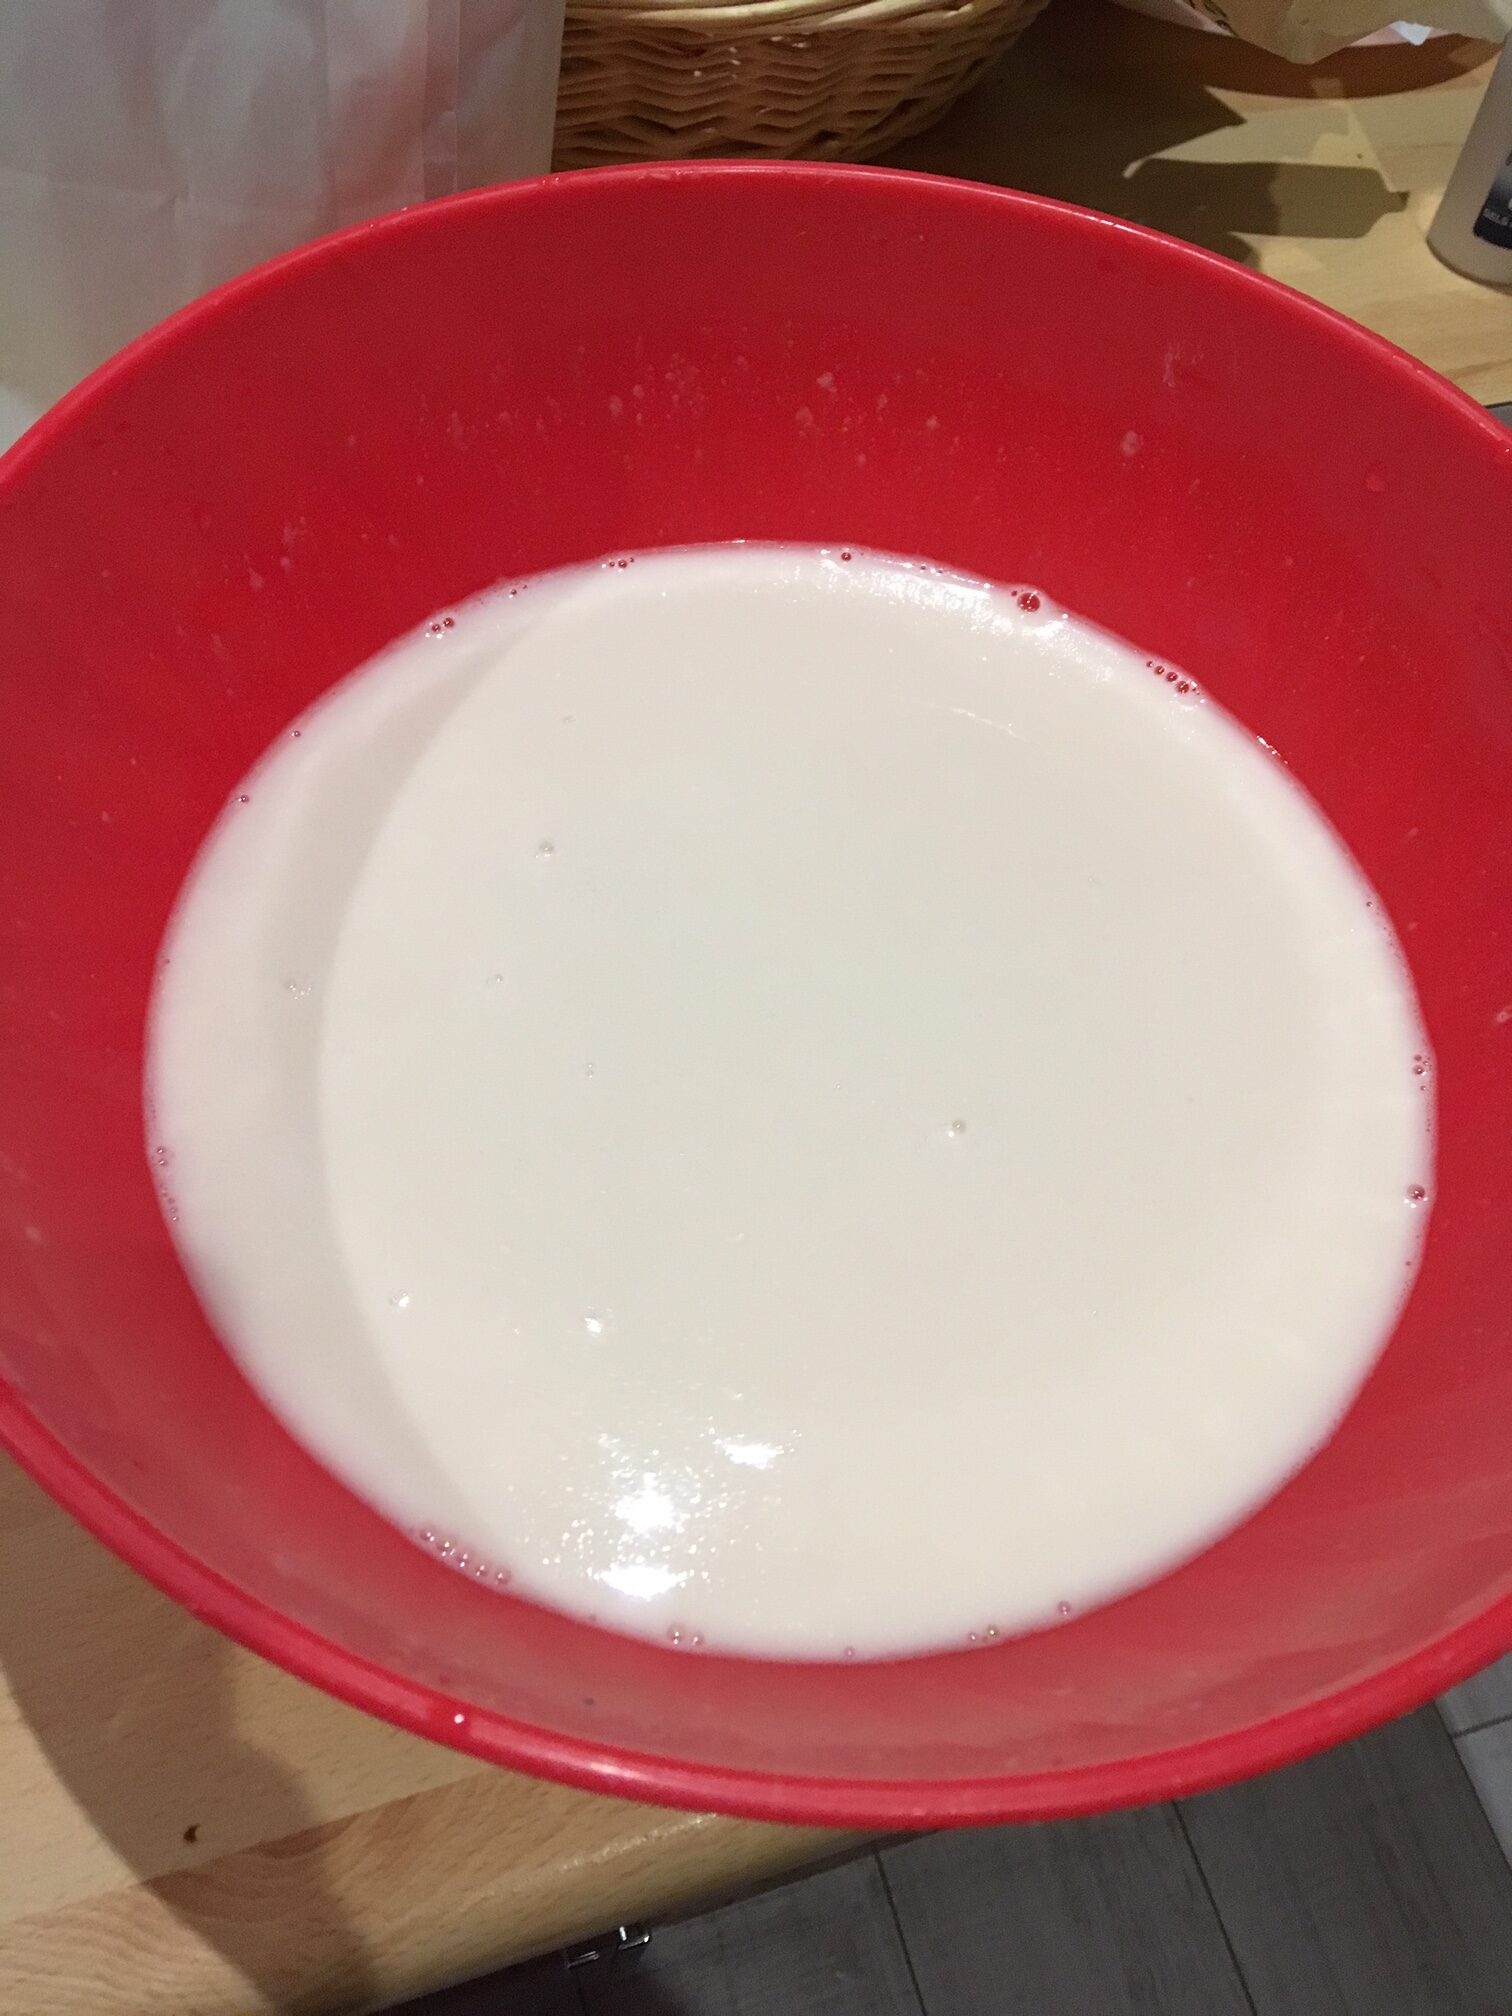
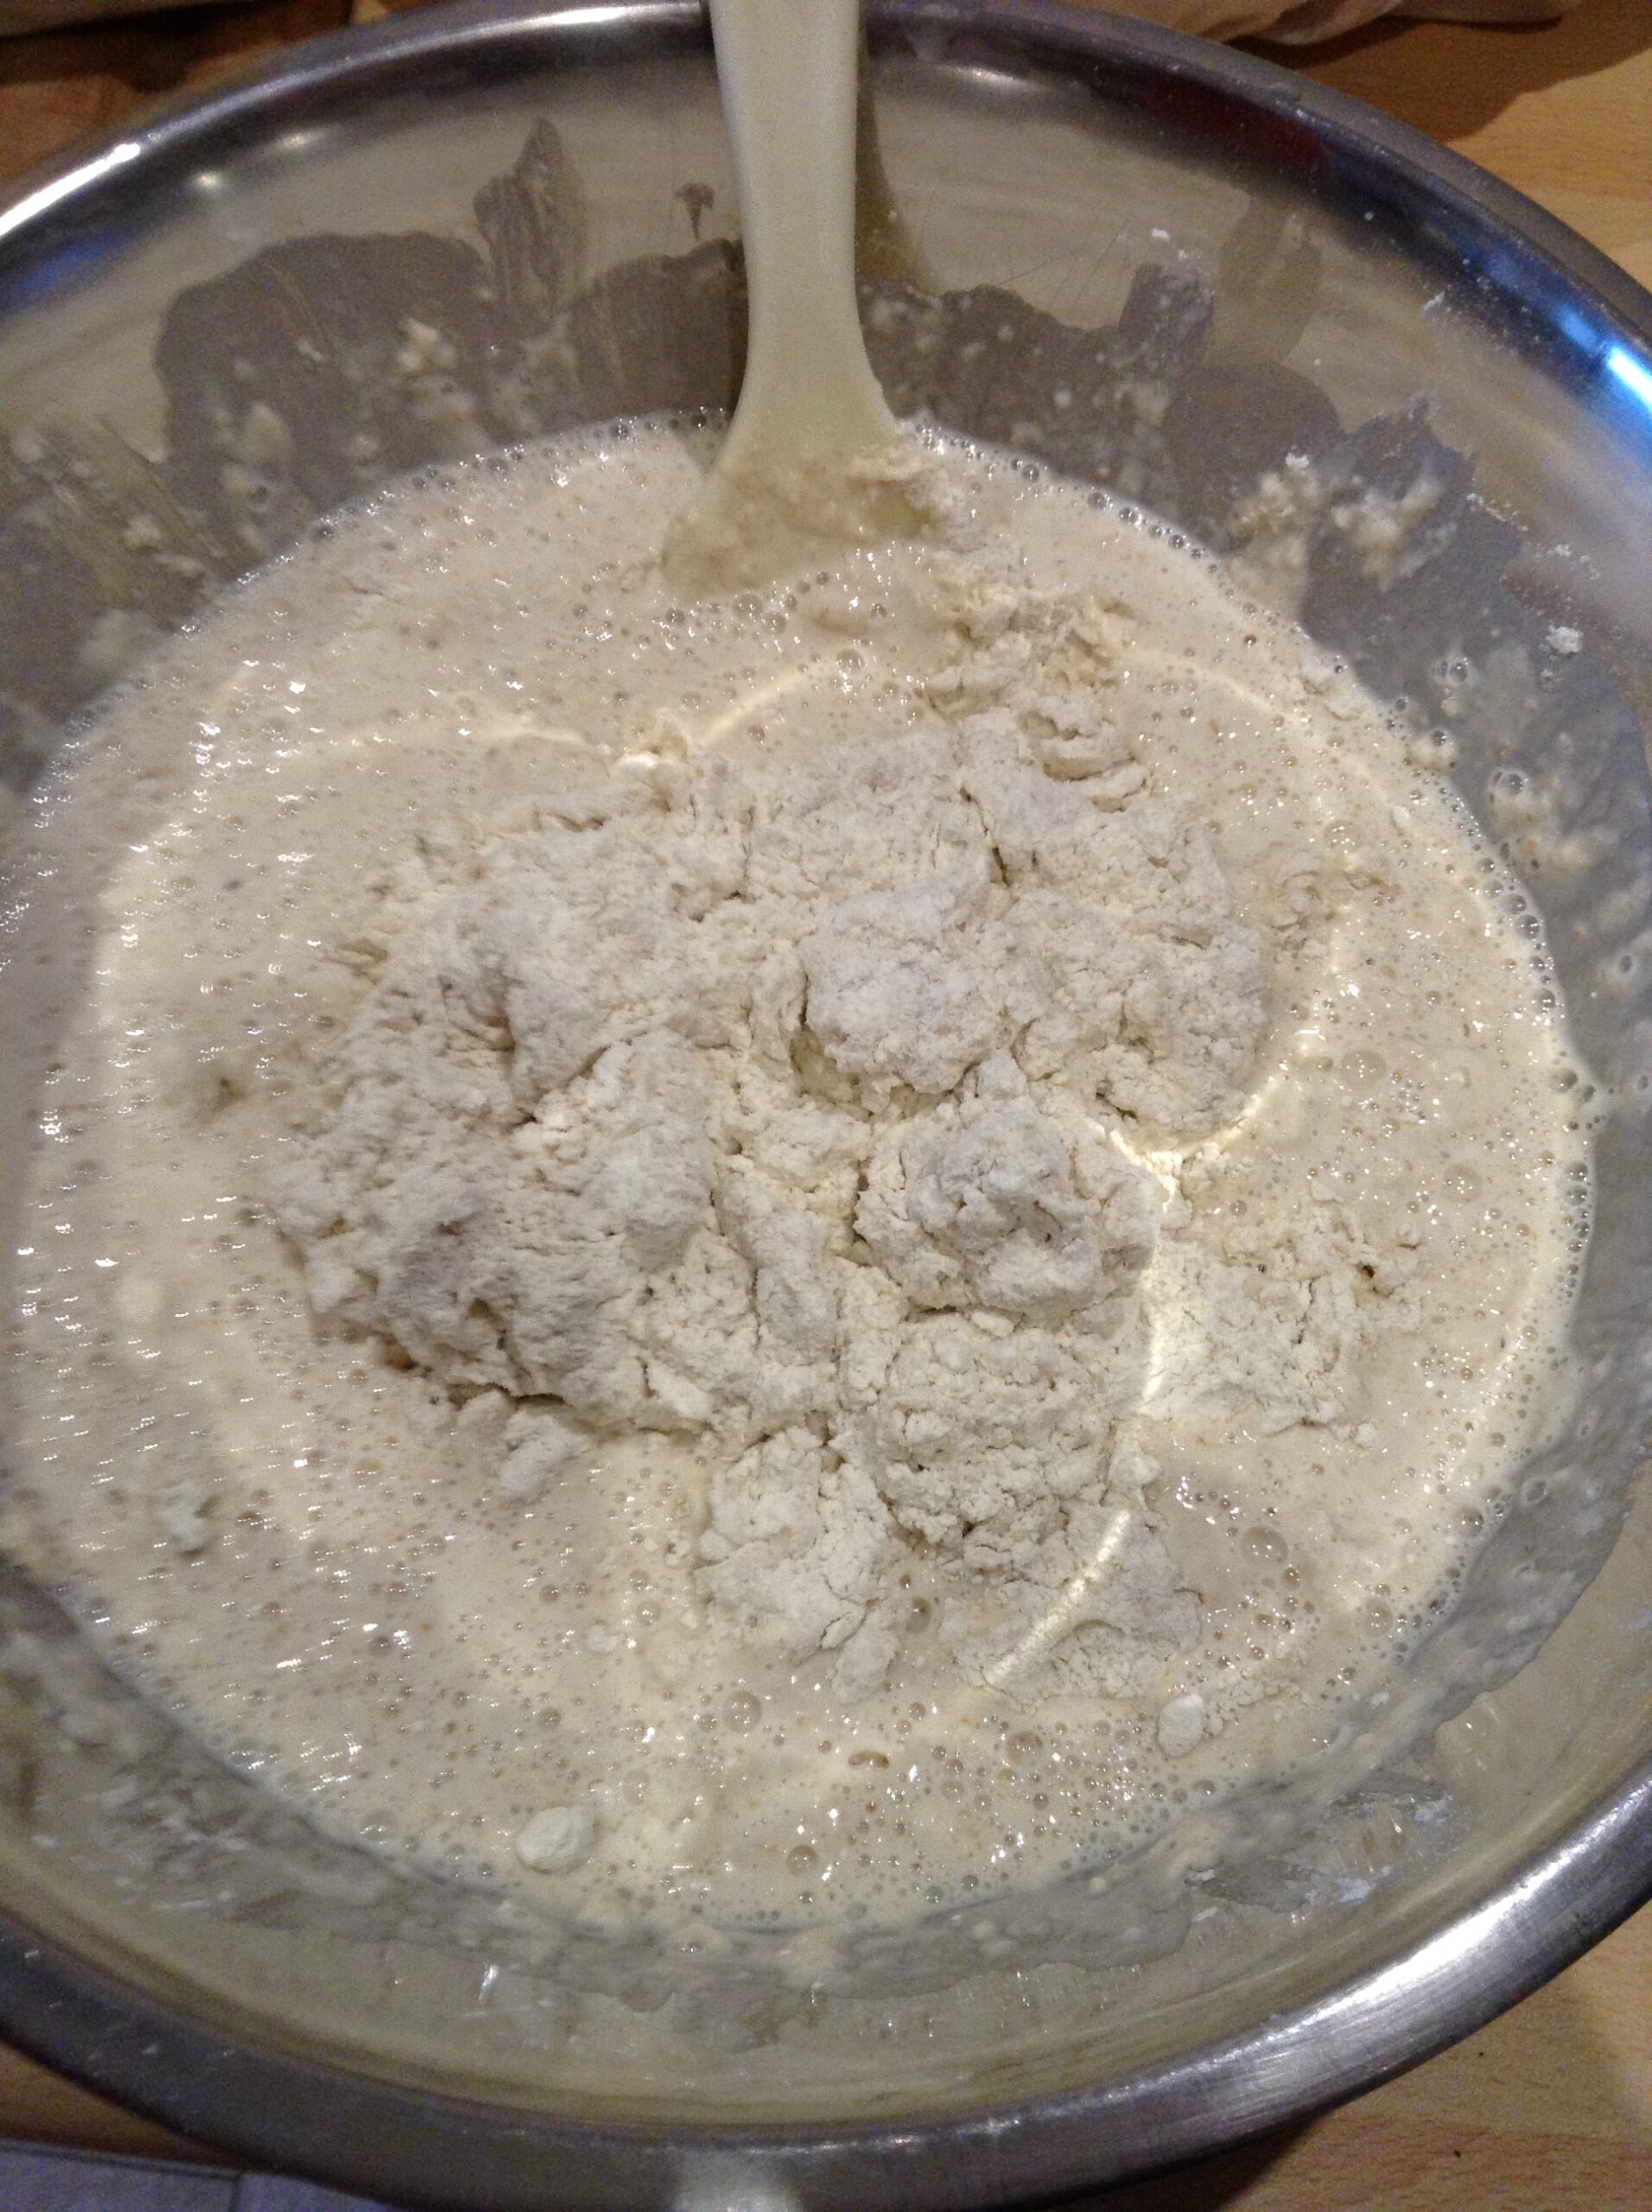
– In the measuring glass, pour 375 ml of water at room temperature (20 degrees)
– Add the 150 ml of sourdough to your glass or if the capacity is too low, into a large salad bowl.
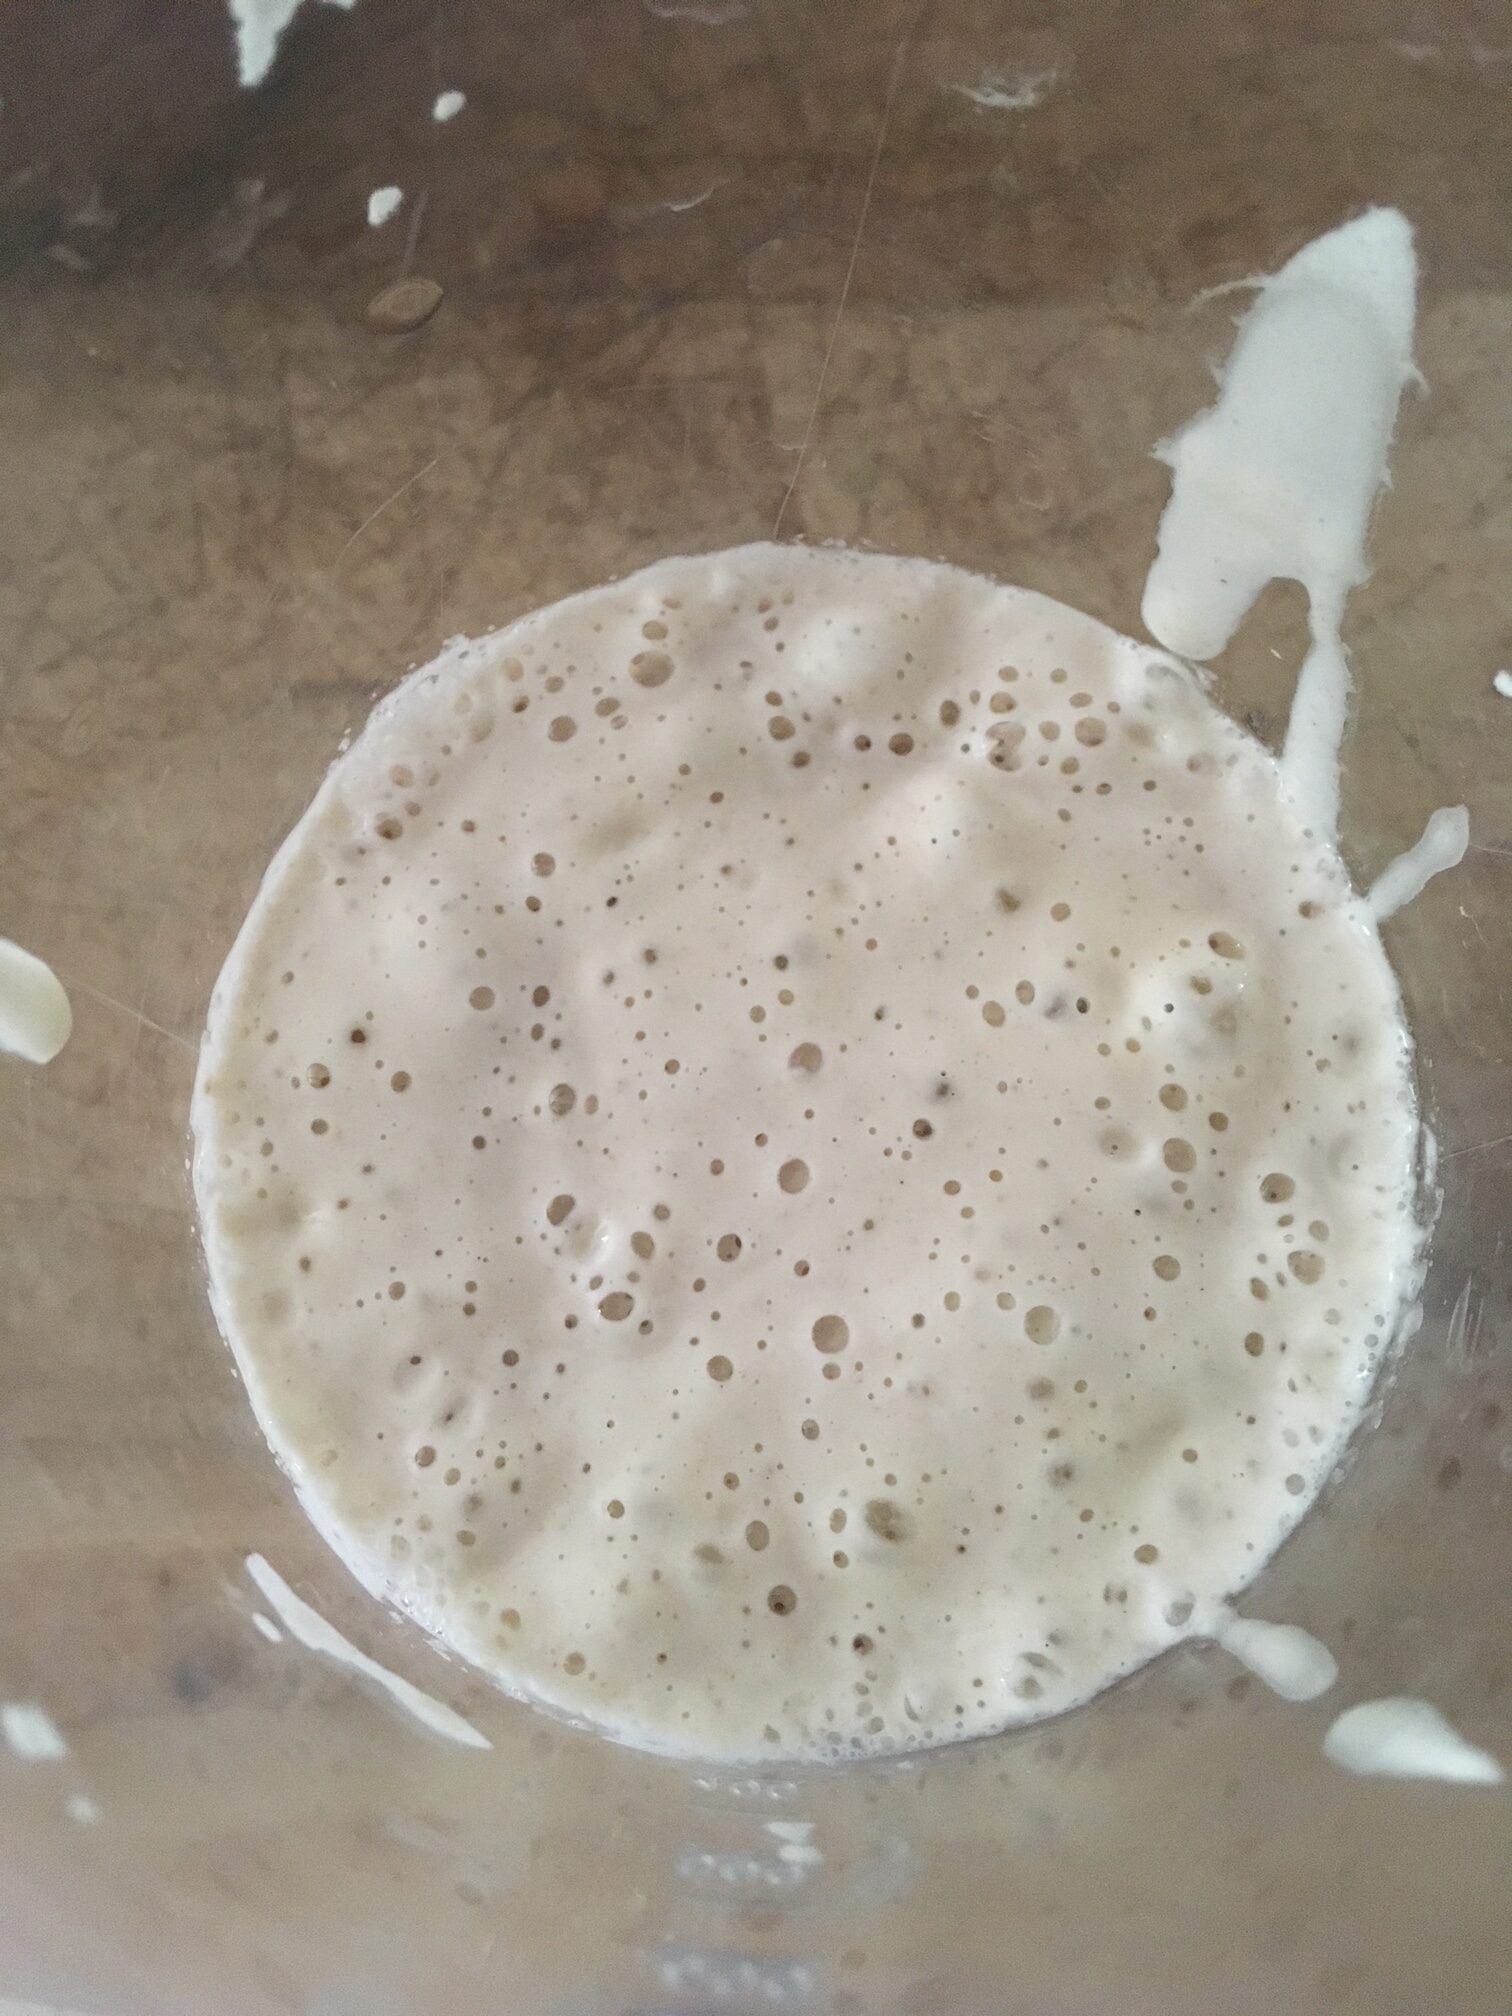
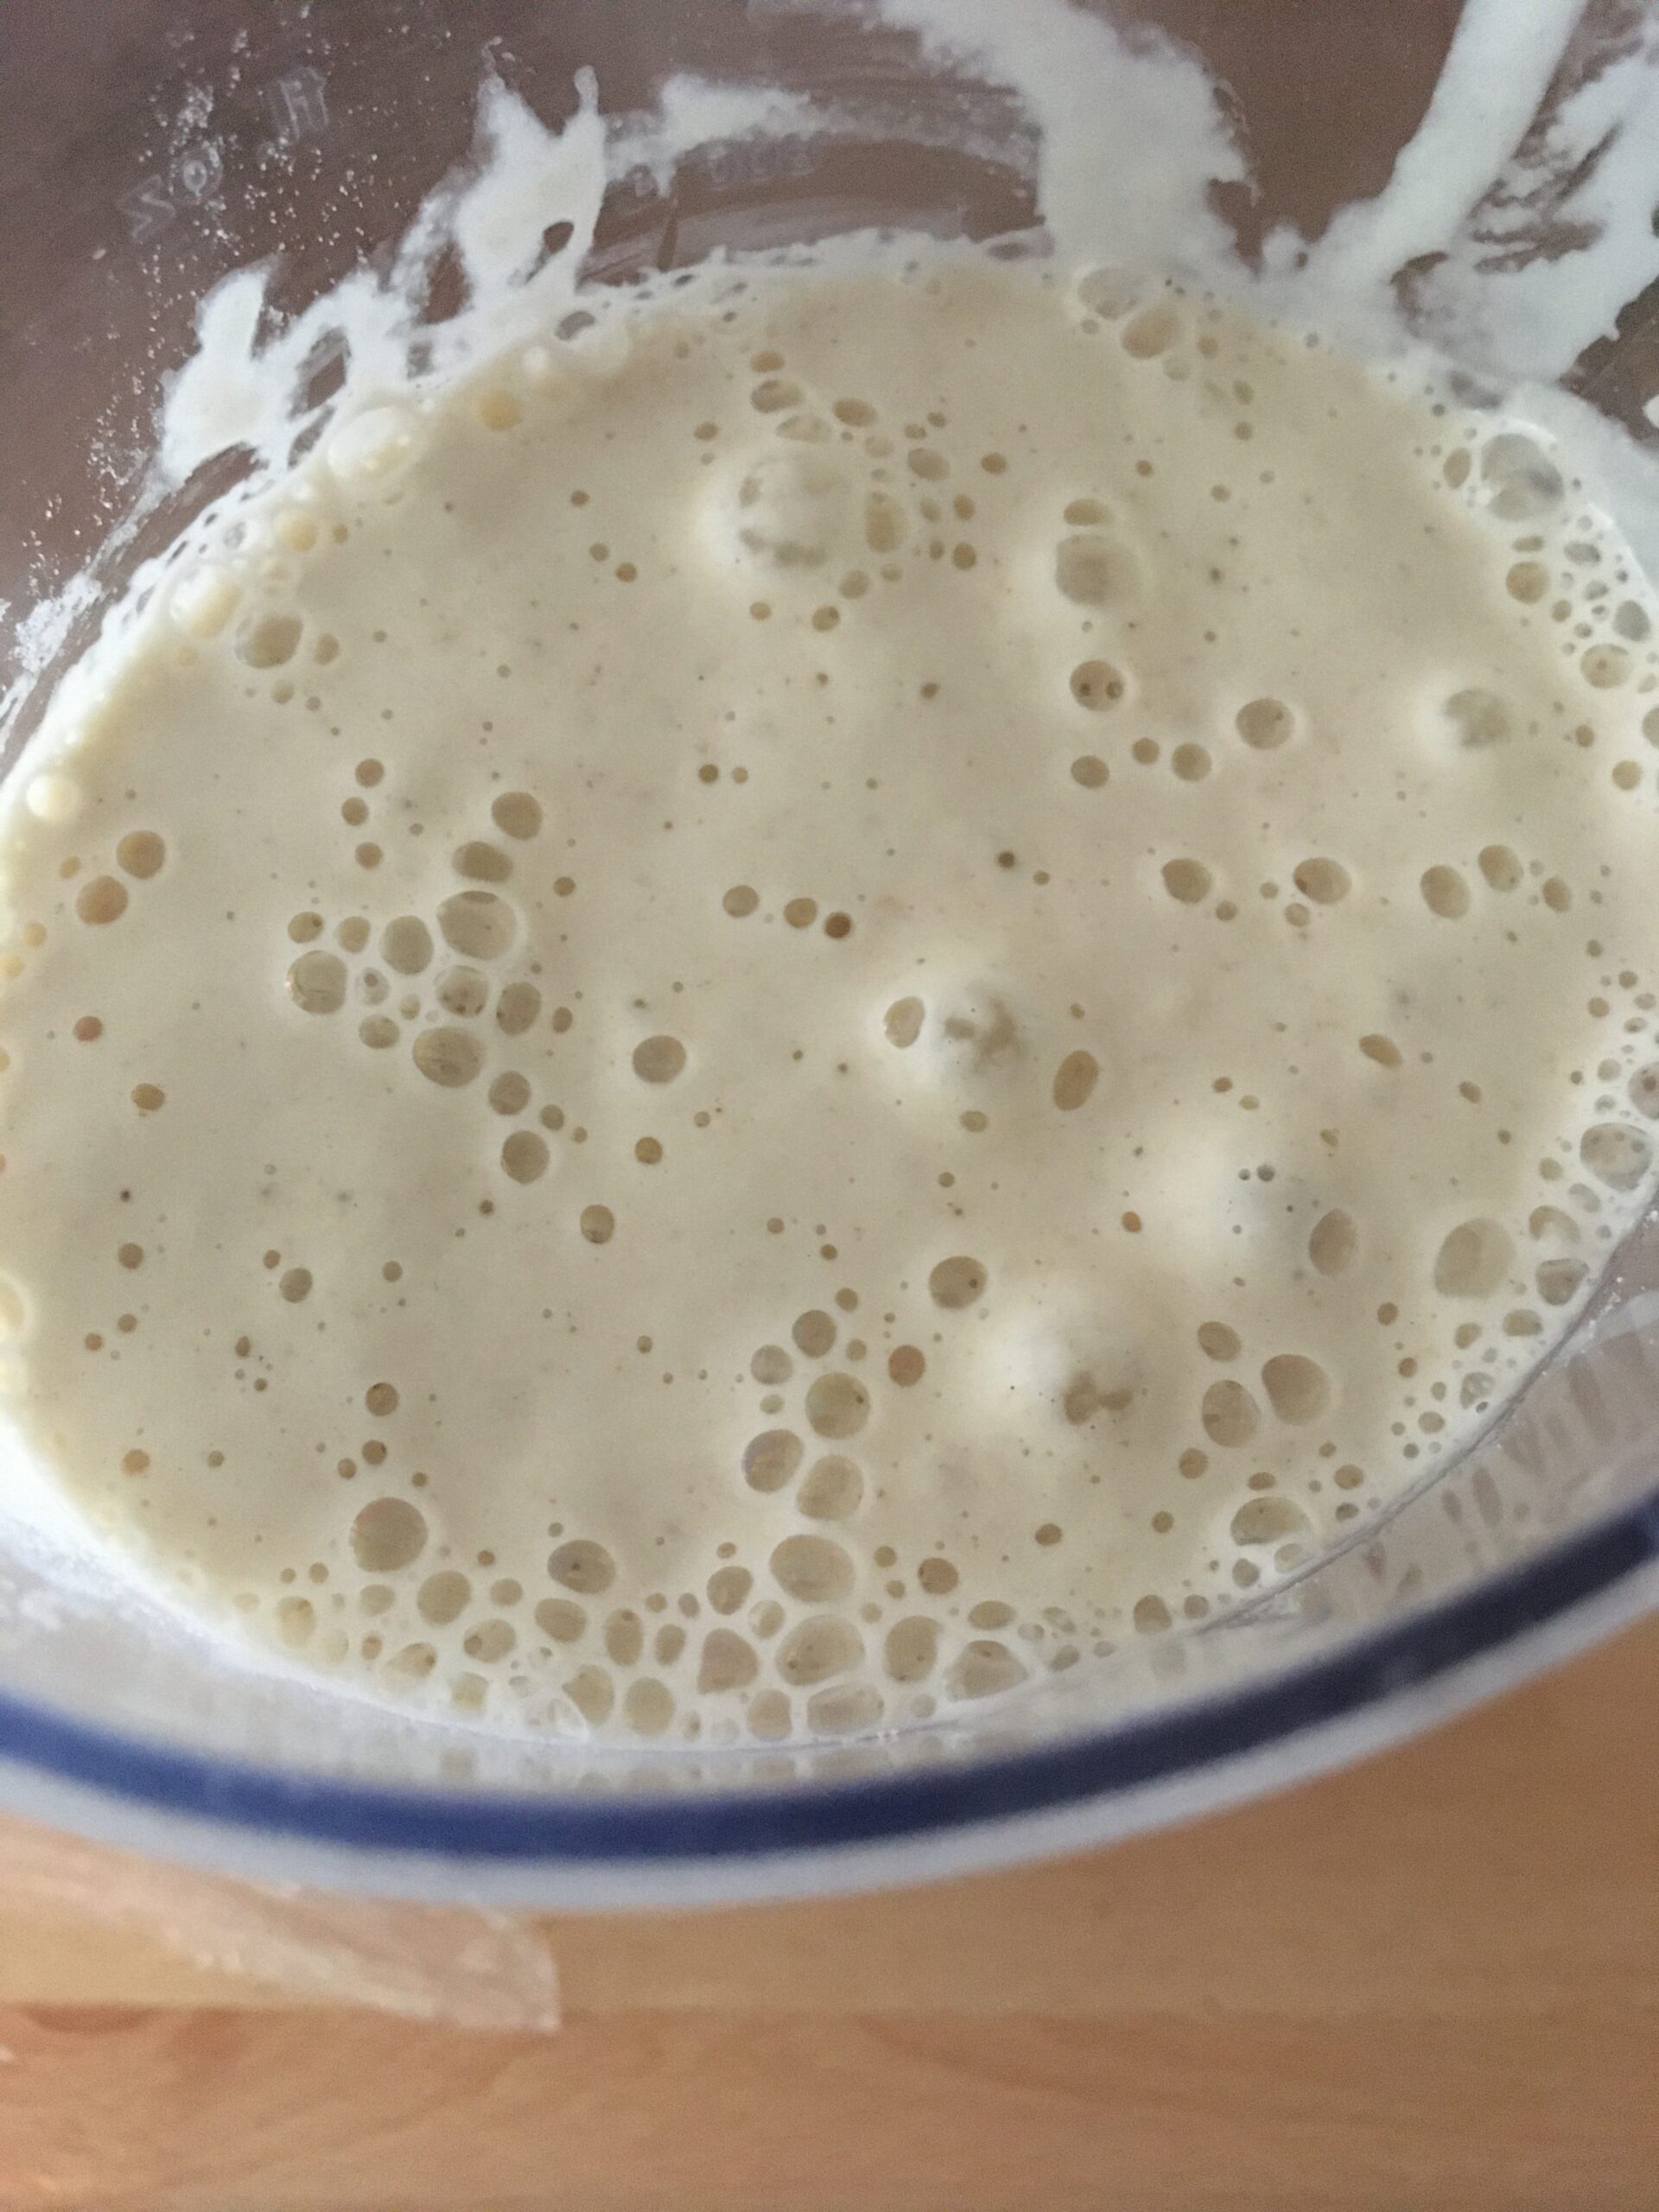
– Mix this “mix” (water + sourdough) with your hand to obtain a uniform mixture. Leave this mixture to rest for 1 minute, until the leaven can completely dissolve.
This mix should form a milk without lumps, which will mix perfectly with the flour, so that the leaven spreads as best as possible throughout the dough.
– Pour this mix into the well dug in the heart of the salad bowl containing the flour.
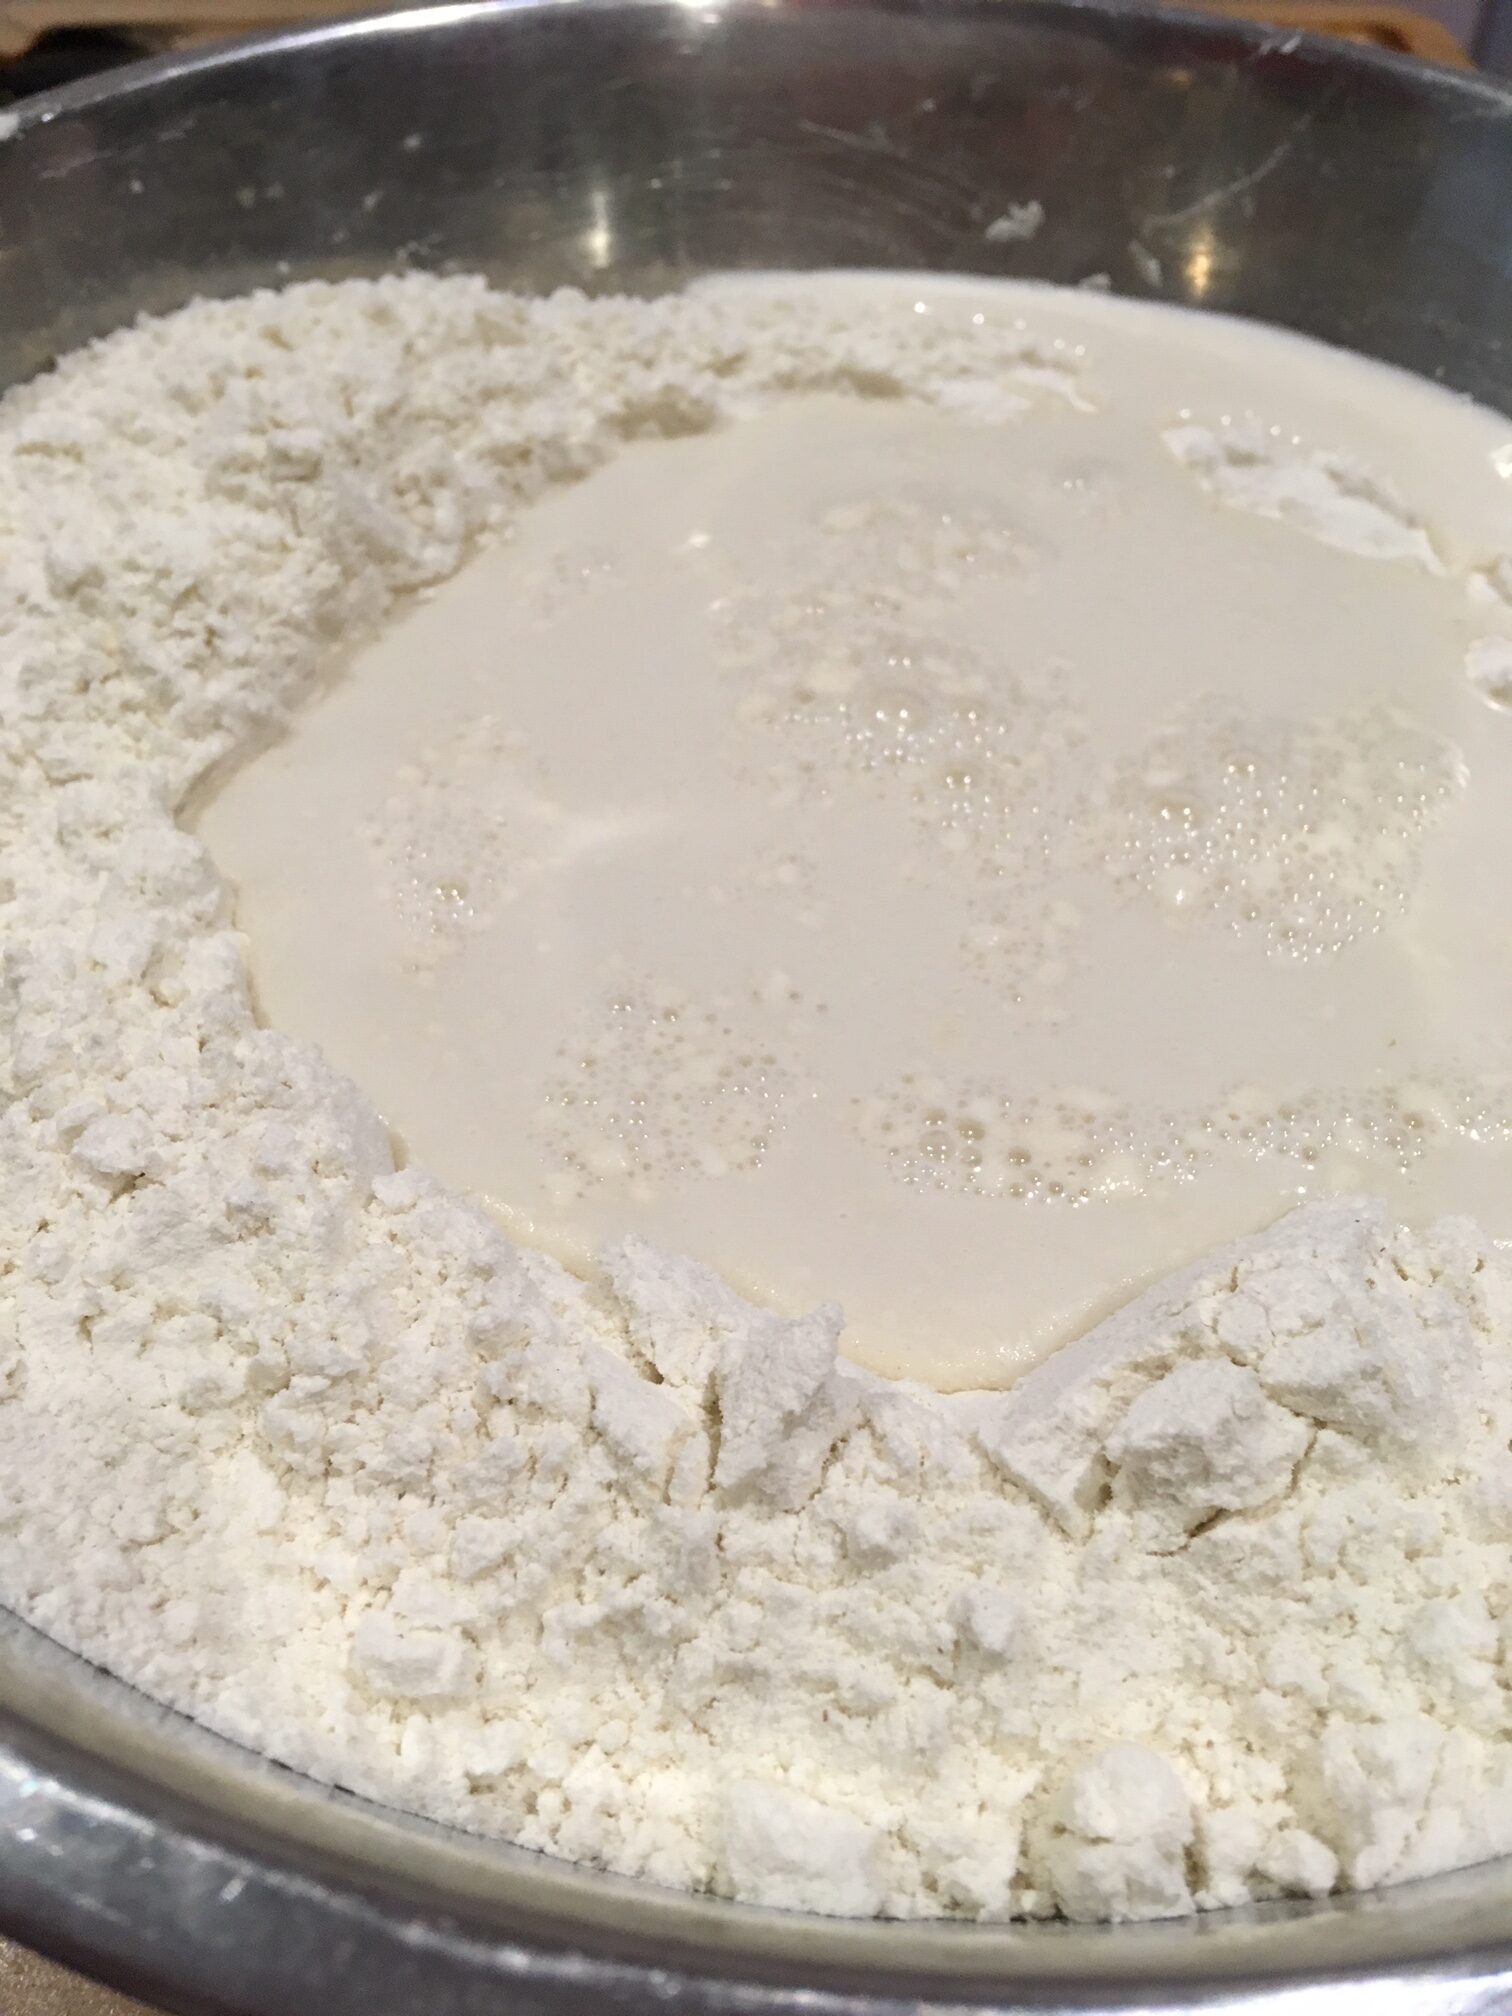
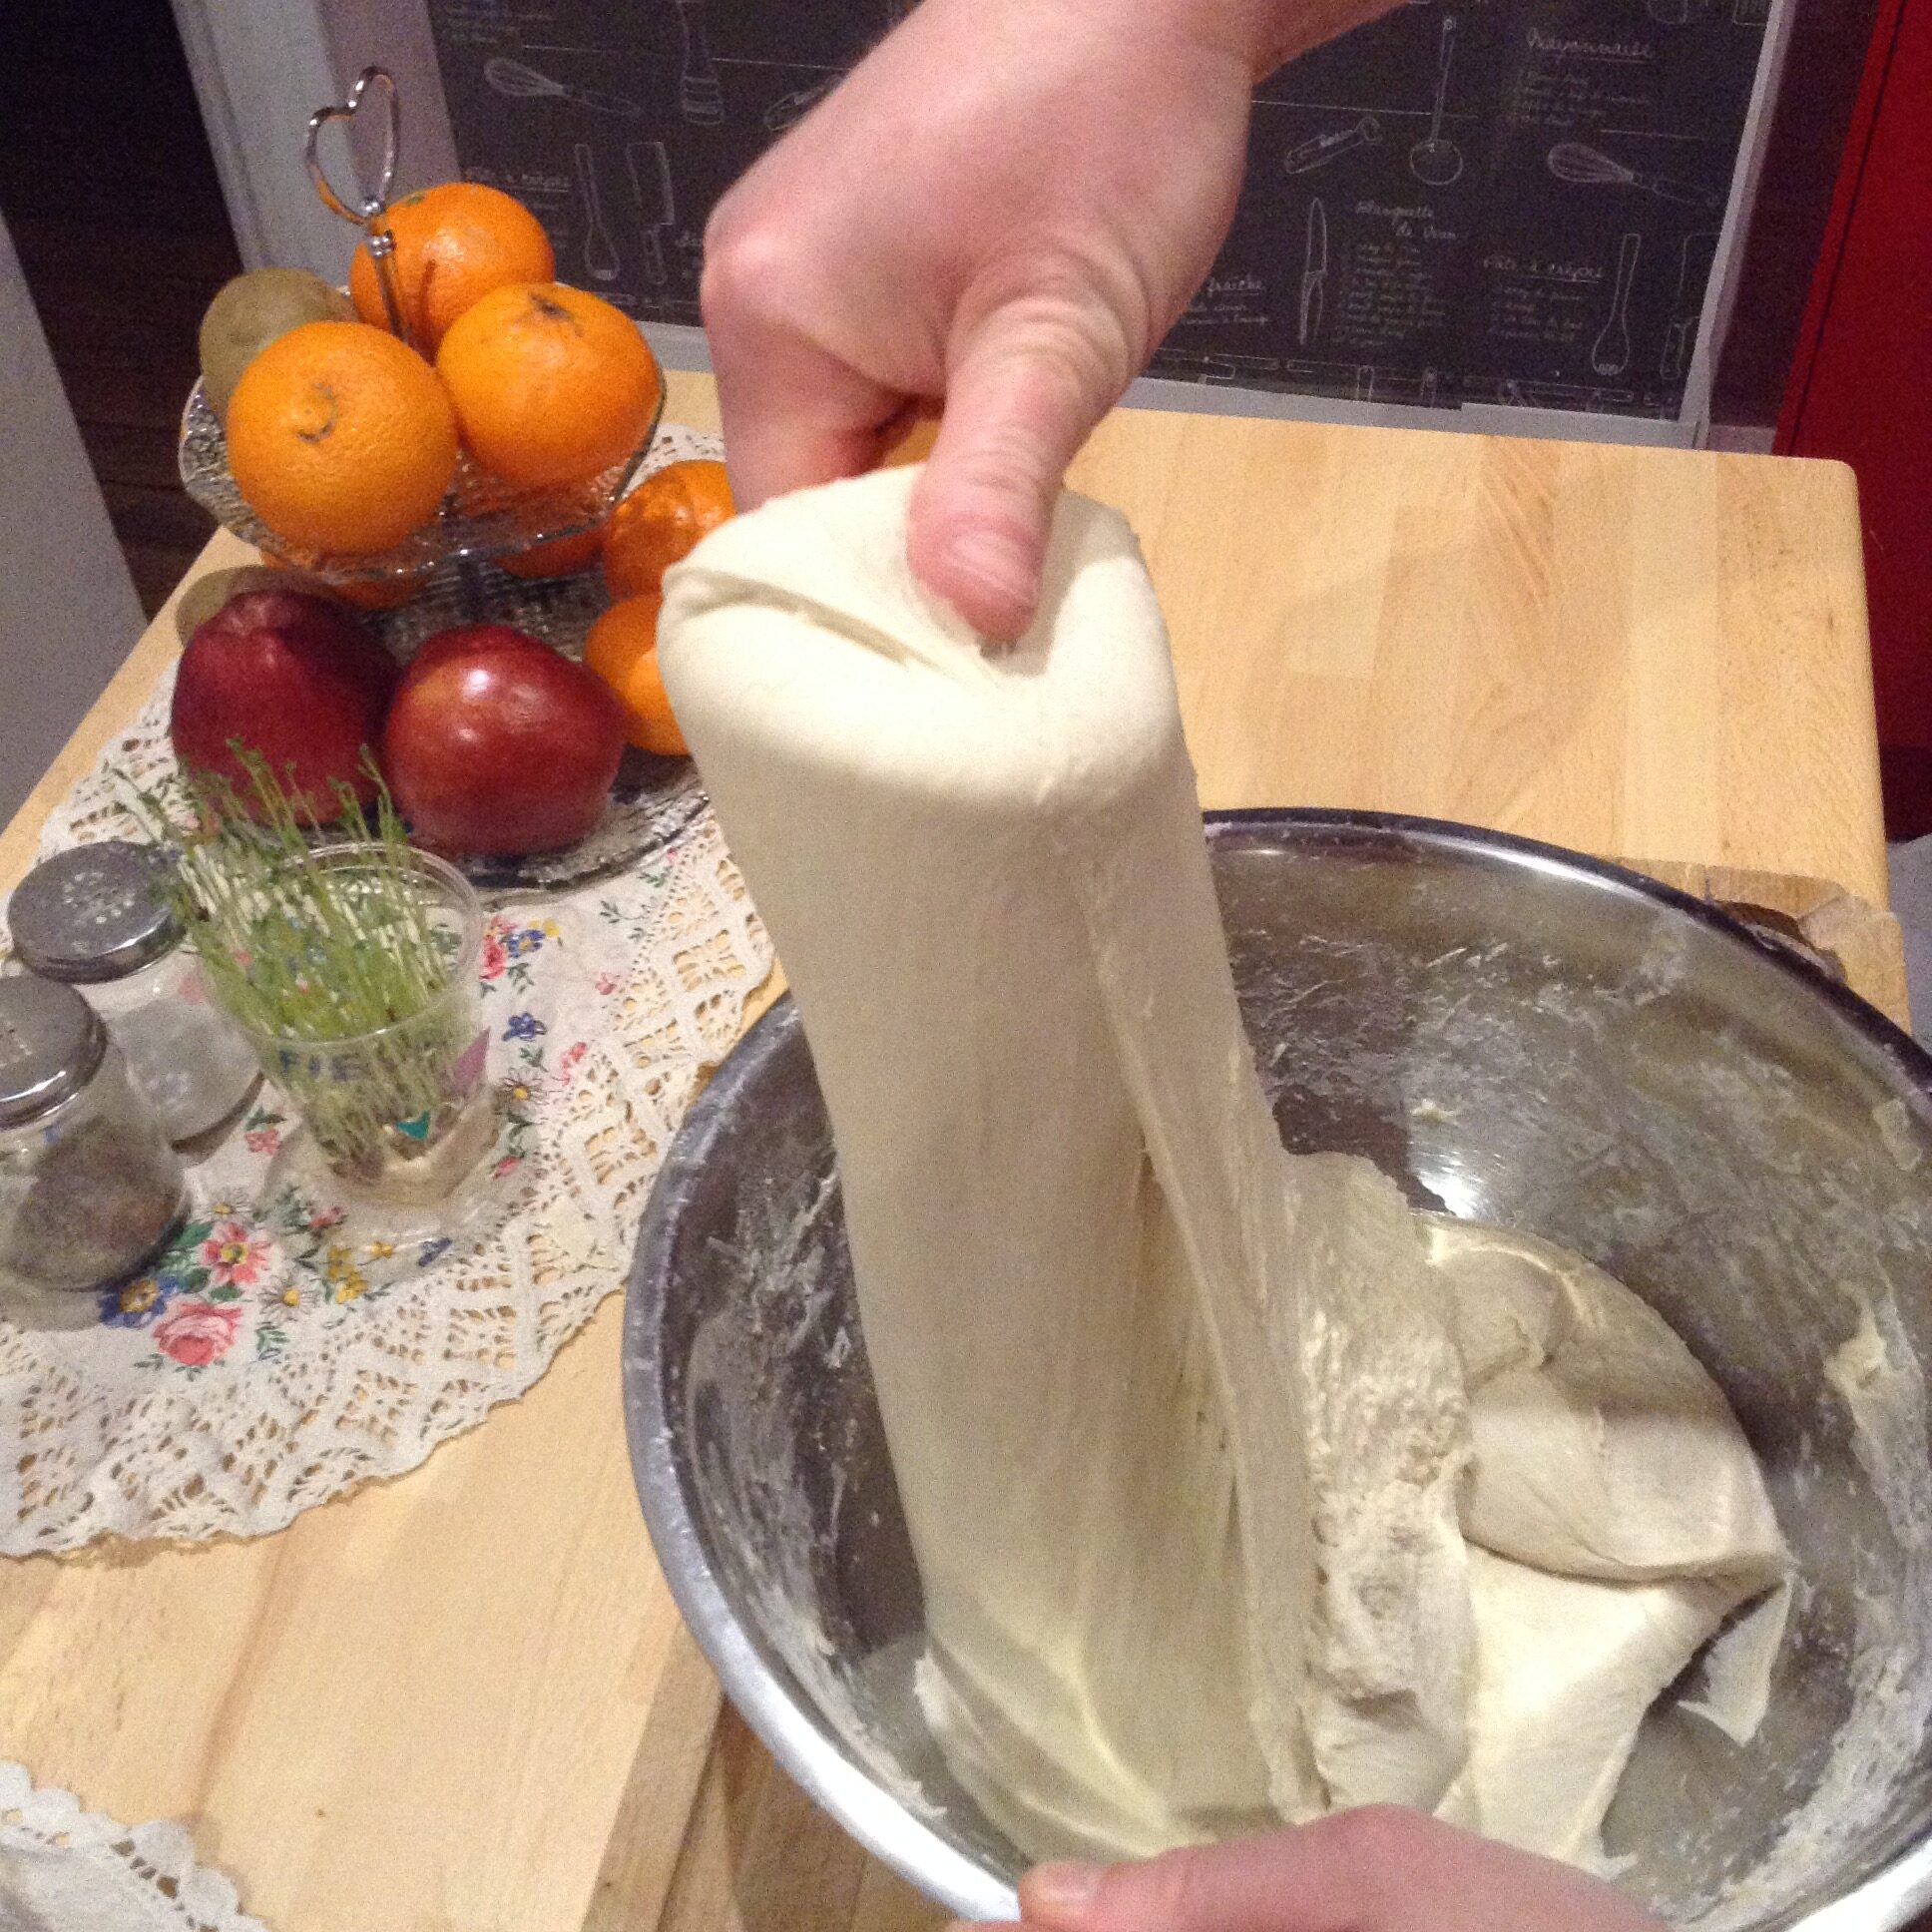
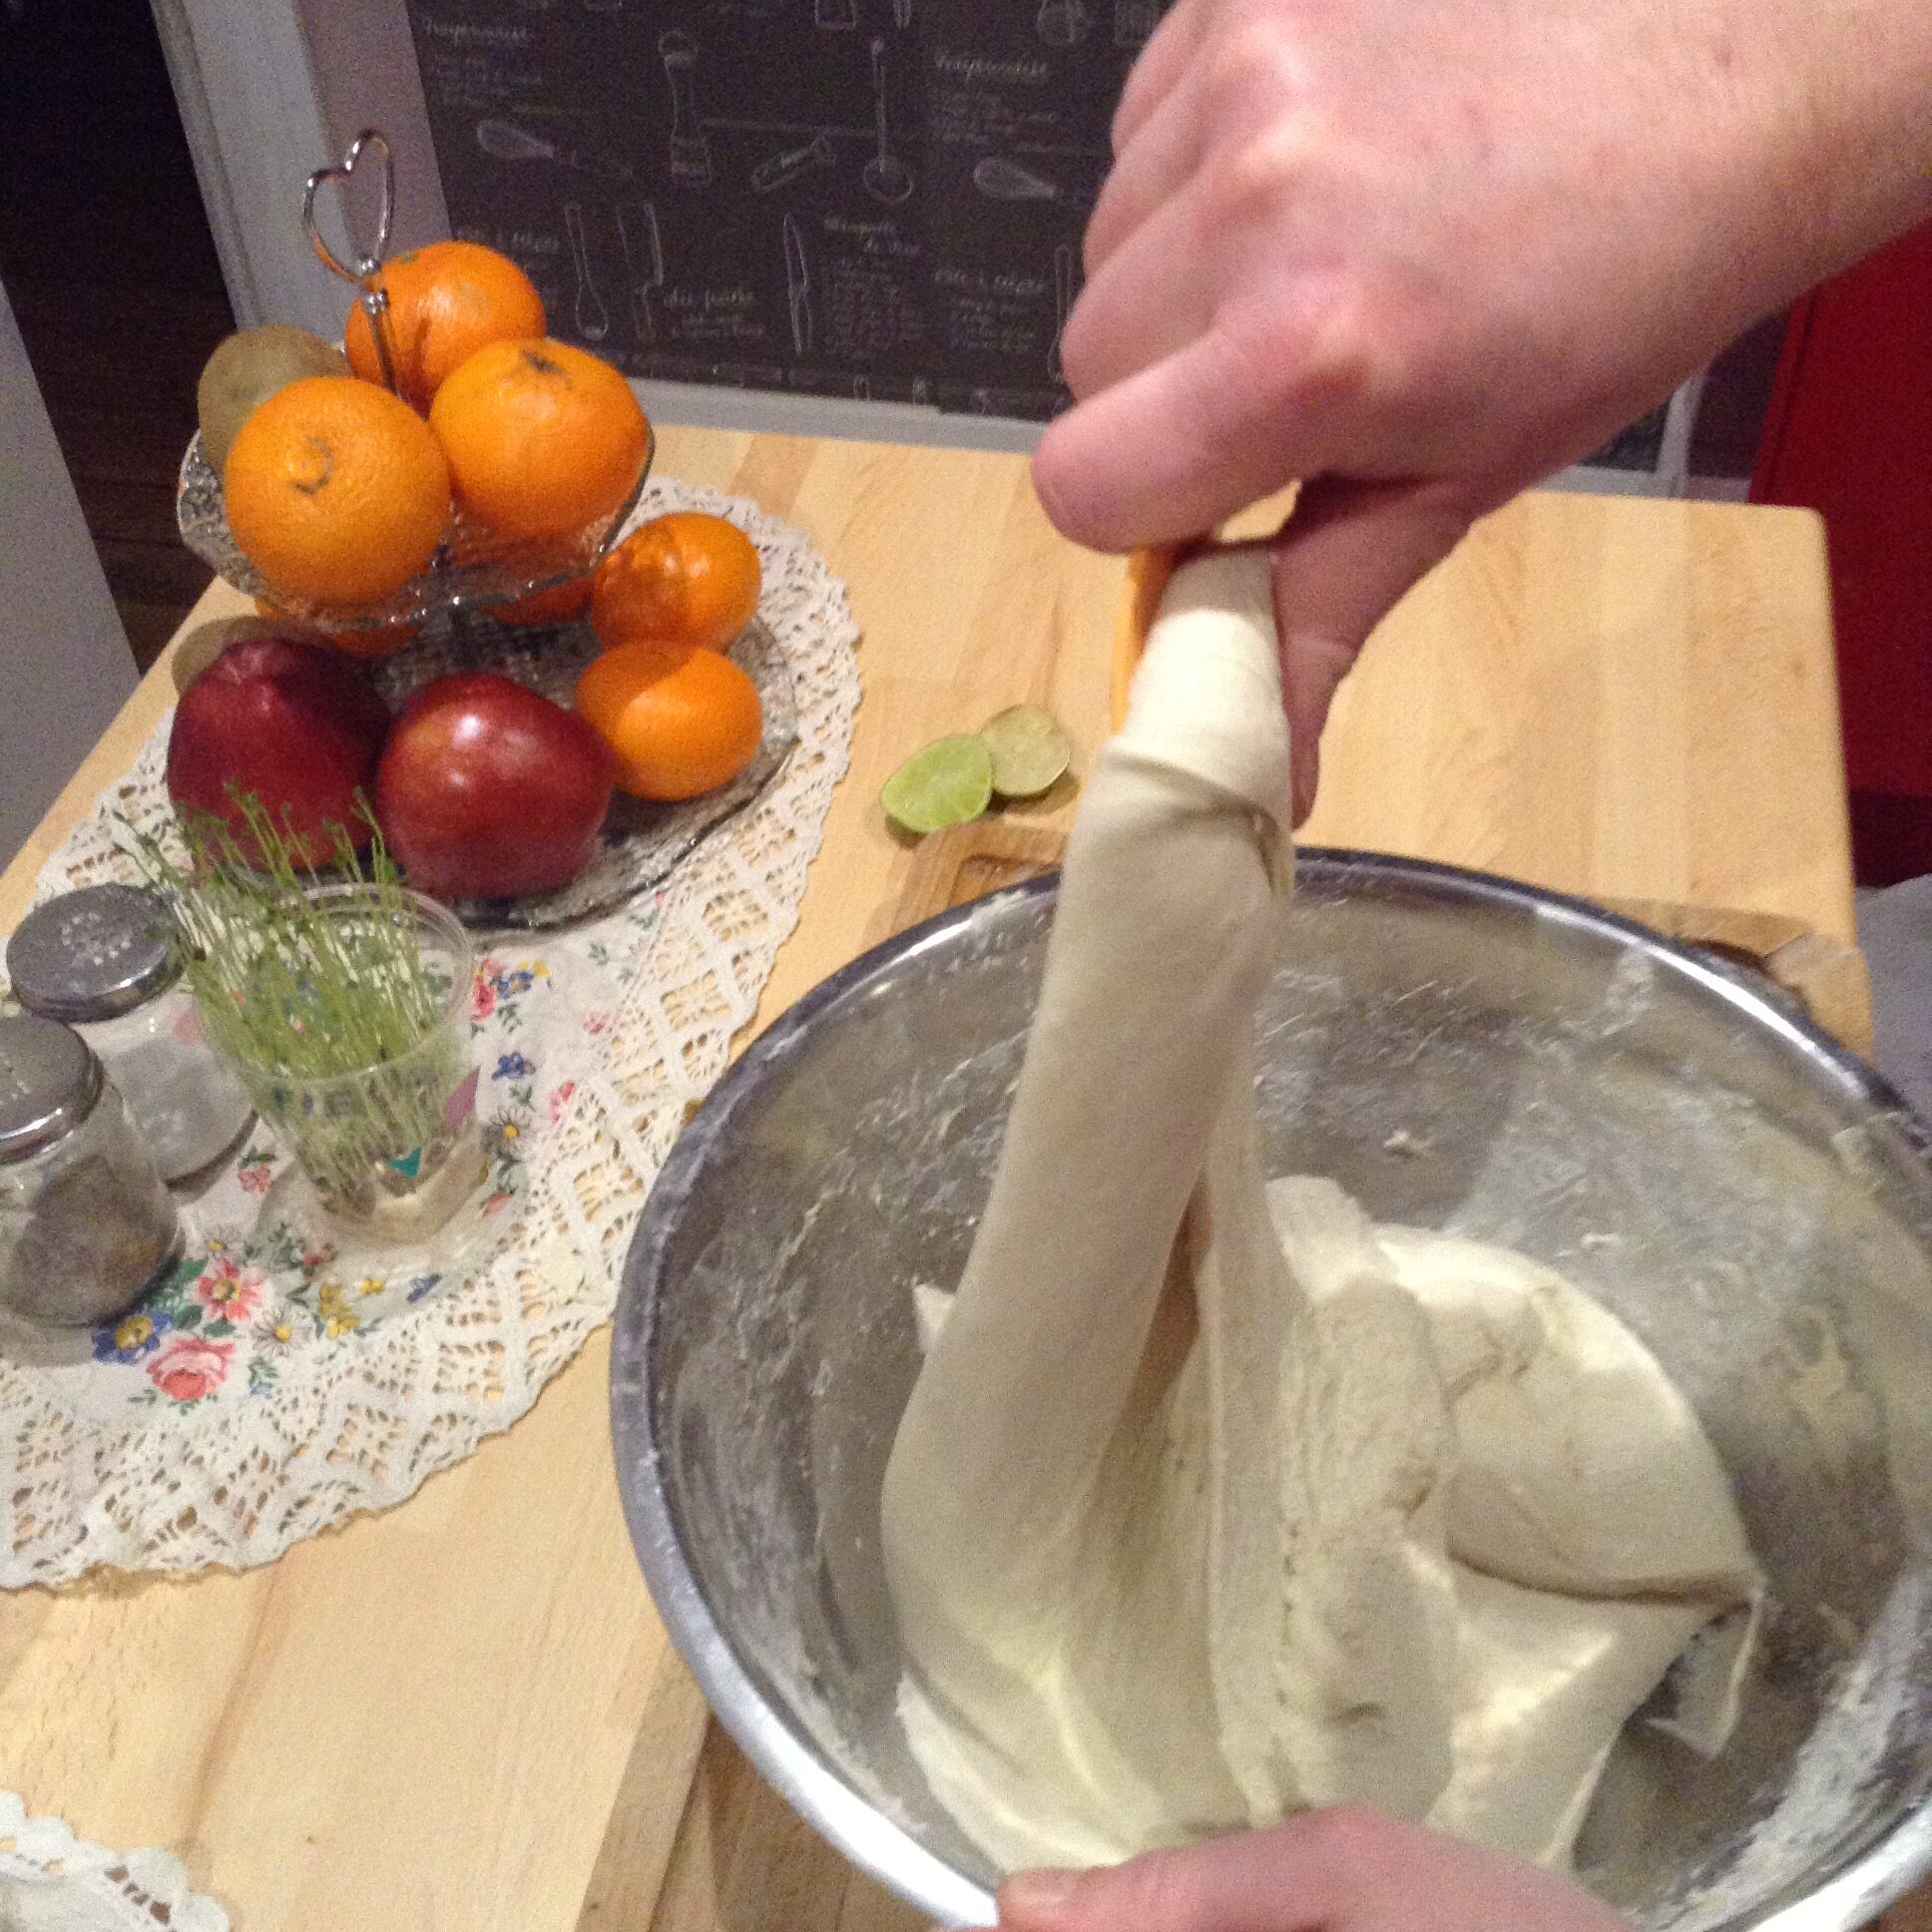
Using one hand, mix the dough gently for 5 minutes until the water is completely absorbed, then until you obtain the most homogeneous dough possible. Fold the dough from the edge towards the center, without tearing it, you will thus prepare the gluten network, which will form now. This one will still be quite sticky and stringy at first, seeming too wet, this is completely normal. Continue to mix it until you obtain a fairly smooth and homogeneous dough. At this point you can add a little more flour if you think your dough is too liquid. At the end of mixing, the dough should be almost no longer sticky, while retaining some surface moisture.
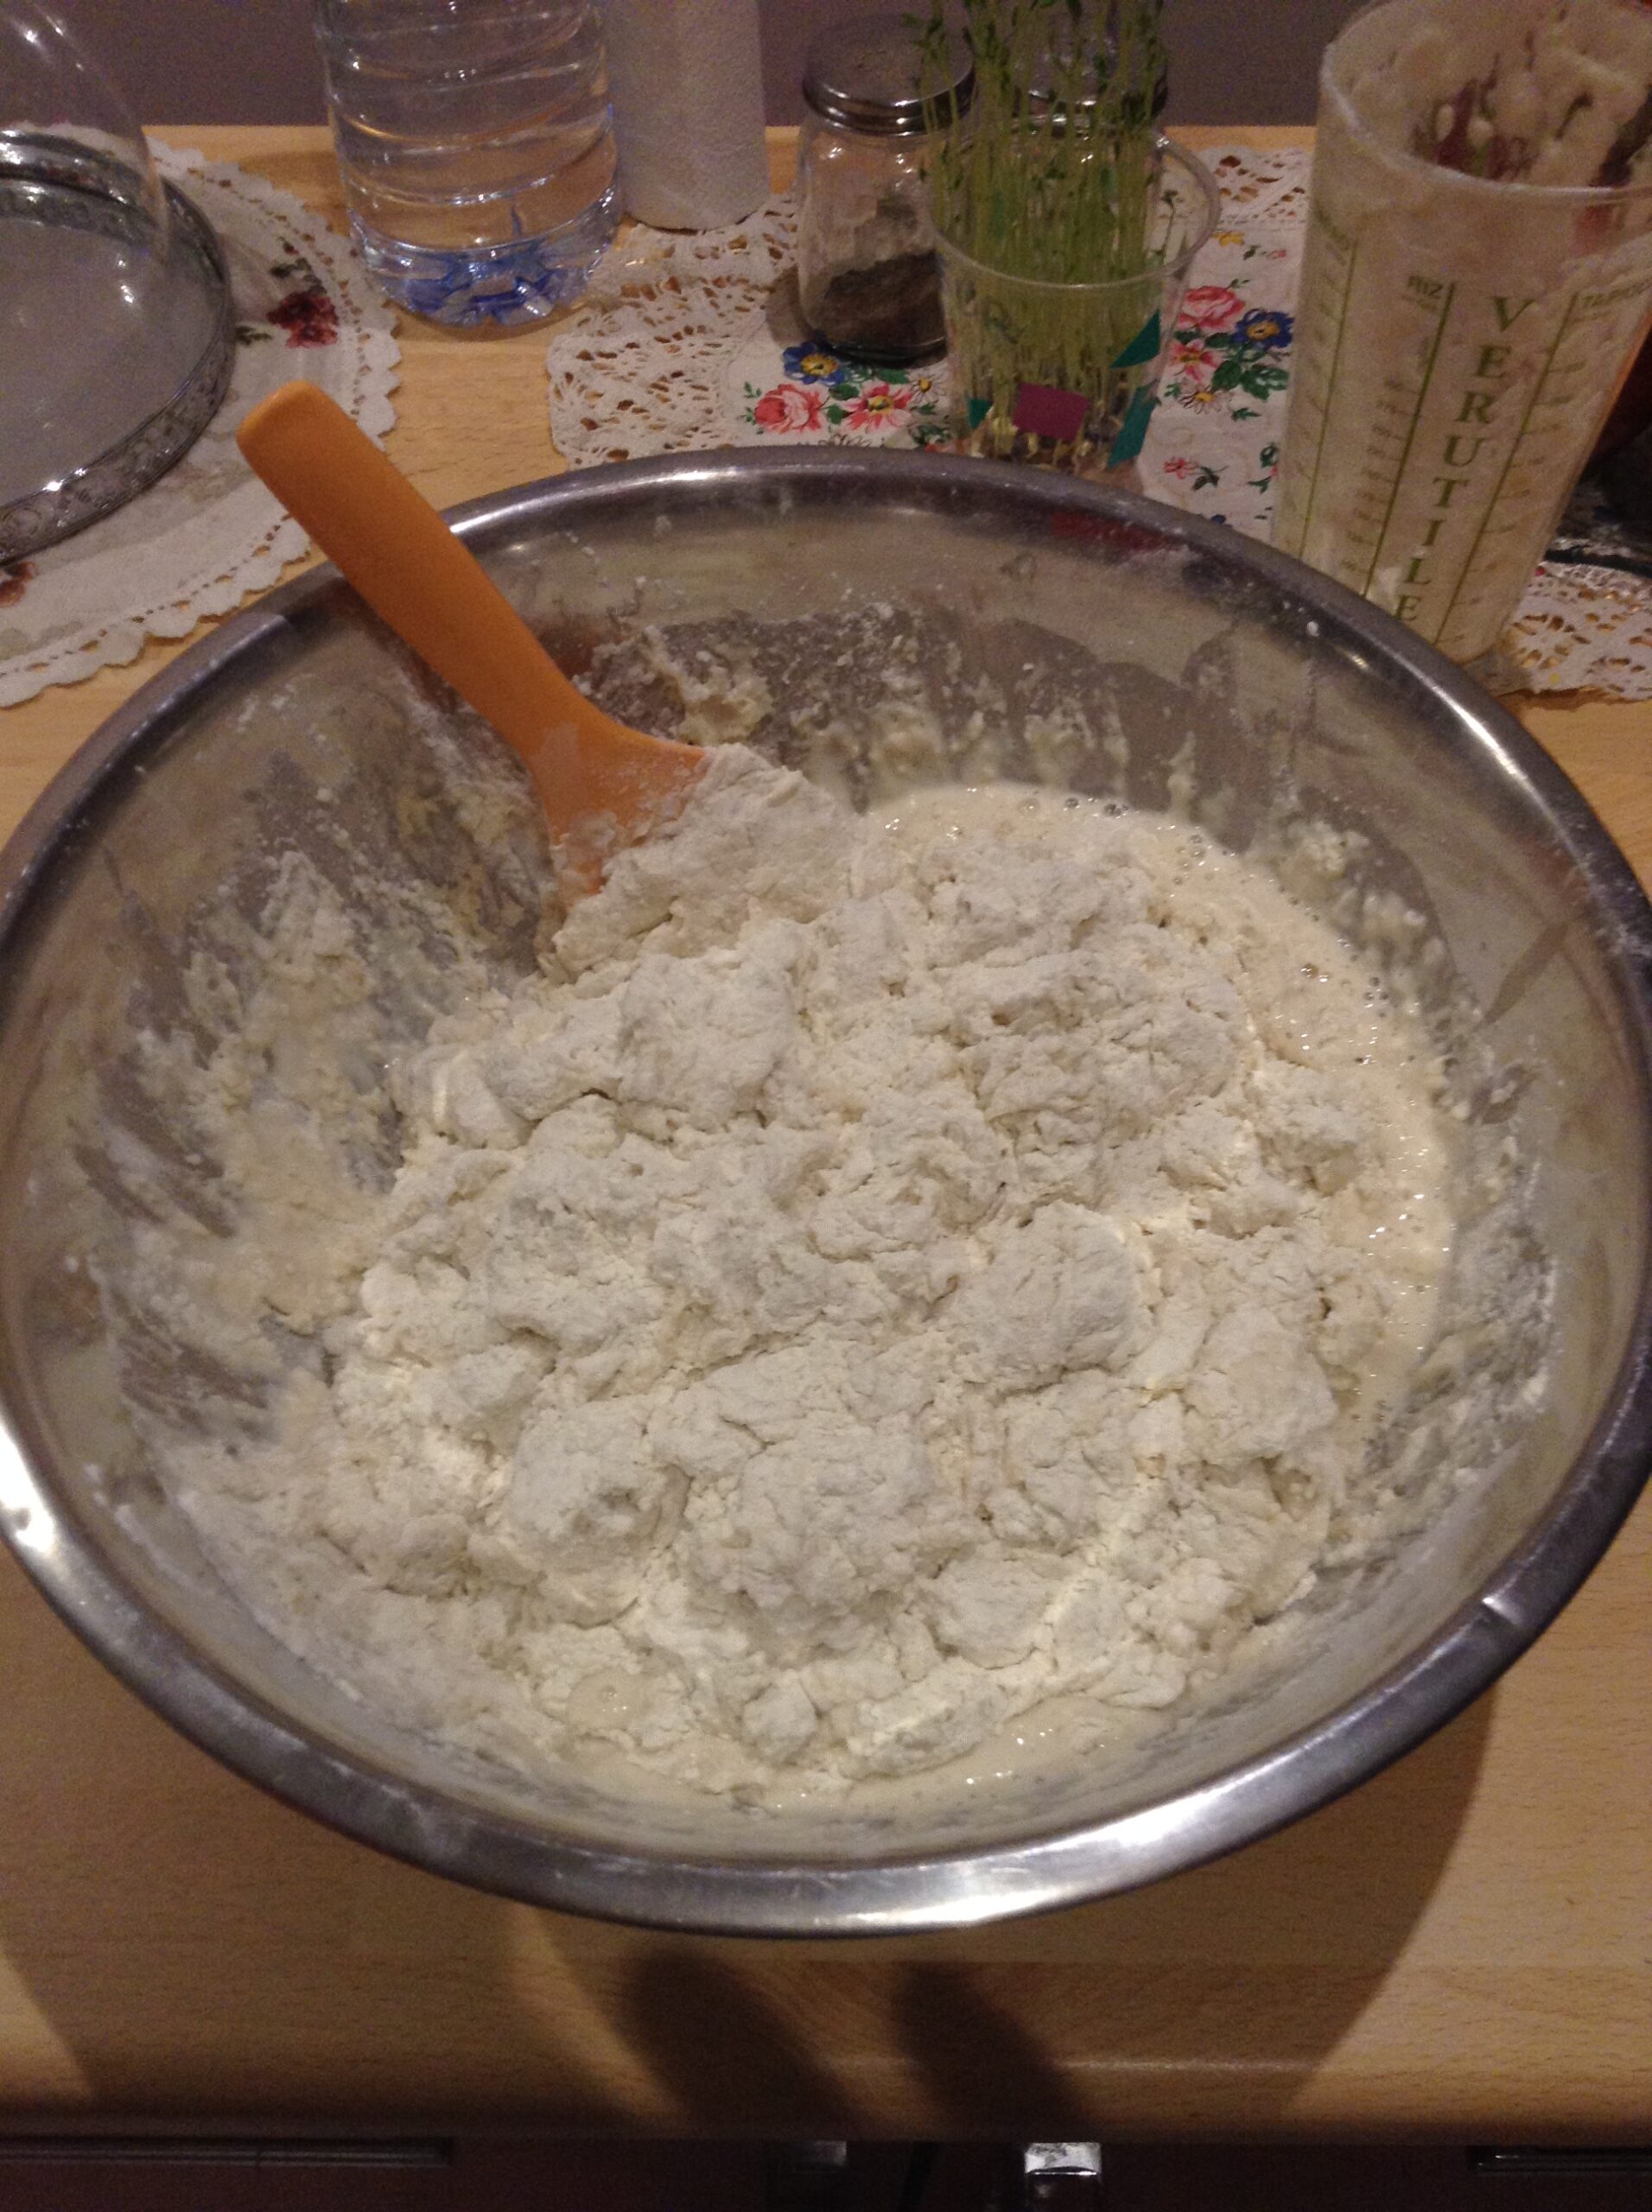
Let the dough rest for 15 minutes (autolysis).
> At this stage, autolysis takes place. The dough naturally becomes smoother and less sticky.
15 MINUTES LATER:
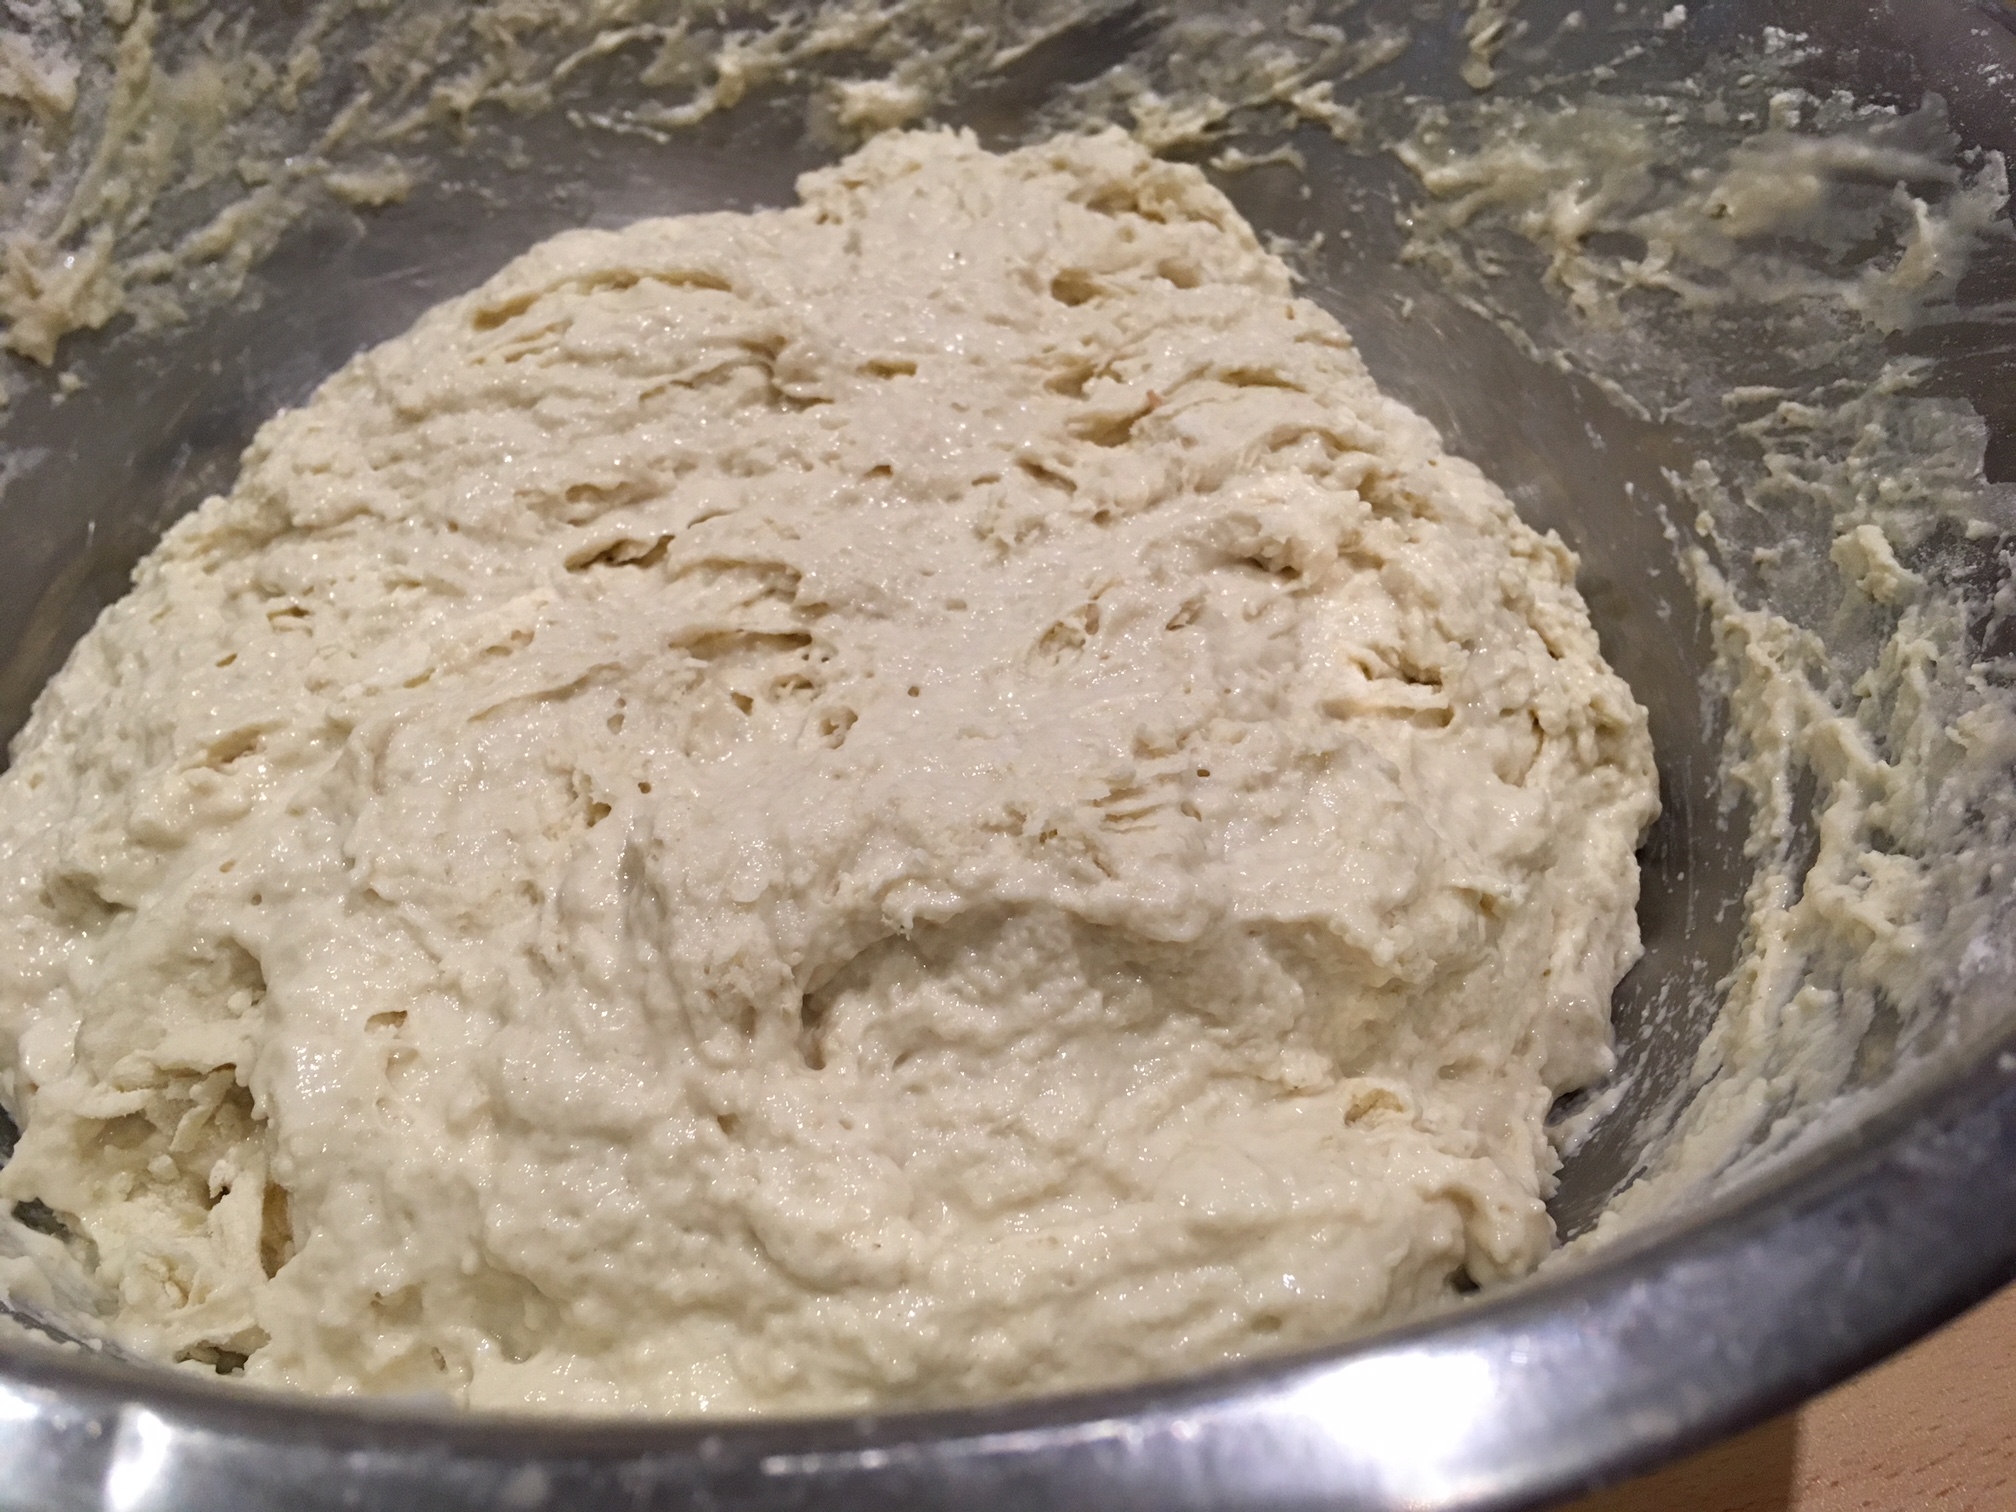
– Then add the salt to the dough, then mix the dough again with your whisk or hand, without tearing it, for 1 minute so that the salt is well absorbed and above all mixed evenly throughout the dough.
Let your dough rest for a few minutes, while you prepare your work surface for long (manual) kneading. Flour it (2 handfuls of flour are enough to prevent the dough from sticking to your work surface). Then, you should have around 150g of flour next to you to help you when kneading.
D-1: KNEADING
To knead, 3 movements are enough:
Fold the dough from underneath, fold in the two ends, turn the dough.
Repeat this about 50 times. minimum. Do not crush the dough, do not tear it. You have to make a succession of layers which trap the air bubbles. Knead for 3 minutes, take a 4 minute break, then start again a second time. You will see that the dough changes from one kneading to another.
Voir cette publication sur Instagram
Pétrissage de la pâte à pain #painaulevain #pain #recettepain #sourdough #food #bread #homemade
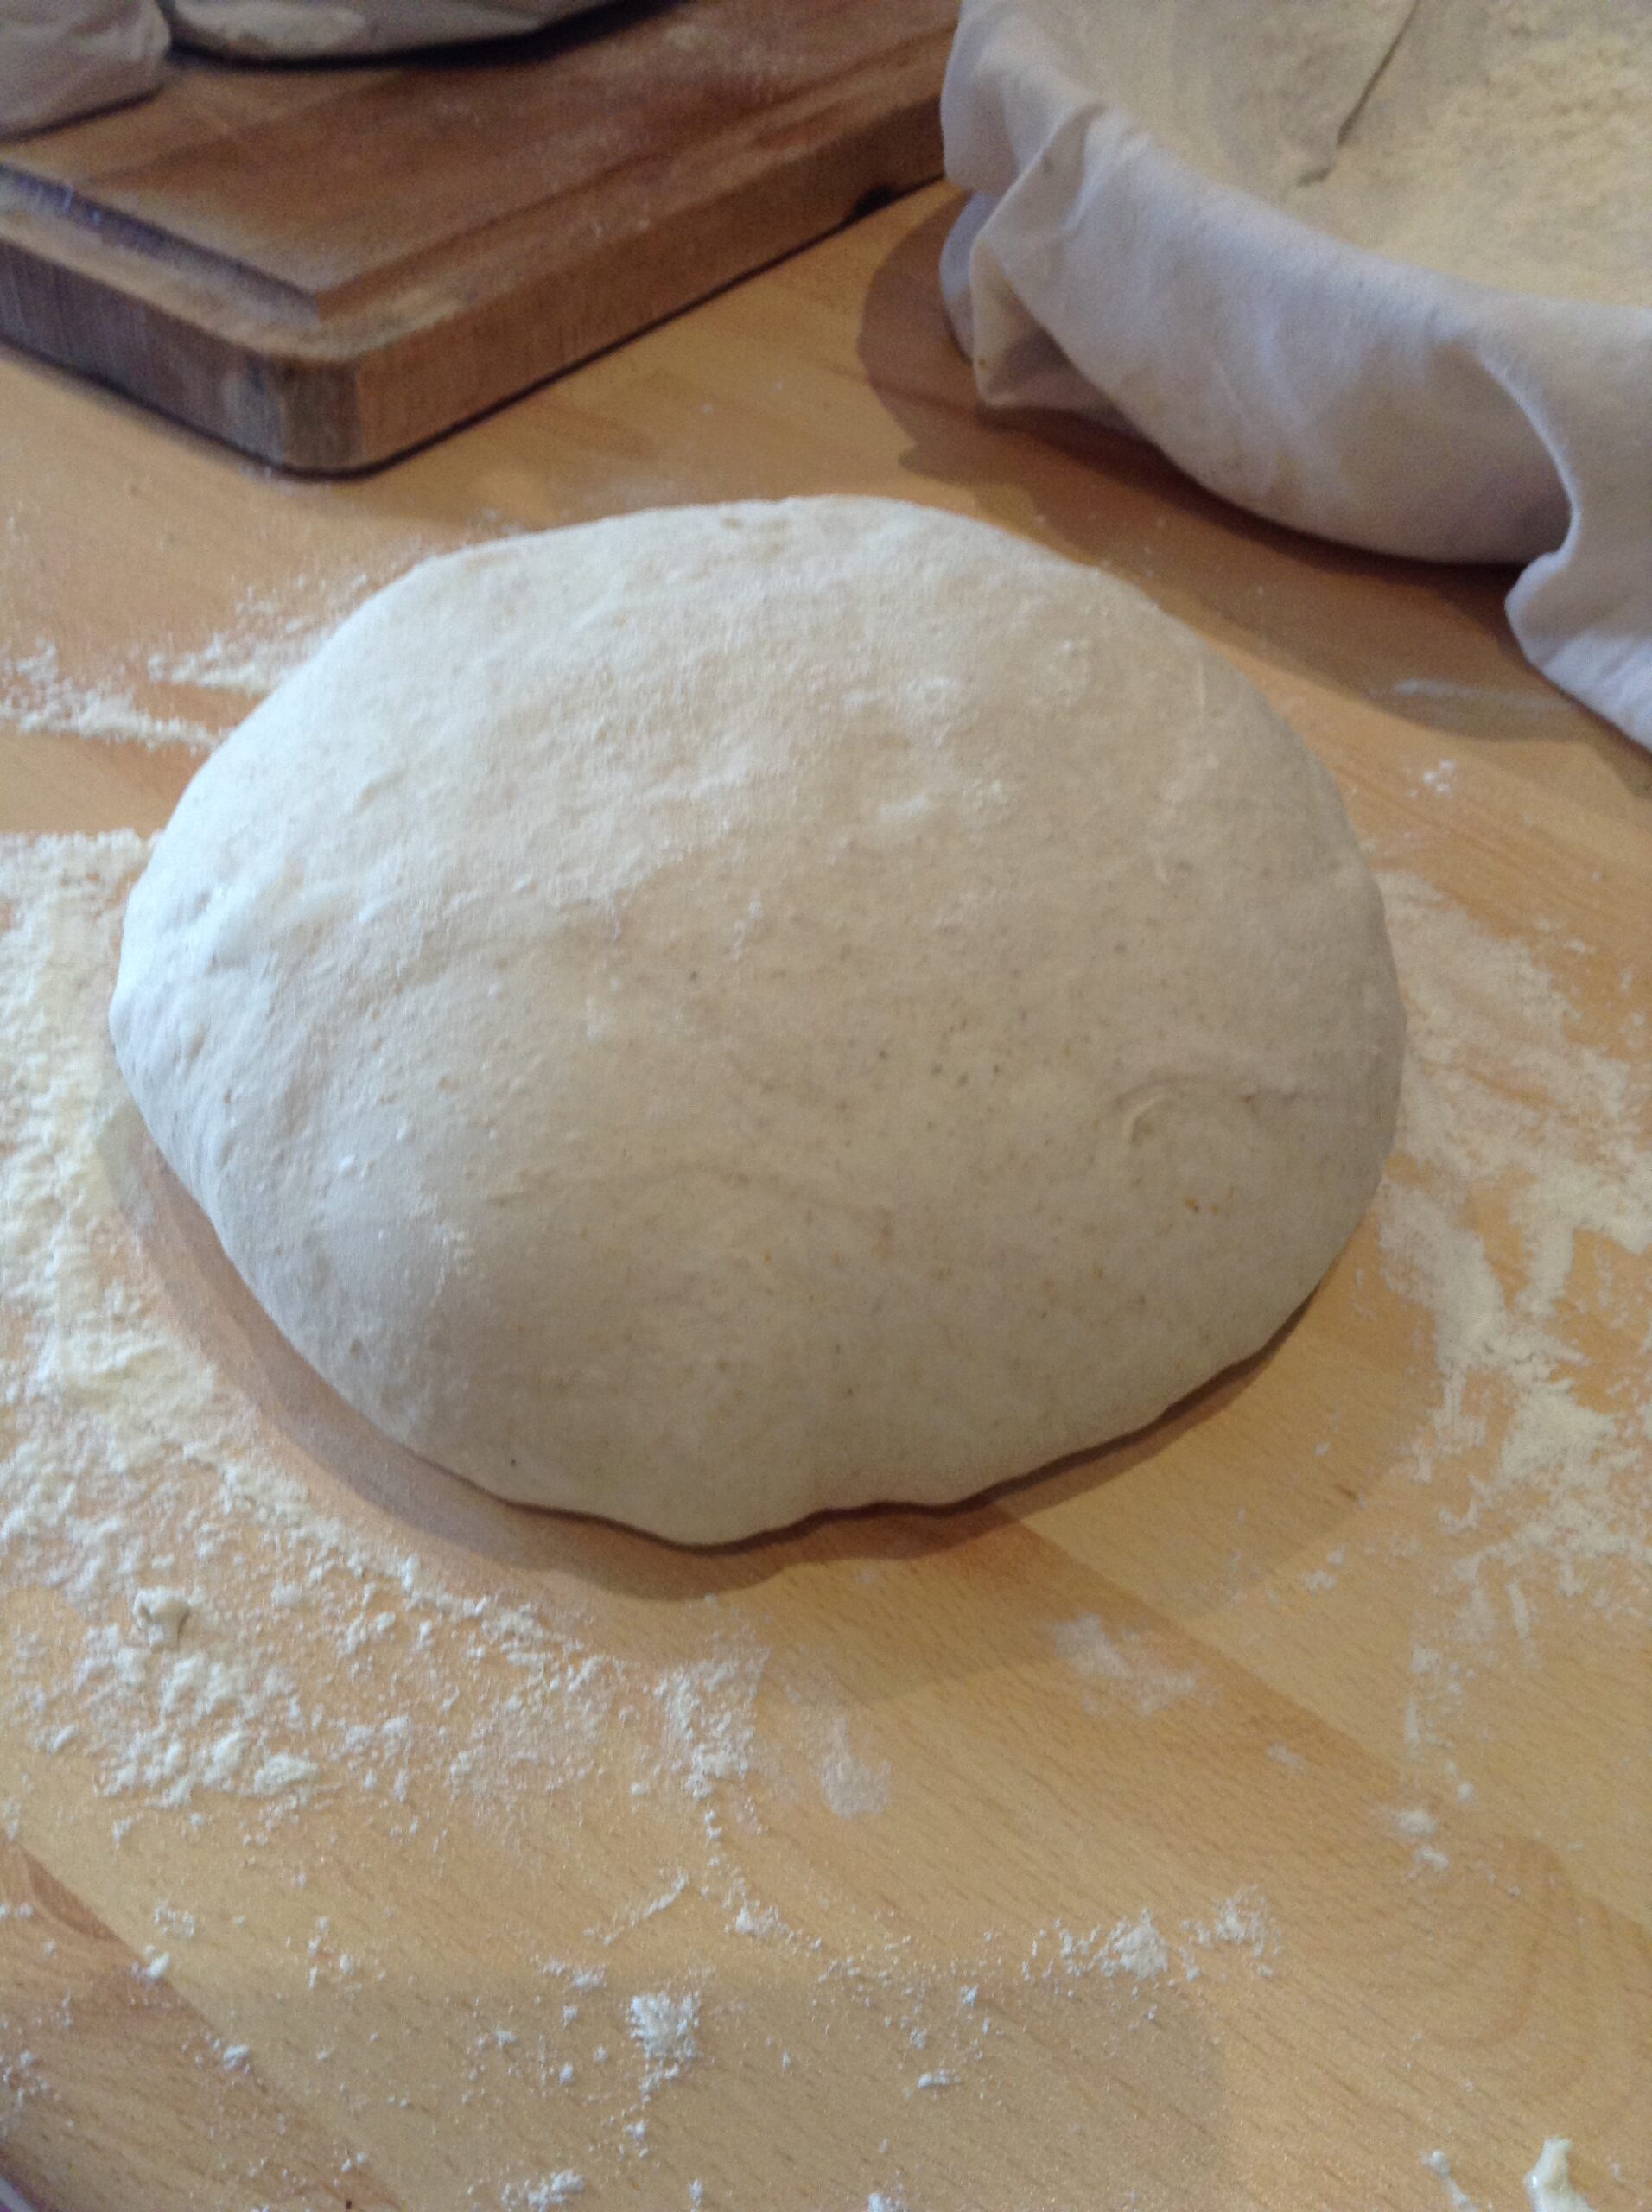
Once you start sweating, it’s a good time to stop! This is the most difficult, but obligatory because this is the phase which allows the dough to be oxygenated, the elements to be mixed well, small air bubbles to be blocked, and therefore the future crumb to be created. The quality of the bread depends largely on the long kneading you do. You can stop after 8 to 10 minutes of kneading, when the dough no longer sticks to your fingers, is smooth and a little lighter.
Your preparation is finished, congratulations!
You can let the dough rest for 30 minutes under a cloth, in its original bowl (provide a bowl that is twice the height of your ball).
30 MINUTES LATER
Make a flap!
– Fold the dough on itself 4 times: take the dough from underneath, lift with your hand, stretch but without tearing, and fold towards the center, without pressing.
– Leave to rest for 30 minutes then repeat this operation if you can, at least twice (this is always better, but it is not obligatory)

D-1: START OF LONG POINT, AT NIGHT
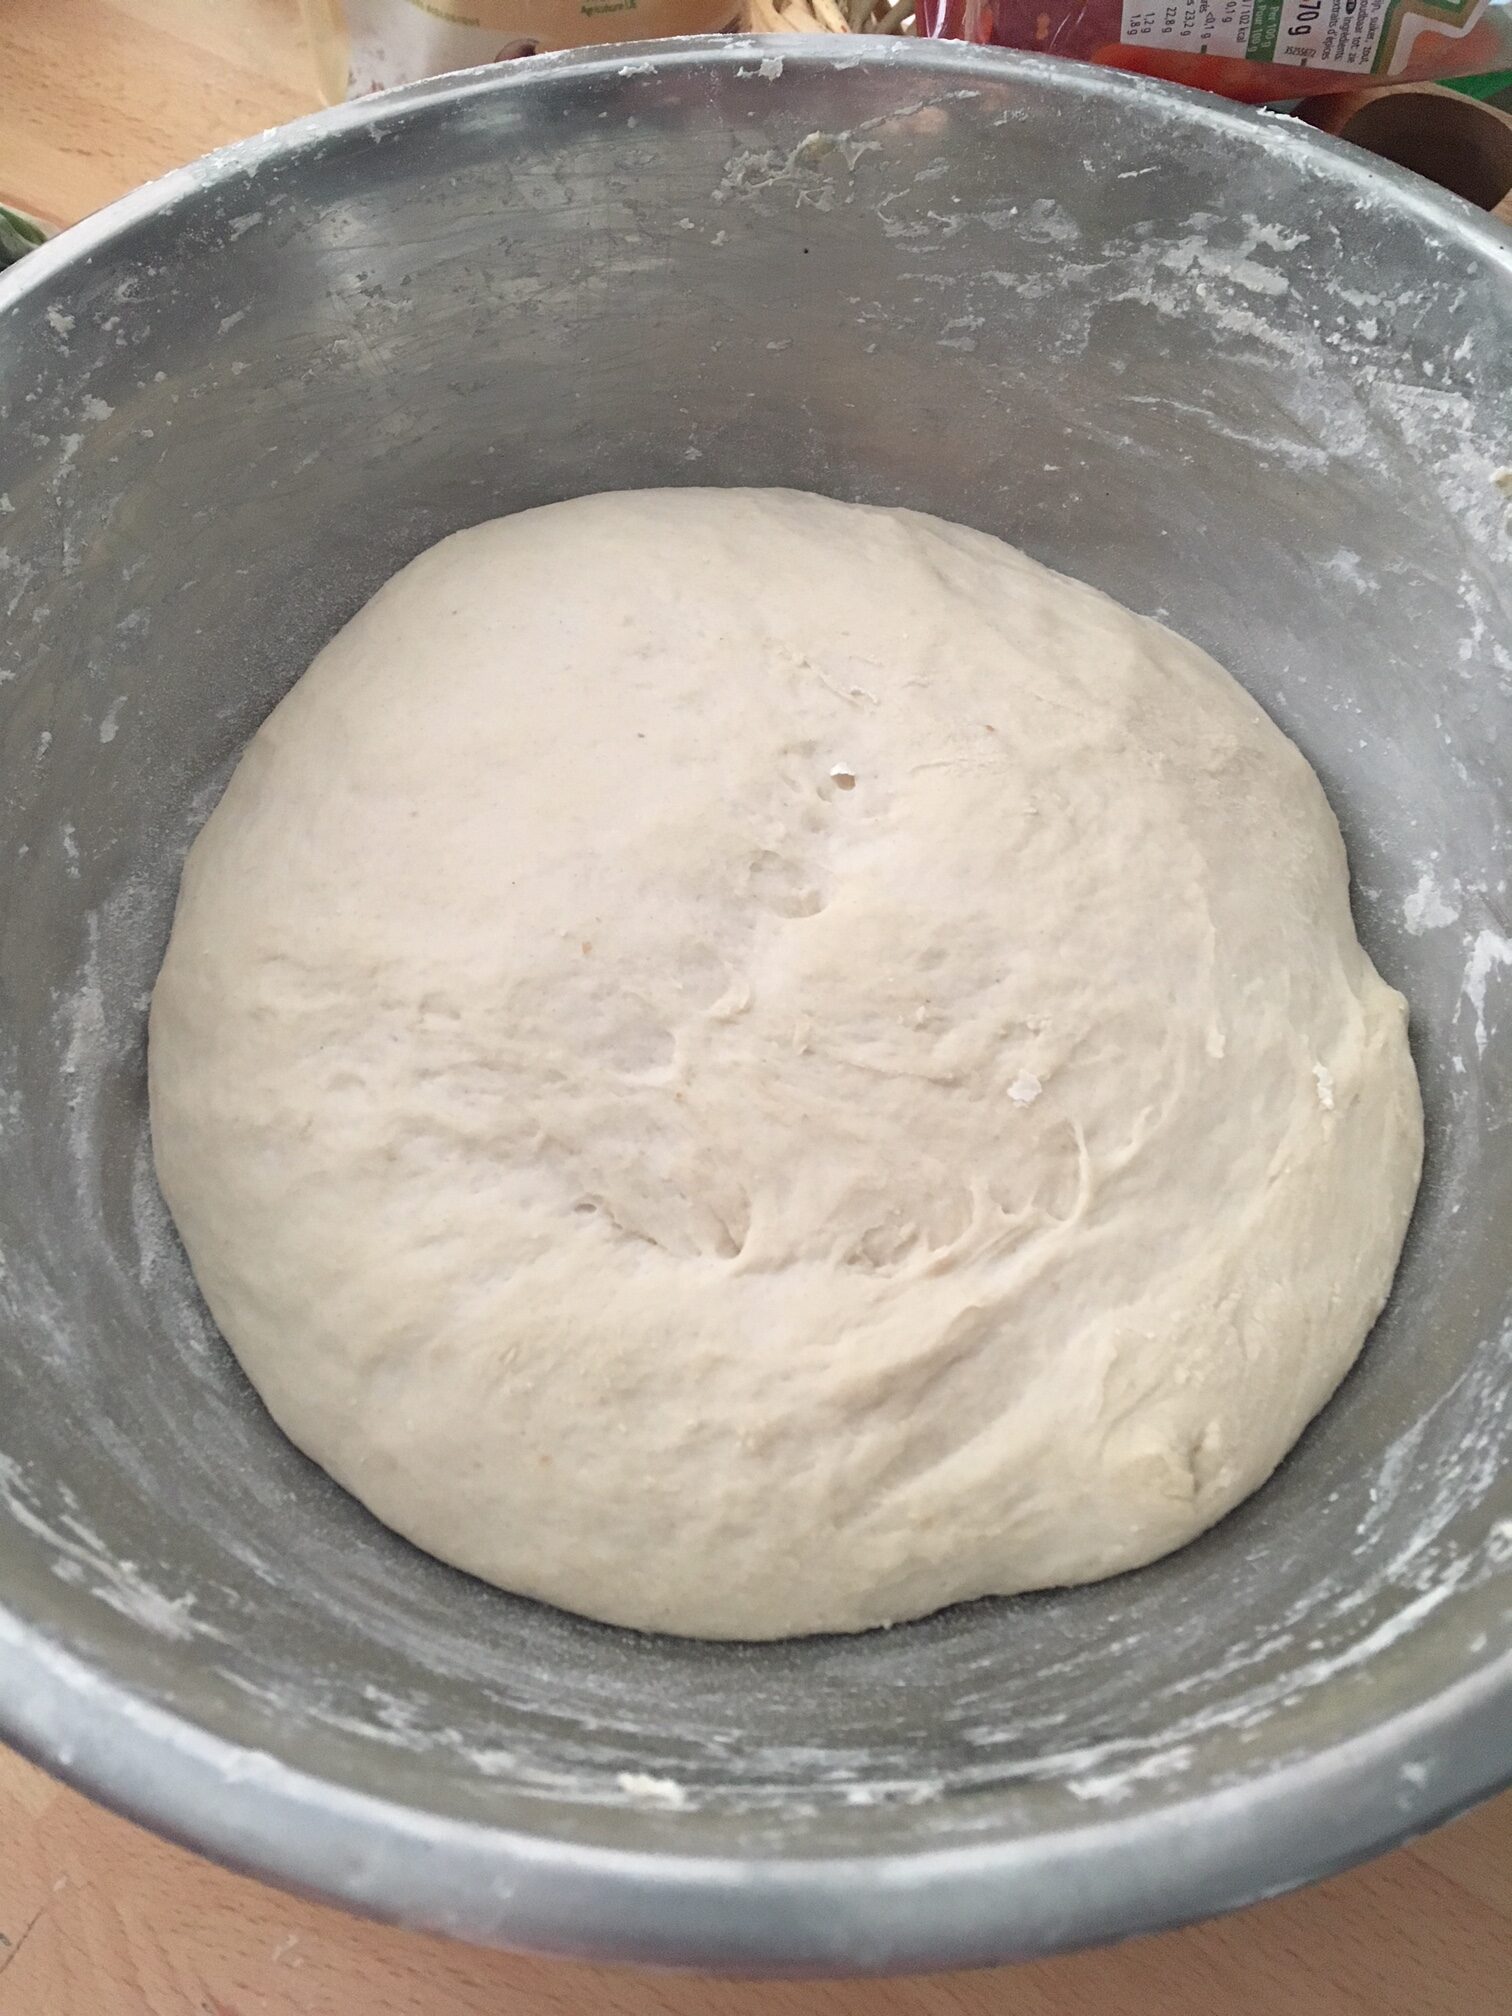
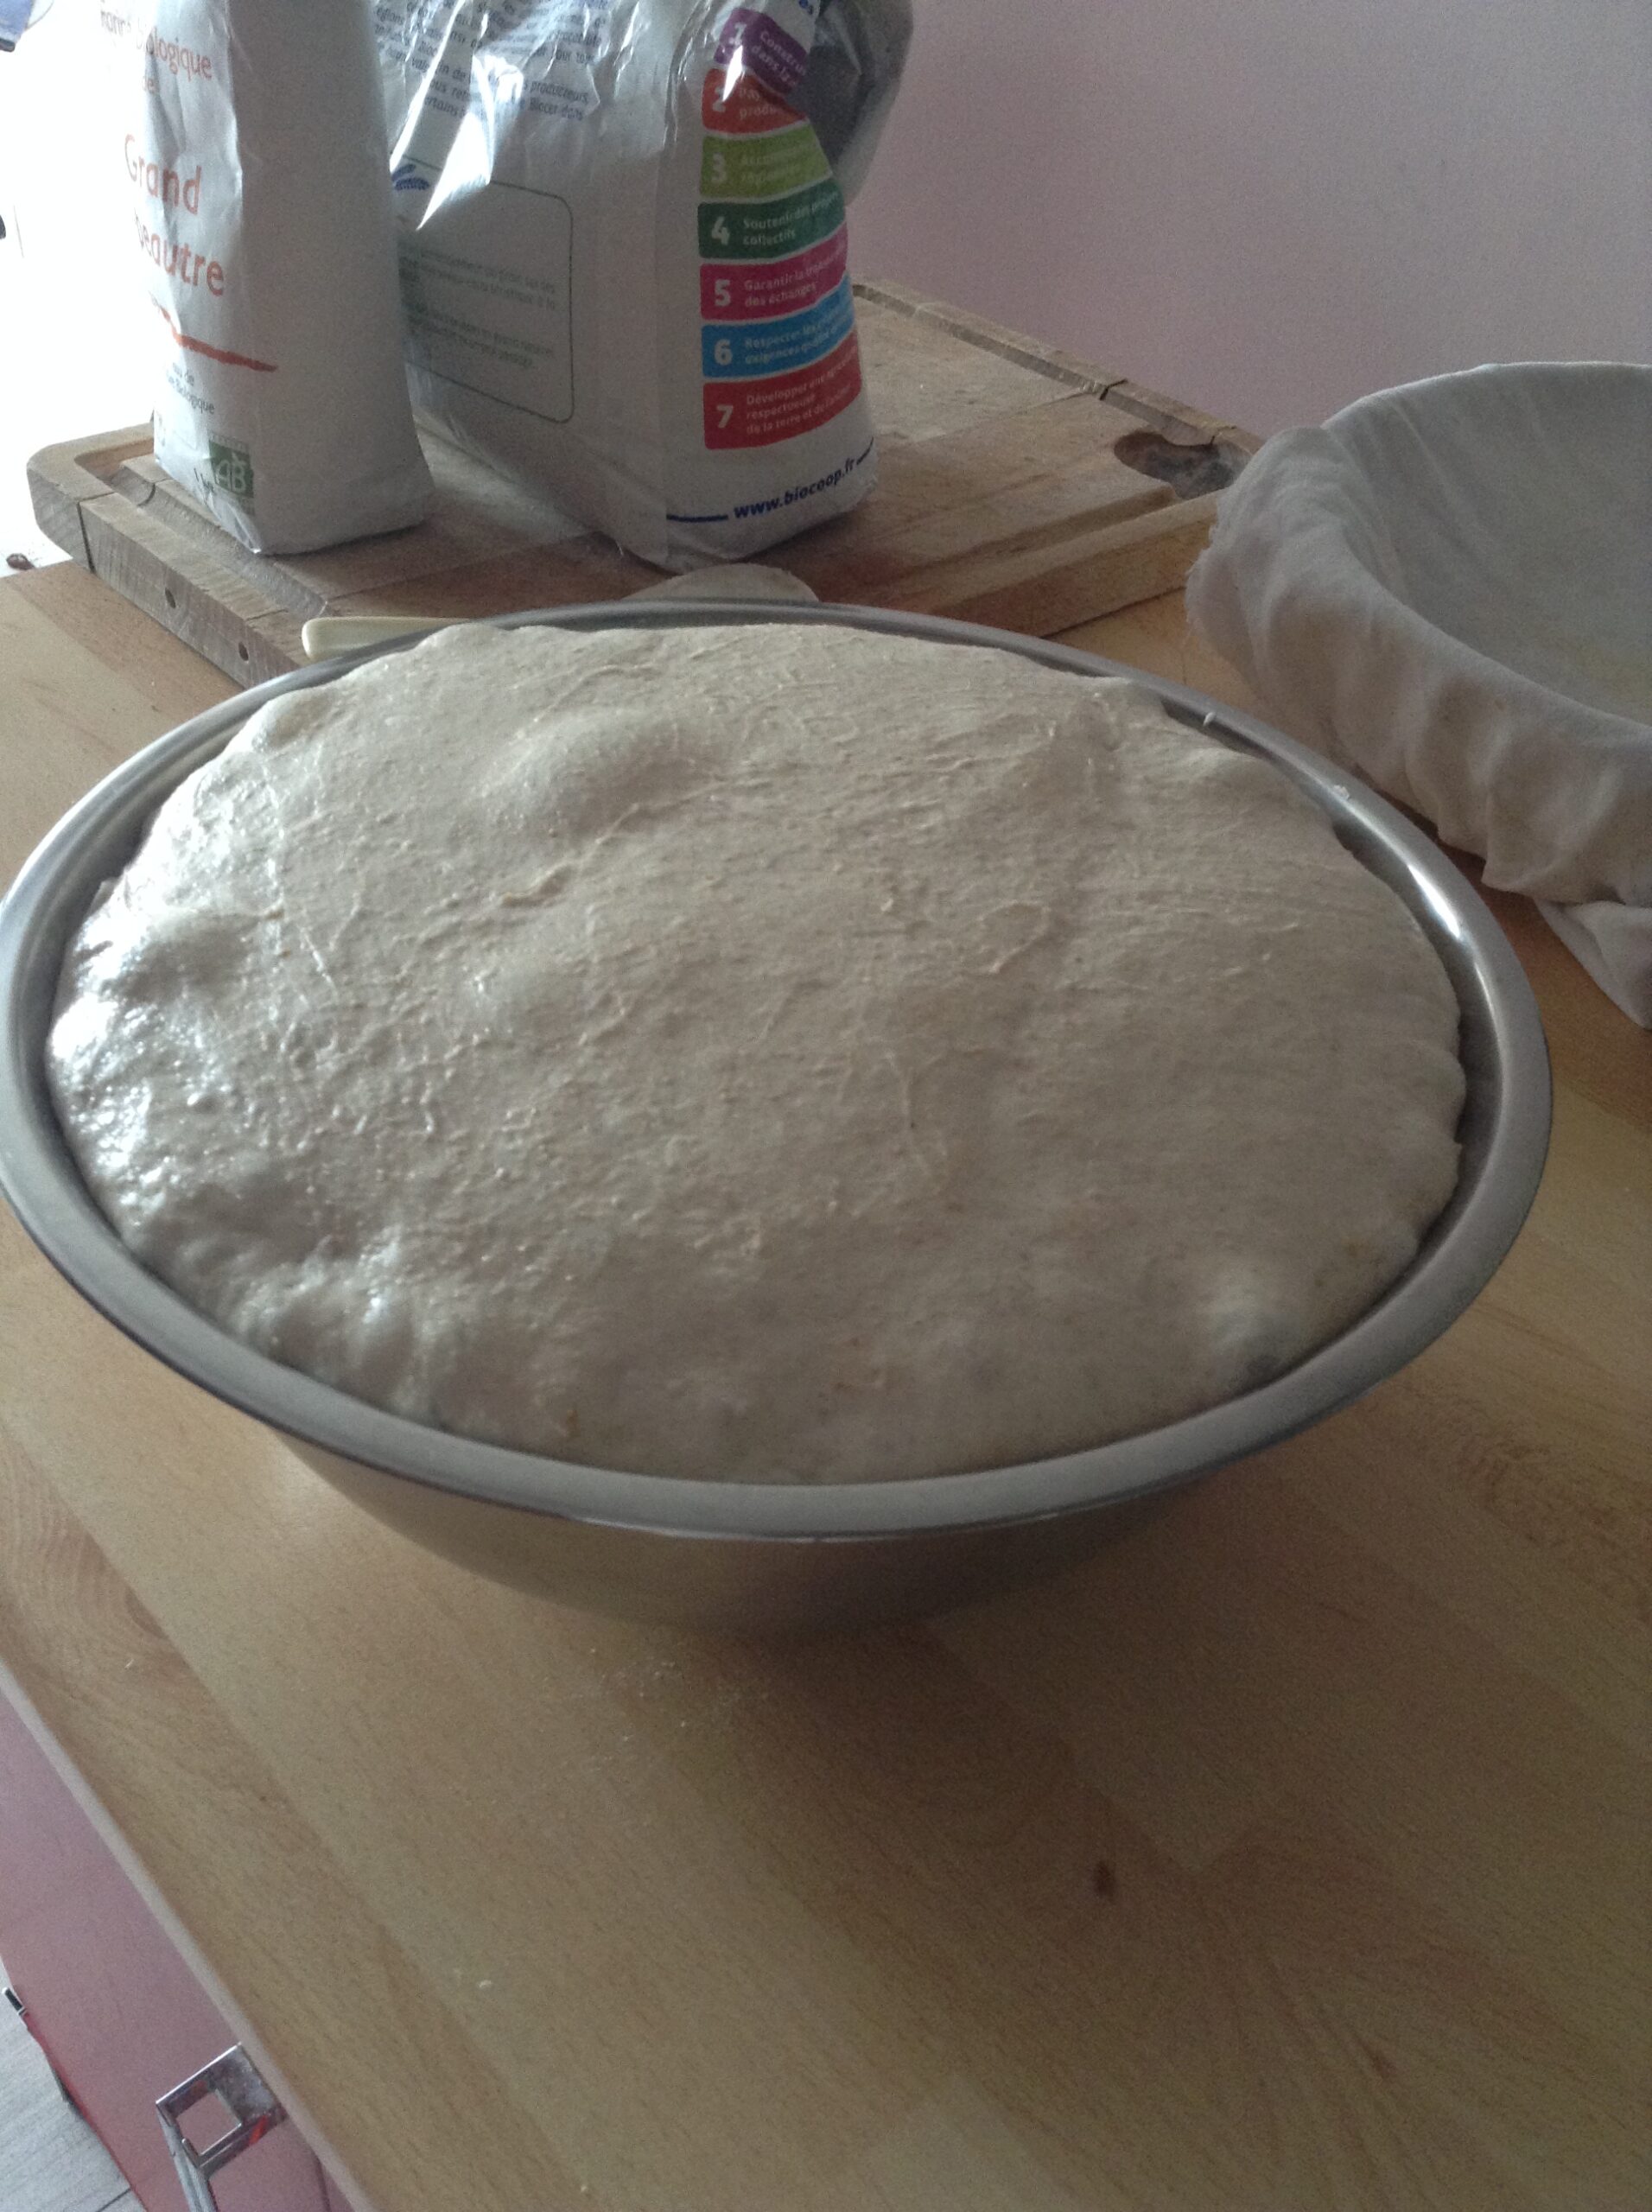
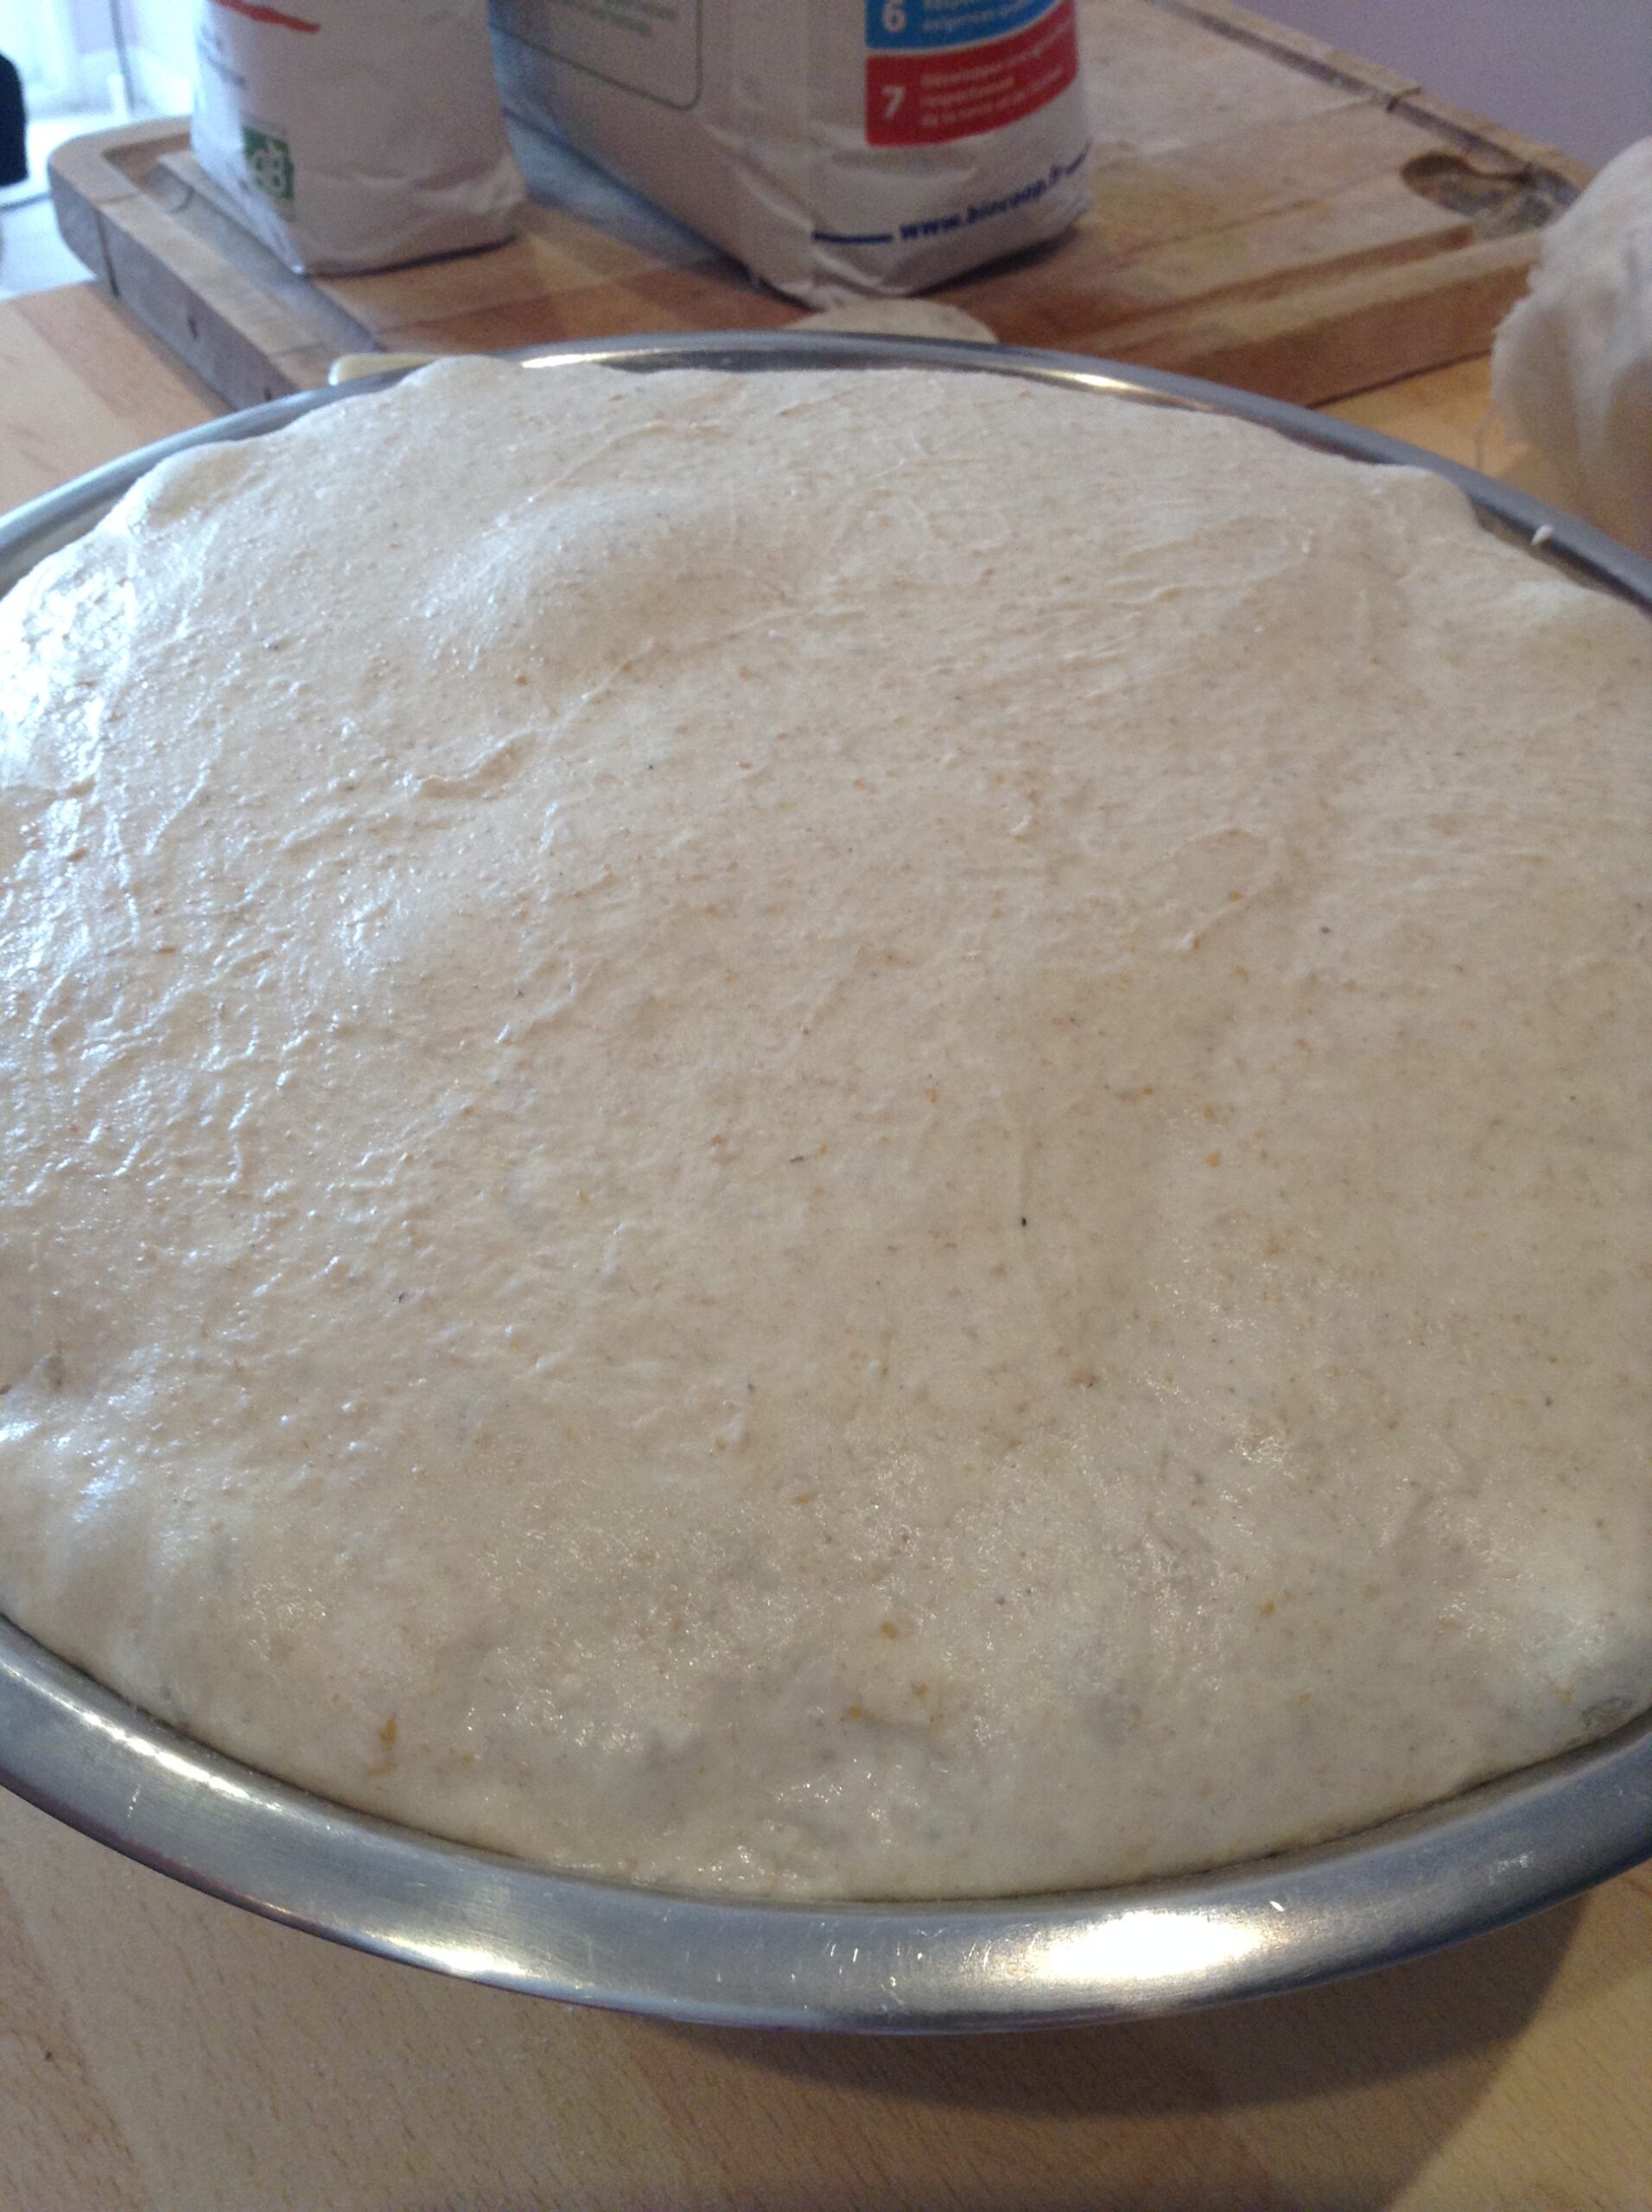
This is the most important moment! Your dough has had 4 flaps in 2 hours, air is trapped and bubbles are starting to form within it. The dough will now be allowed to rest completely, the long fermentation will begin.
The long proofing then begins and should last between 8 and 12 hours, depending on the strength of your sourdough and the ambient temperature. For you, the recipe is finished!
Your dough will double in volume until early morning, and it is when it is the highest (before it falls) that you will have to cook it.
If the dough has not risen sufficiently the next morning, it is because your sourdough was not strong enough when it was used.
If you make your bread in winter, the lower temperature. at 16 degrees can also slow down fermentation. Always place your dough near the heat if the kitchen is not very heated.
D-DAY: SUNDAY MORNING COOKING
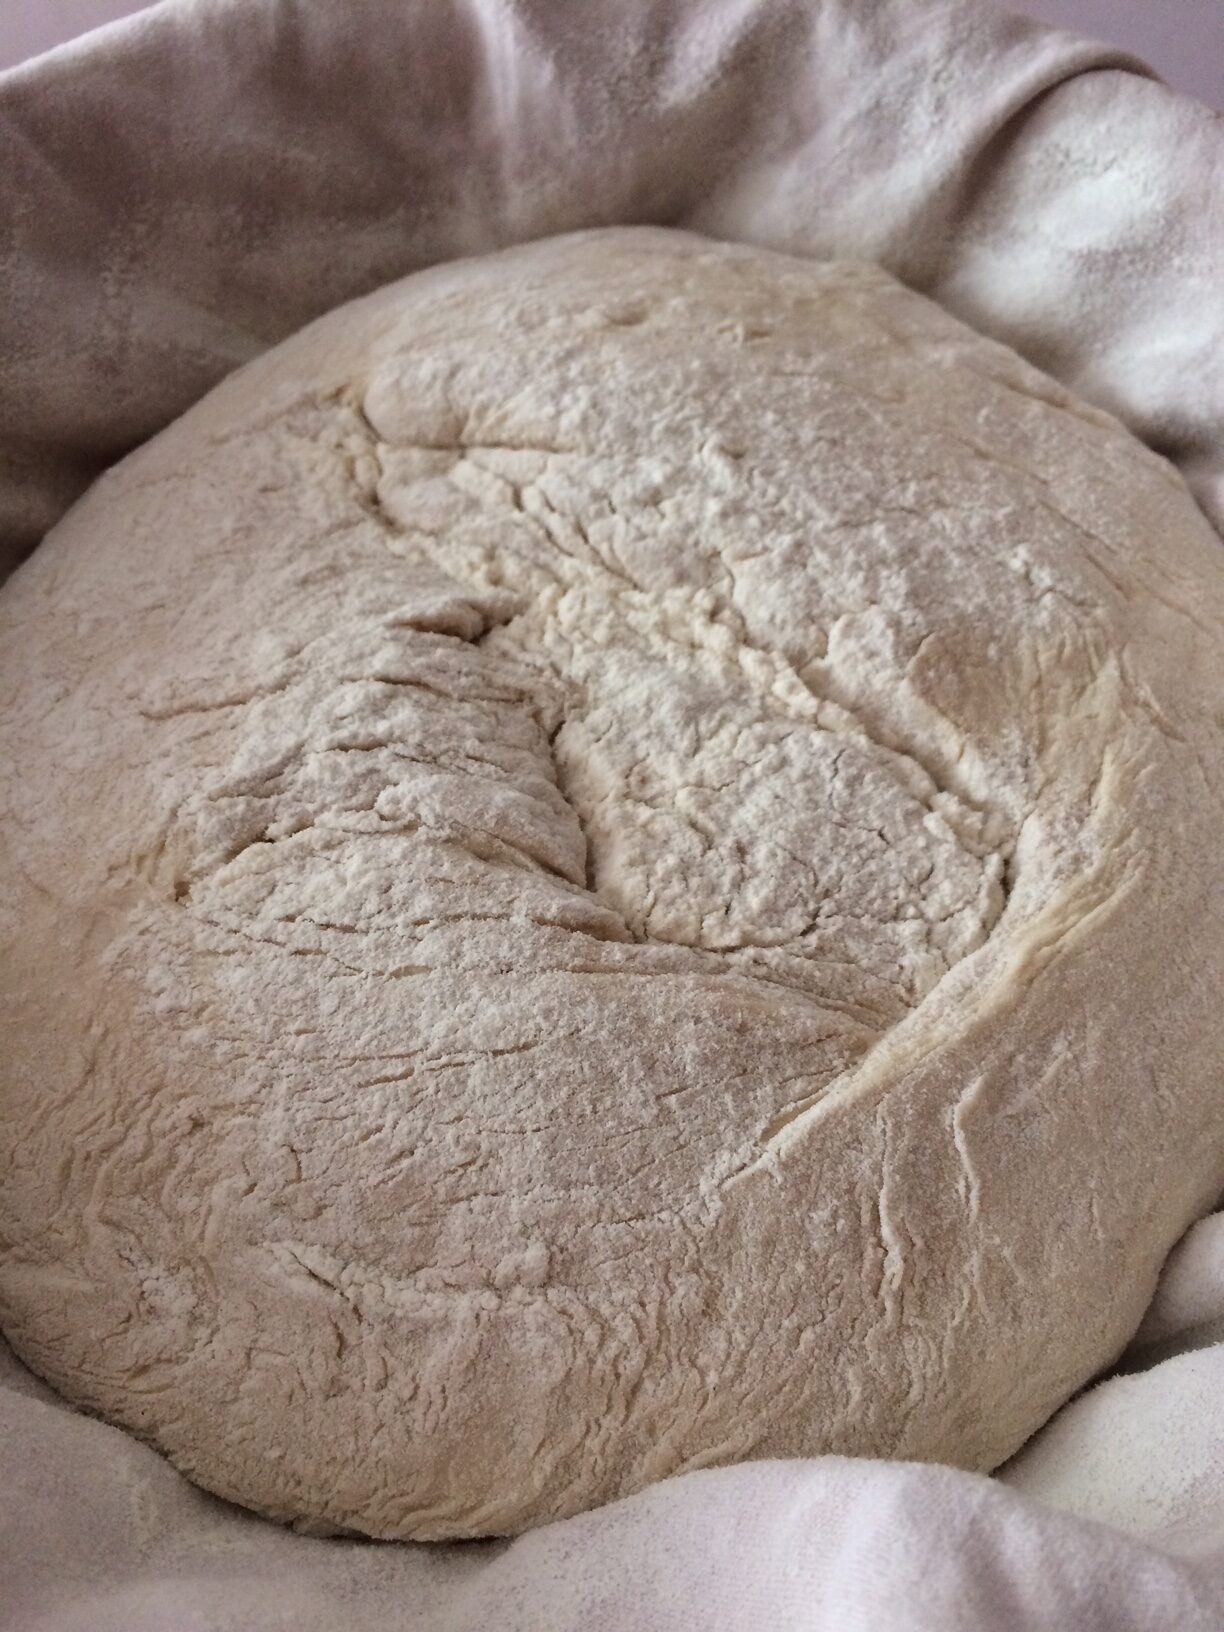
Nice surprise in the morning, the dough has doubled in volume, the dough is ready to be shaped.
ATTENTION: at this stage, you must not crush the dough too much during the various actions to come, so as not to destroy the air bubbles formed.
The gesture must be delicate and the dough must not be too stretched. The goal of shaping is to glue the fibers together. These were raised because of the overnight fermentation, and the dough doubled in volume. By reforming a ball without crushing the dough, you reshape the bread without breaking the bubbles present.
– Pour the dough onto a lightly floured work surface. Cut a piece if you want to make a baguette, or cut the dough in 2 to make 2 balls, here you are free to choose as you wish!
– For a ball, simply fold 2 sides on top of each other, then turn the dough over, pass your hands under the dough, and bring them together from below to stick the edges together with your fingers. Form a ball without crushing the sides too much (no pressure, simply wrap your hands around it to form the ball) then place the ball thus formed upside down (the key at the bottom is therefore at the top) in the banneton.
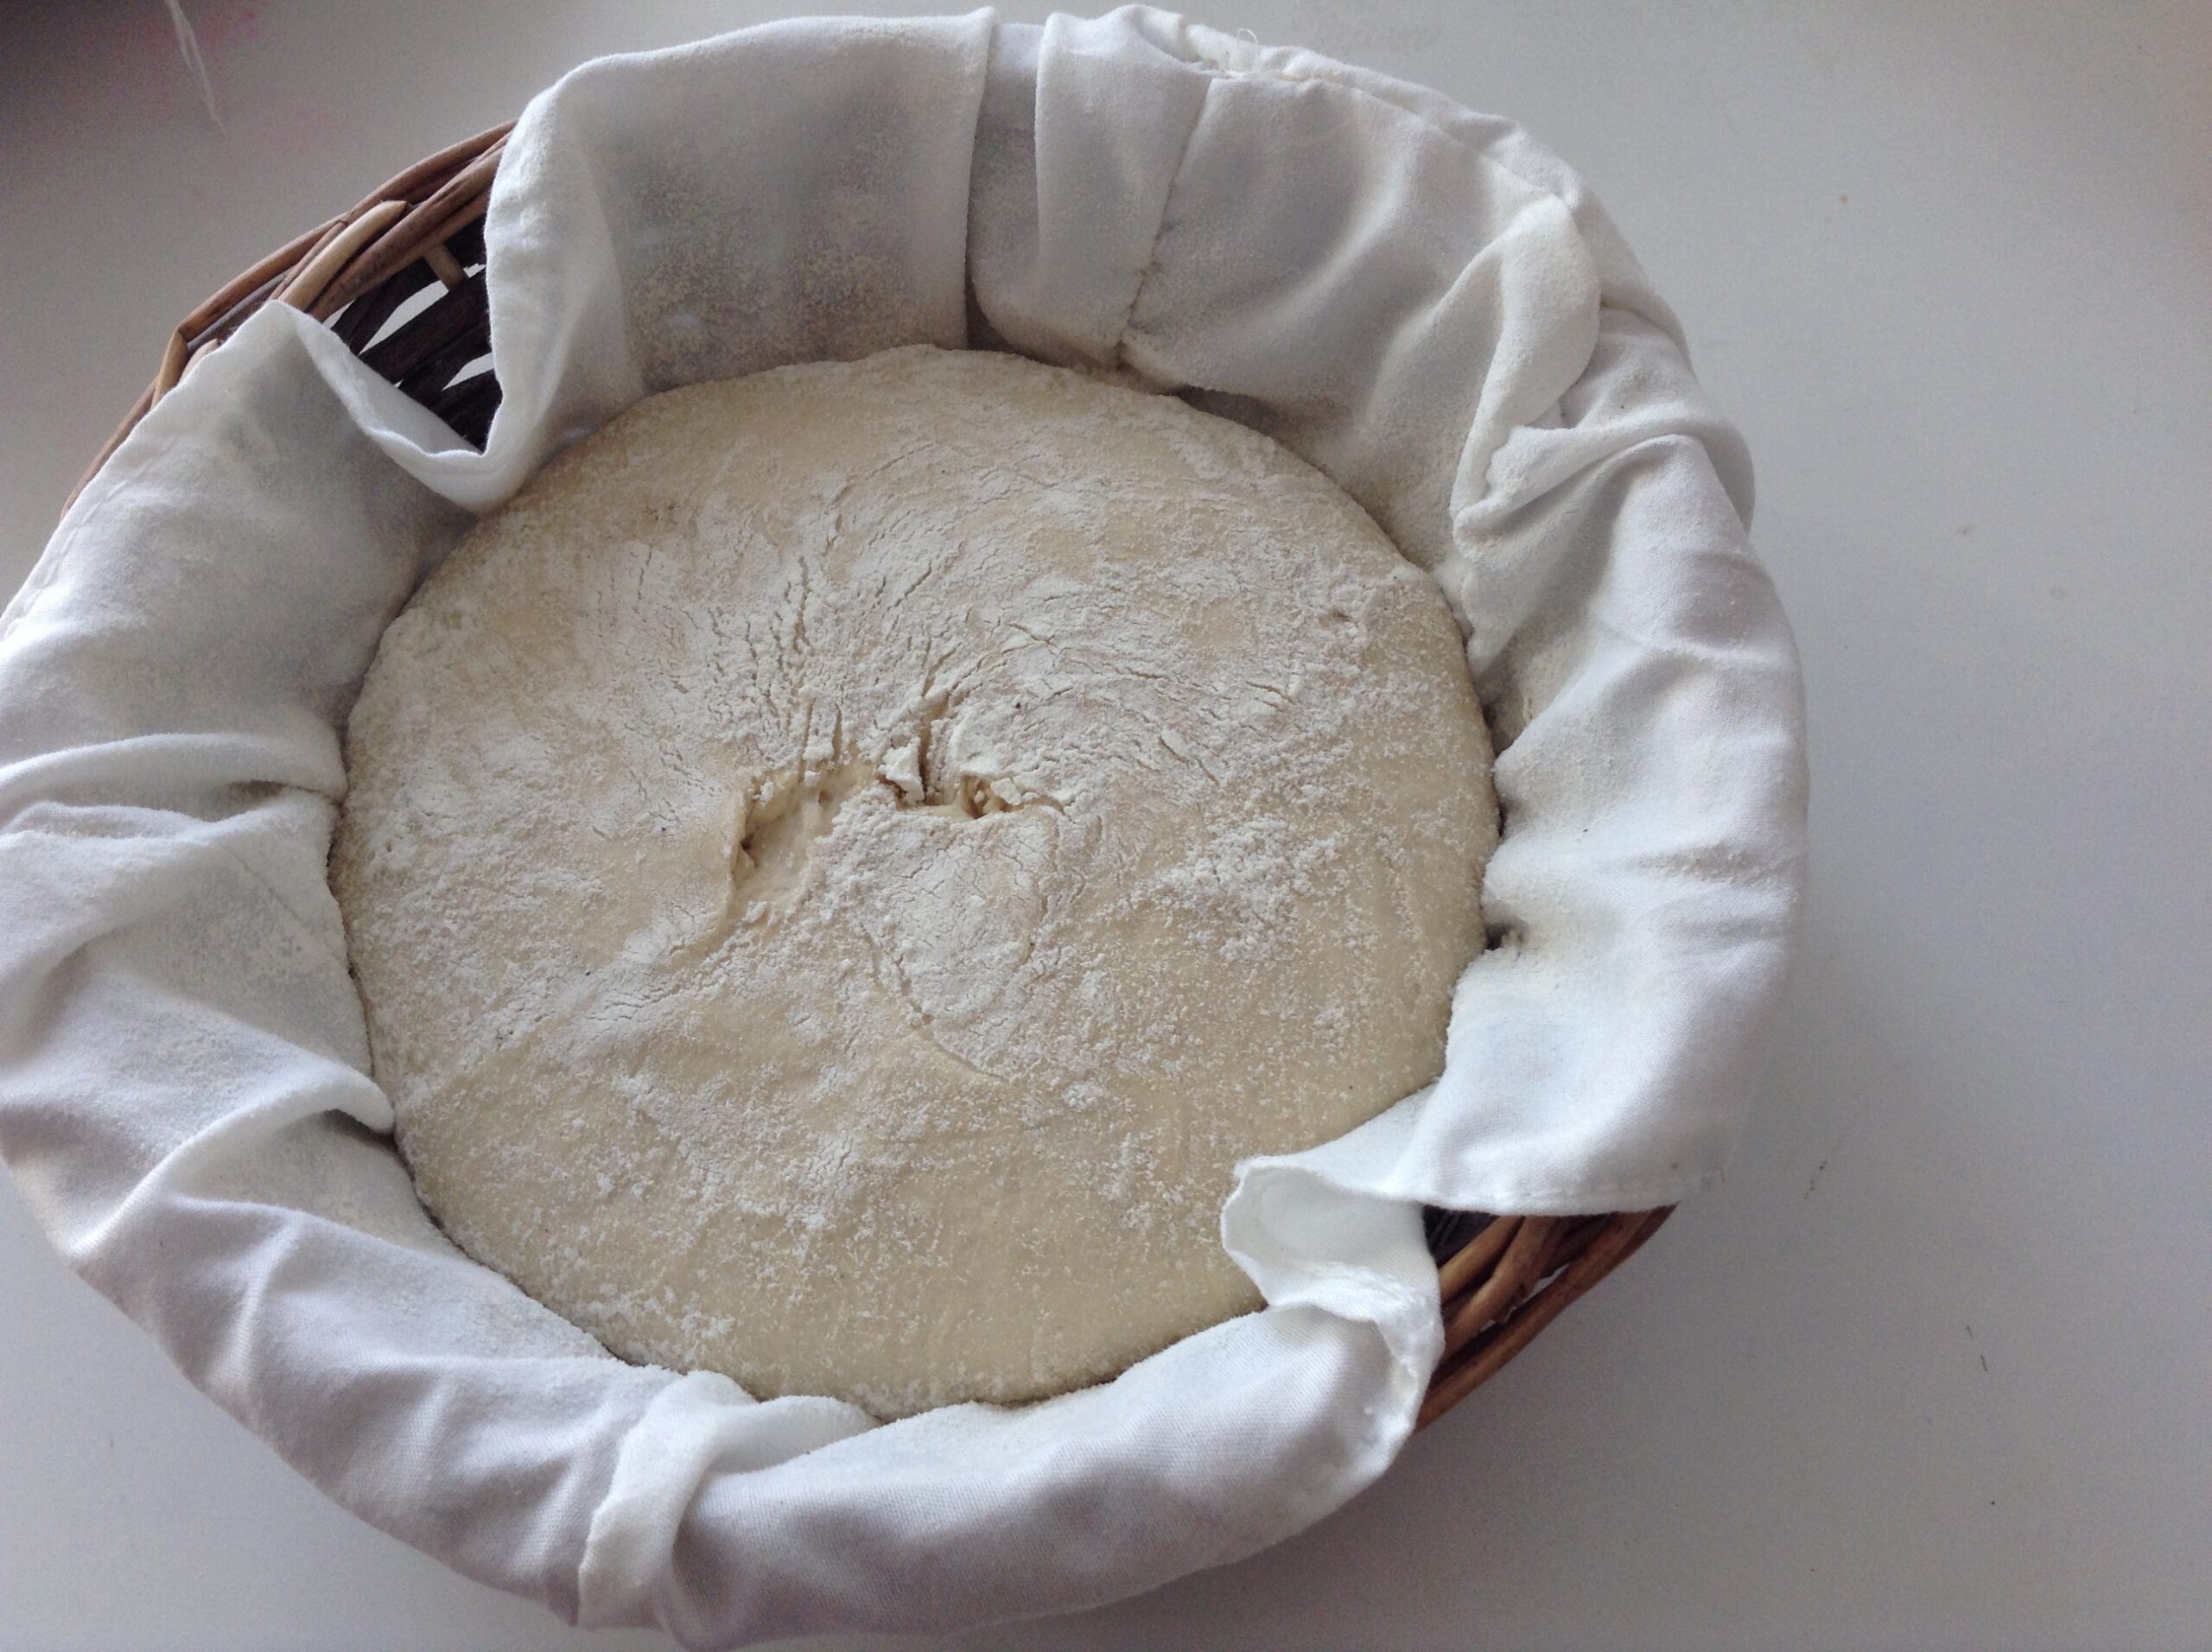
– Leave to rest for 30 minutes to 1 hour (this is the preparation) until your ball regains a pleasant, more inflated shape and time to heat the oven.
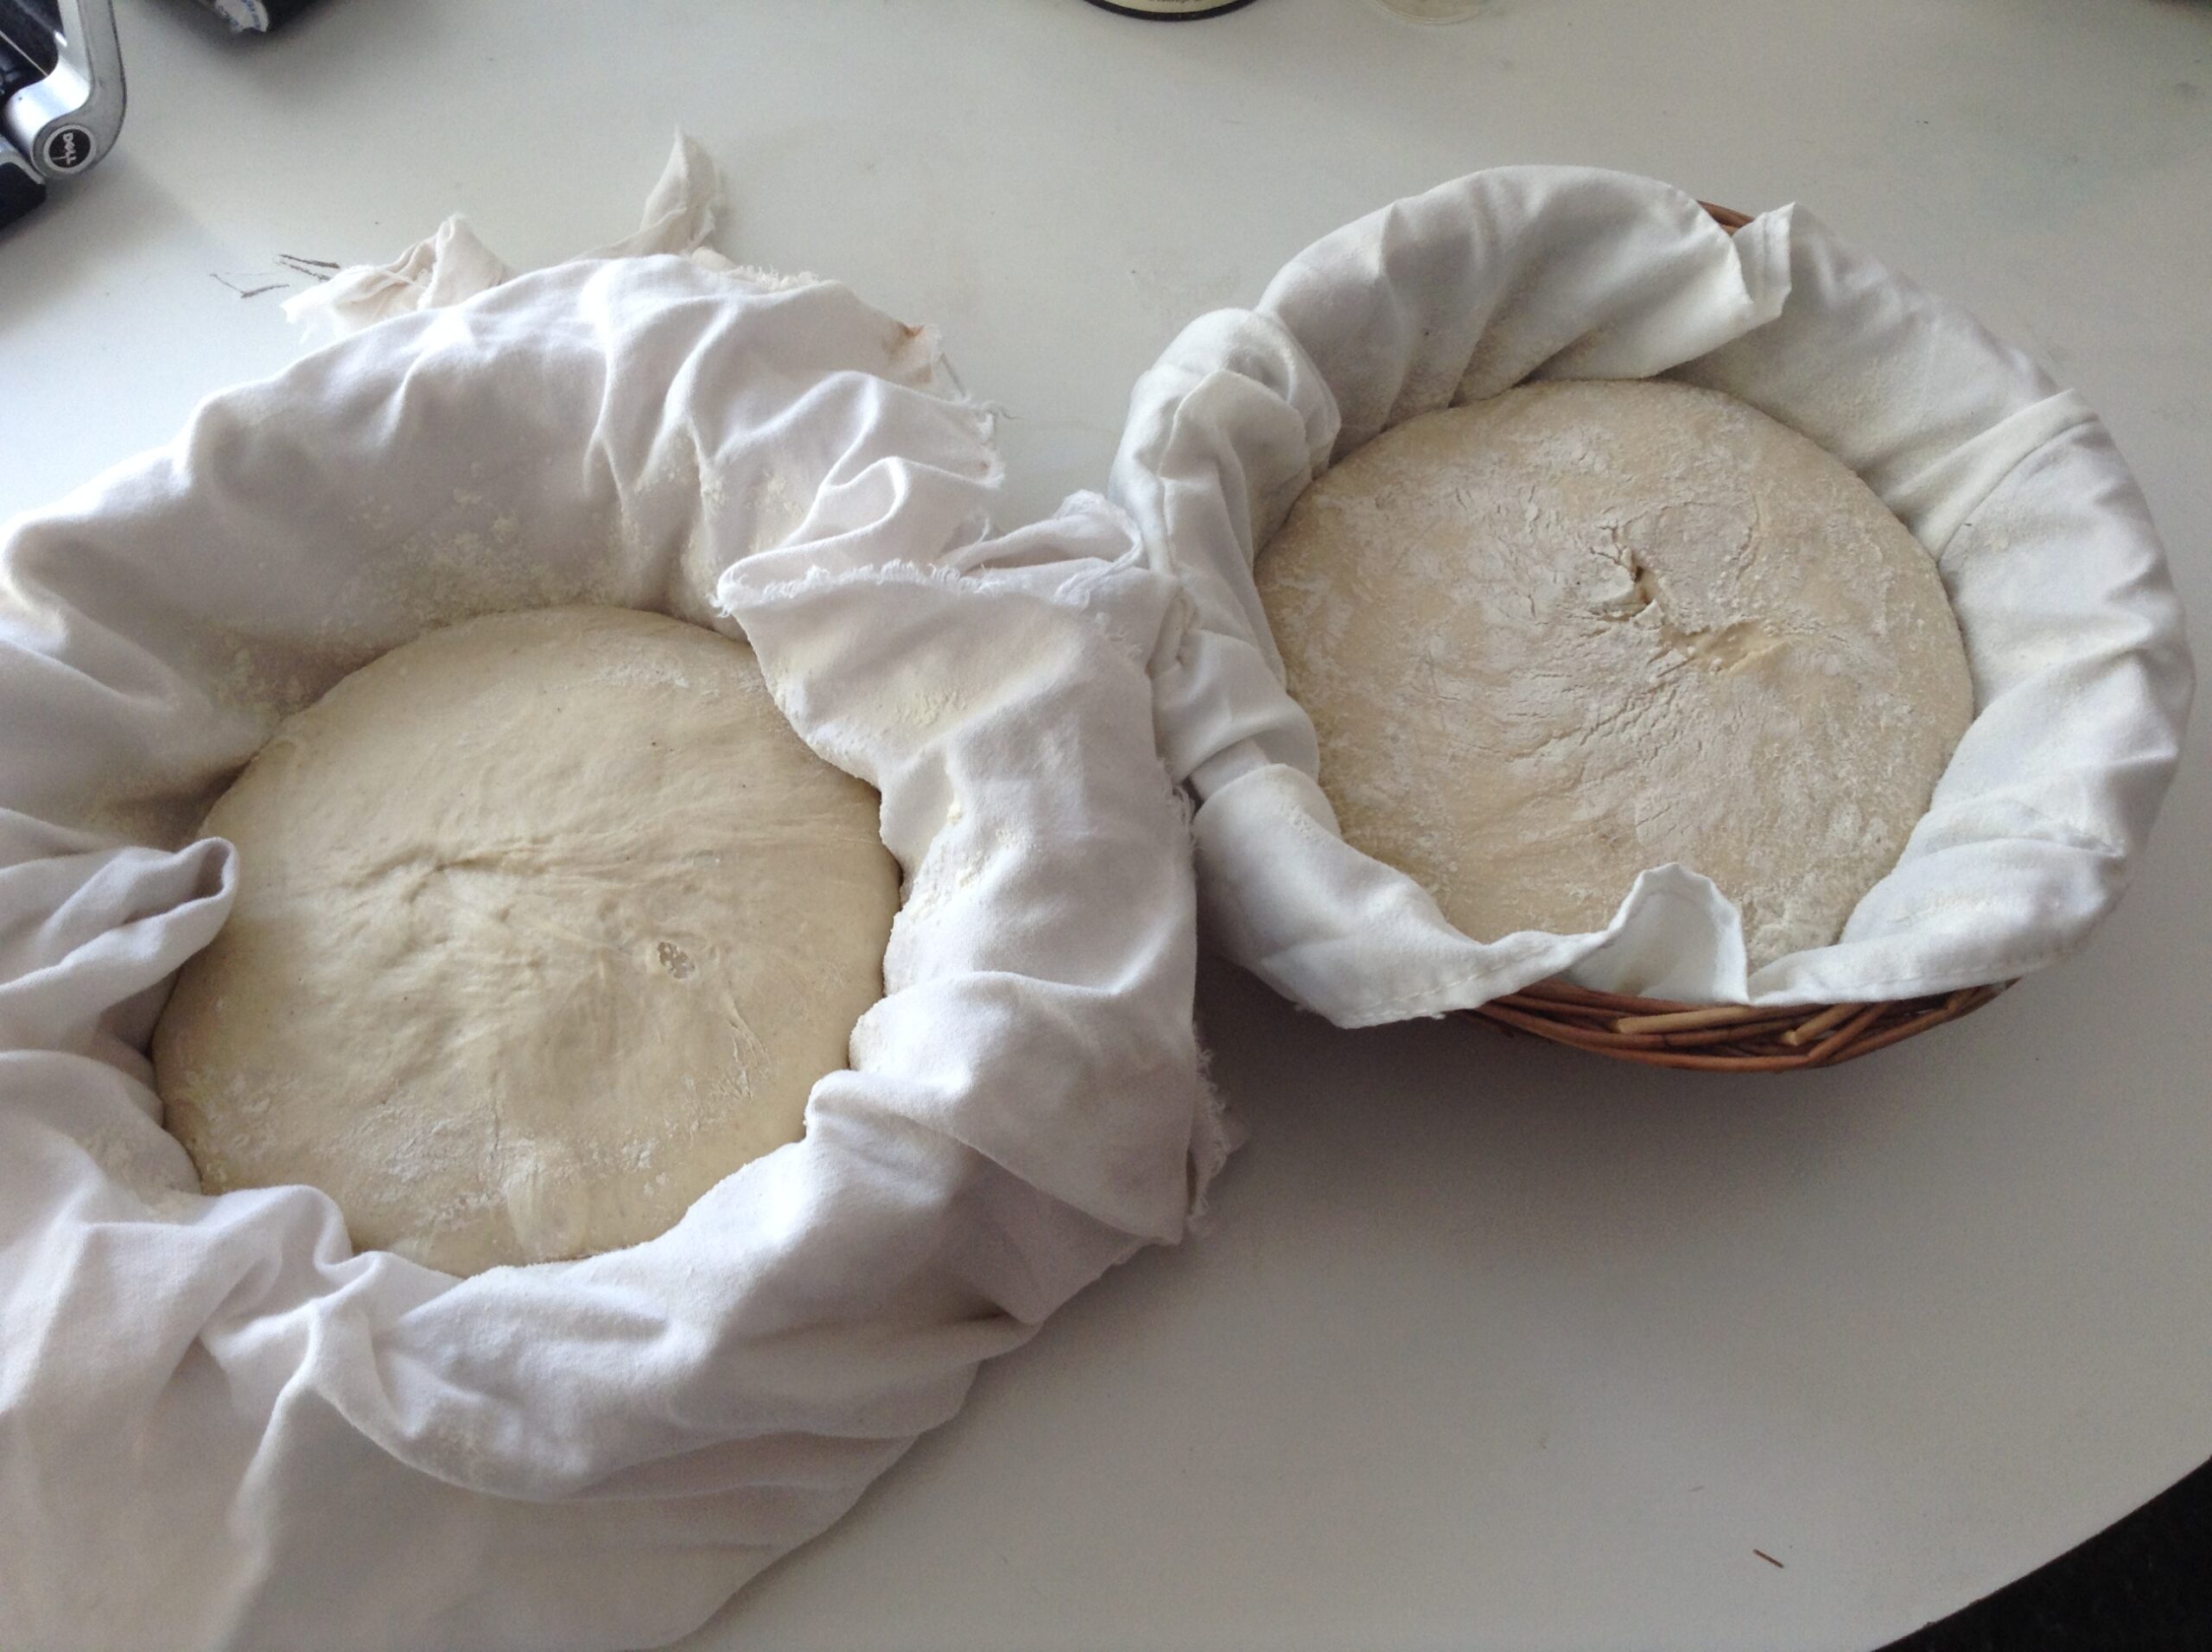
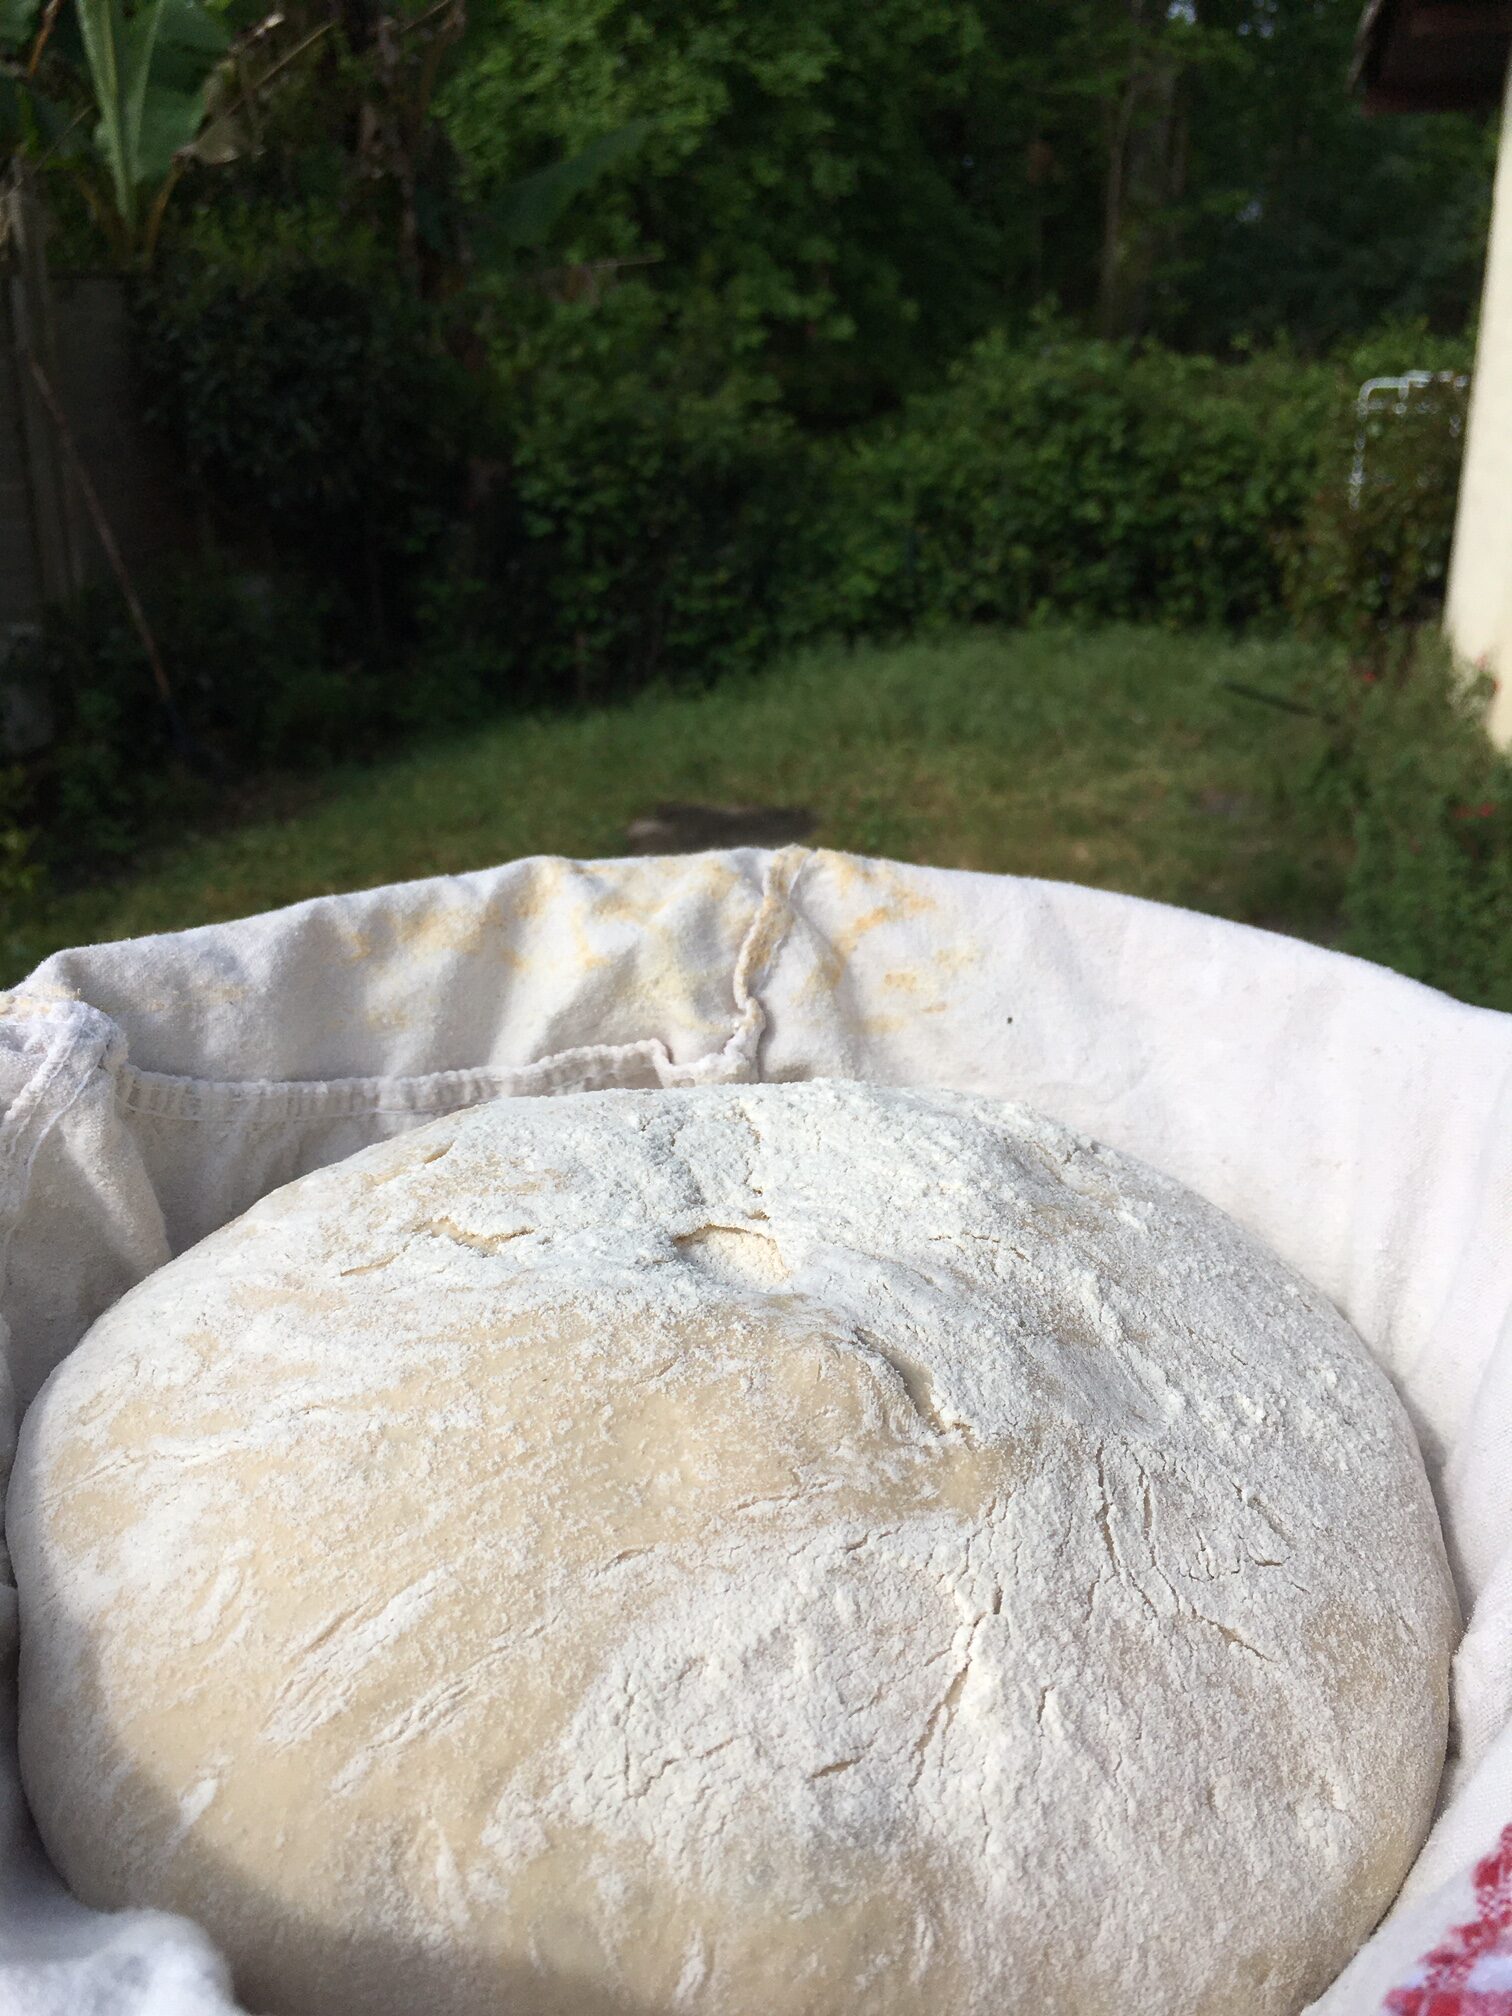
Remember to flour the banneton sufficiently because it will be directly inverted onto the oven tray, and at this time the dough should not stick to the fabric or material of the banneton. Your bread will then be in the right direction when baking and quickly placed on the hot plate of the oven.
Meanwhile, preheat your oven:
– heating temperature: 250 degrees
– cooking temperature: I start at 195 for 30 minutes then 220 to finish at 230 degrees.
The primer is finished, the oven is at the right temperature (250 degrees).
For my part, I put 2 things in my oven that seem essential to me:
– refractory bricks in the drip pan. This allows for a better crust on the bottom.
– a bowl of water: same, the crust will be much better and crispier with a little steam in the oven.
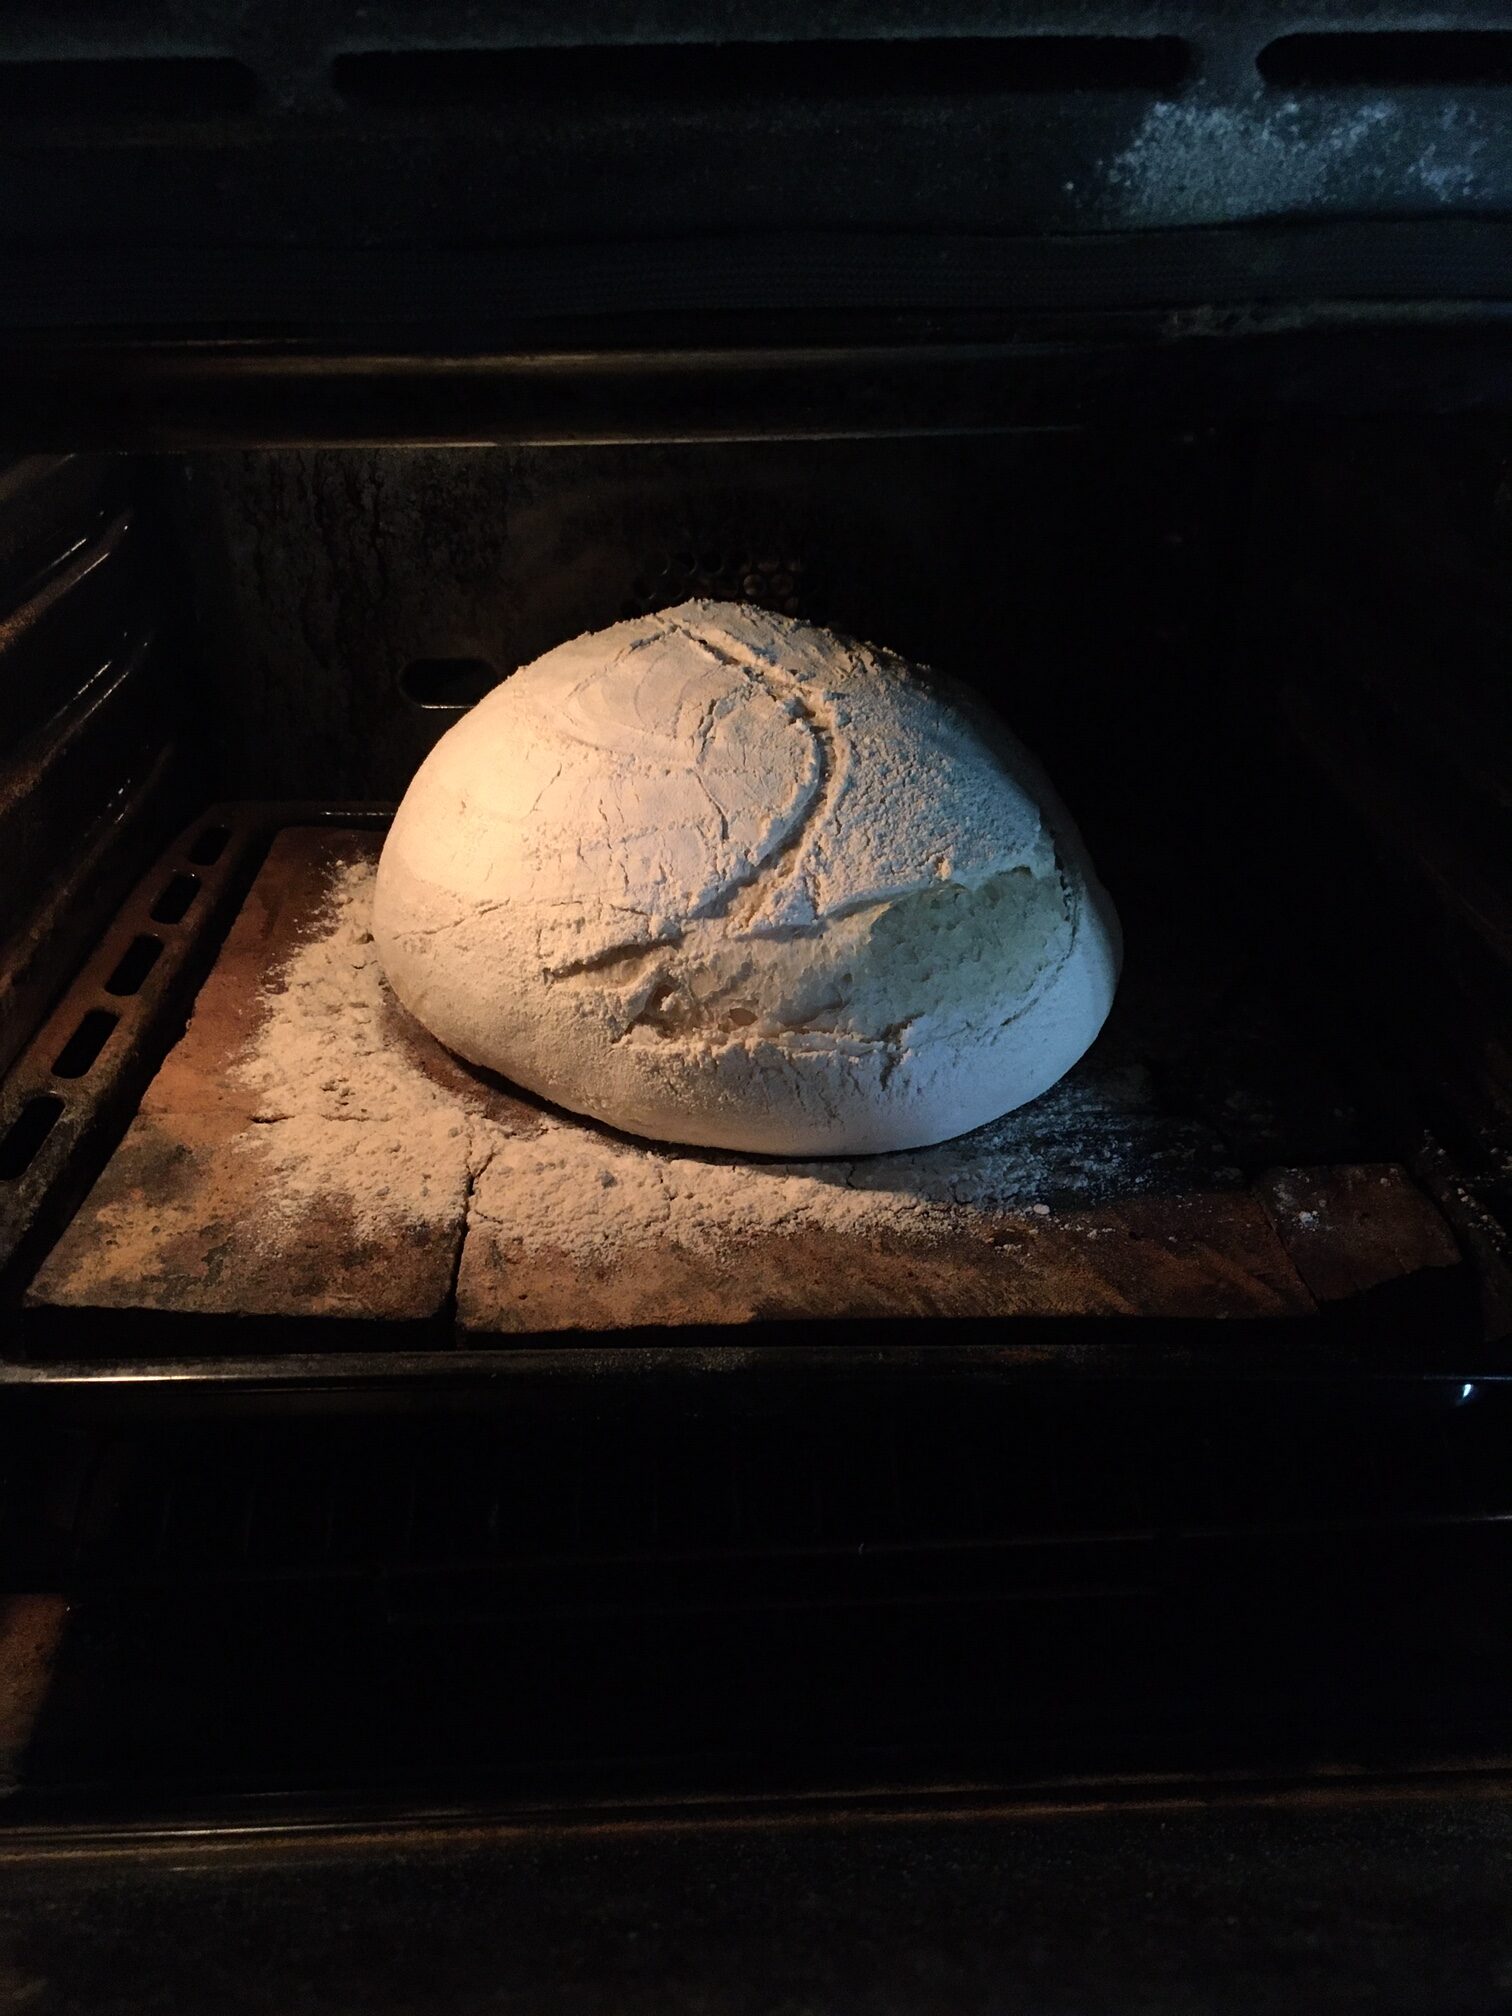
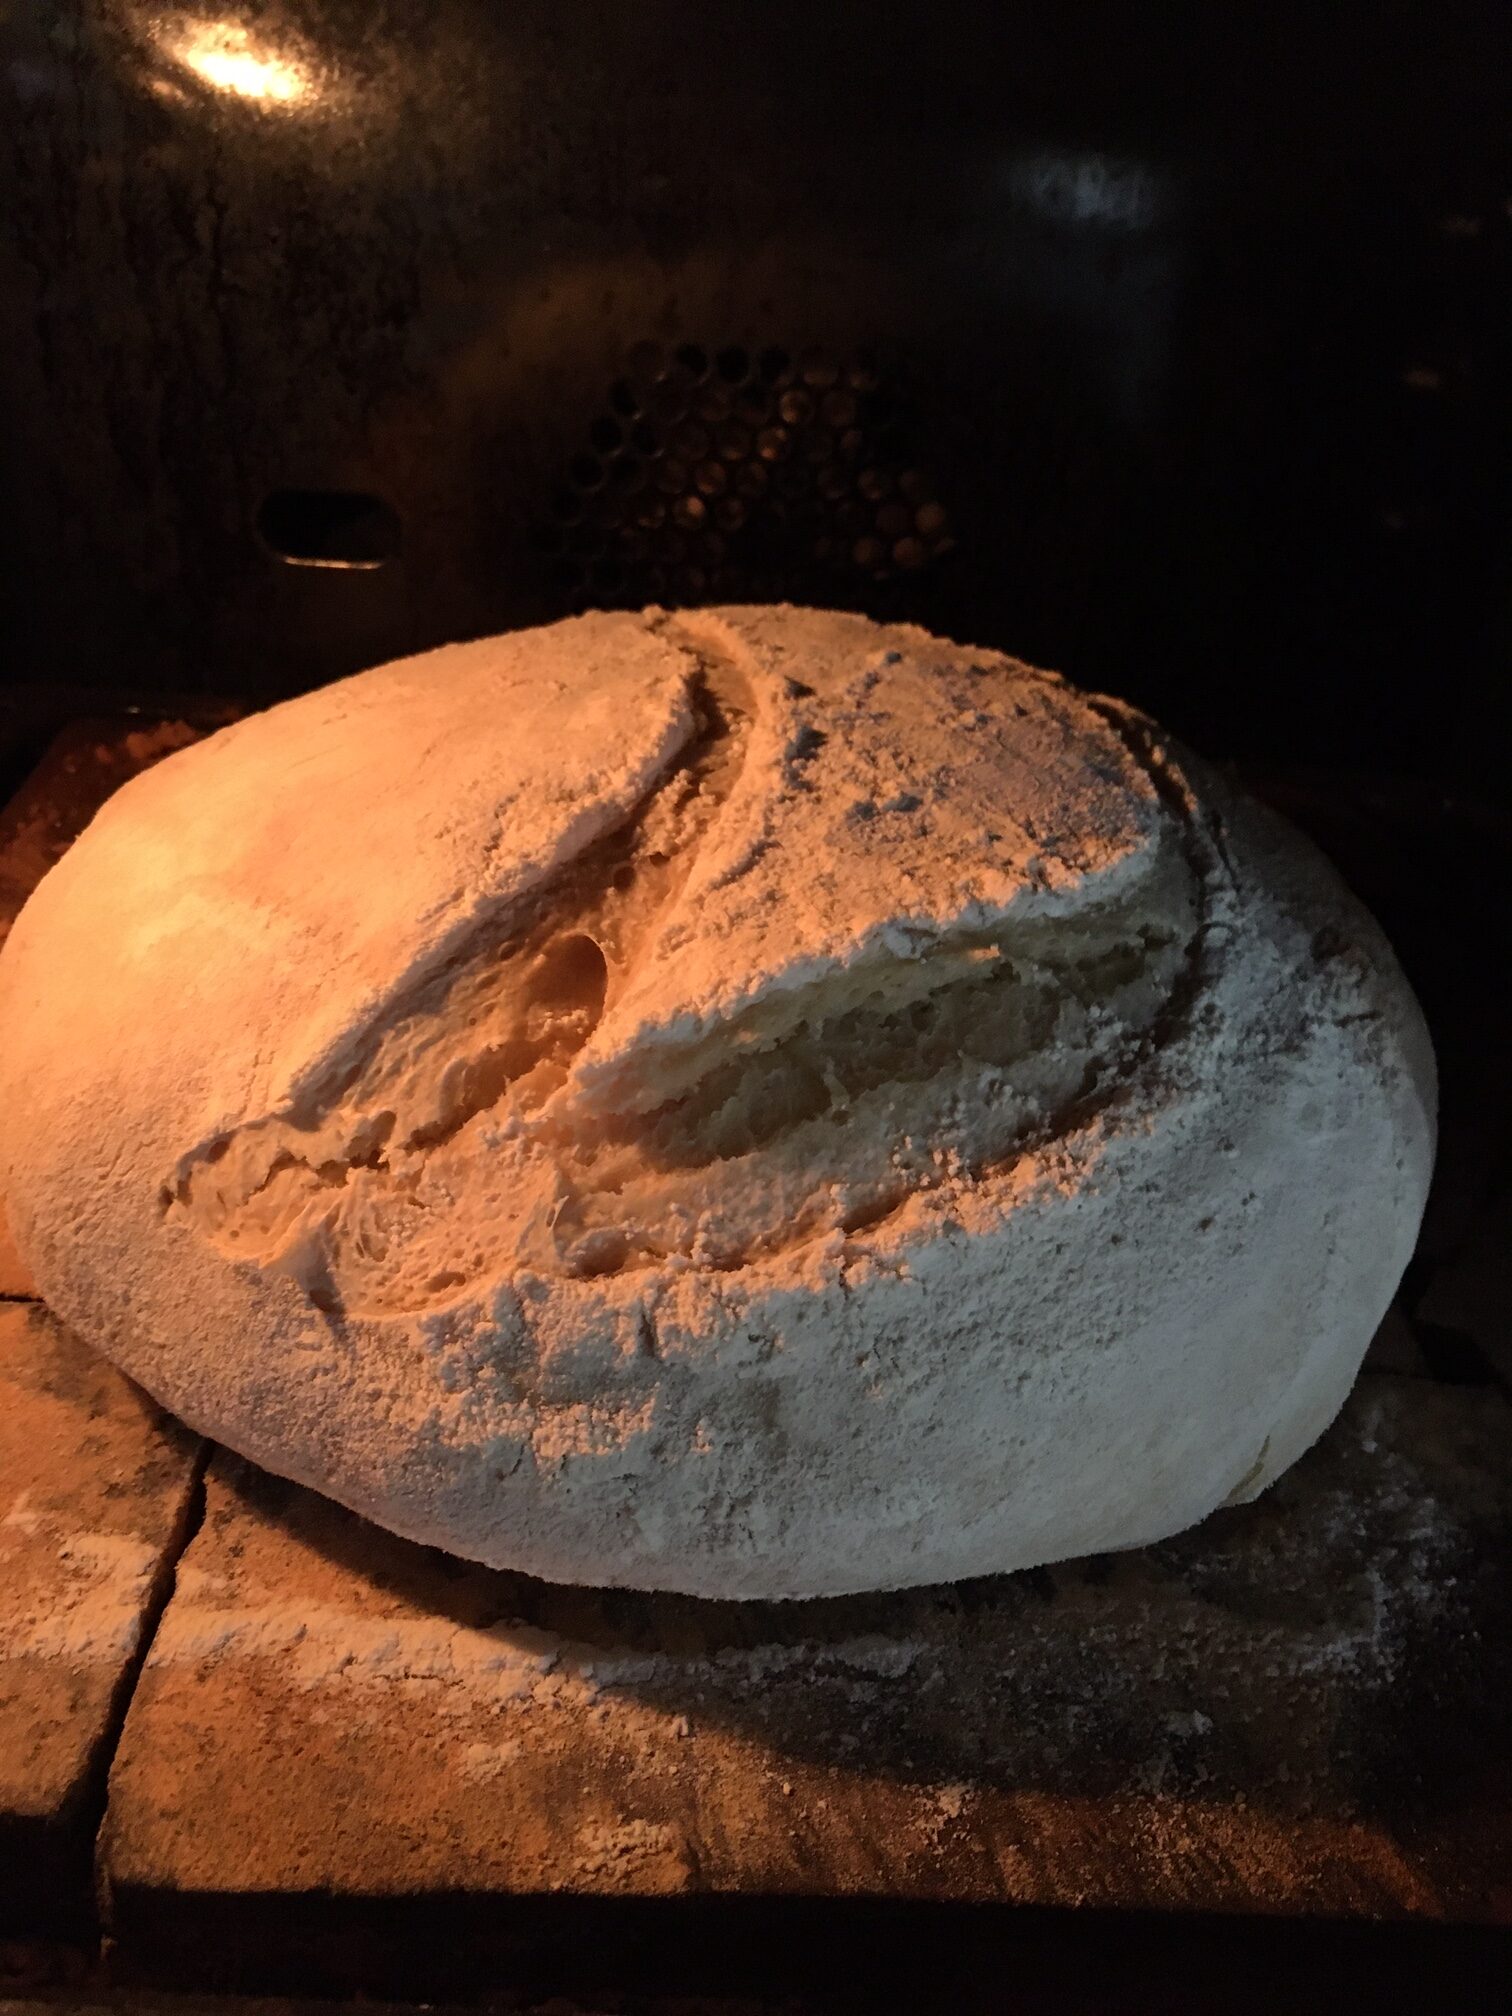
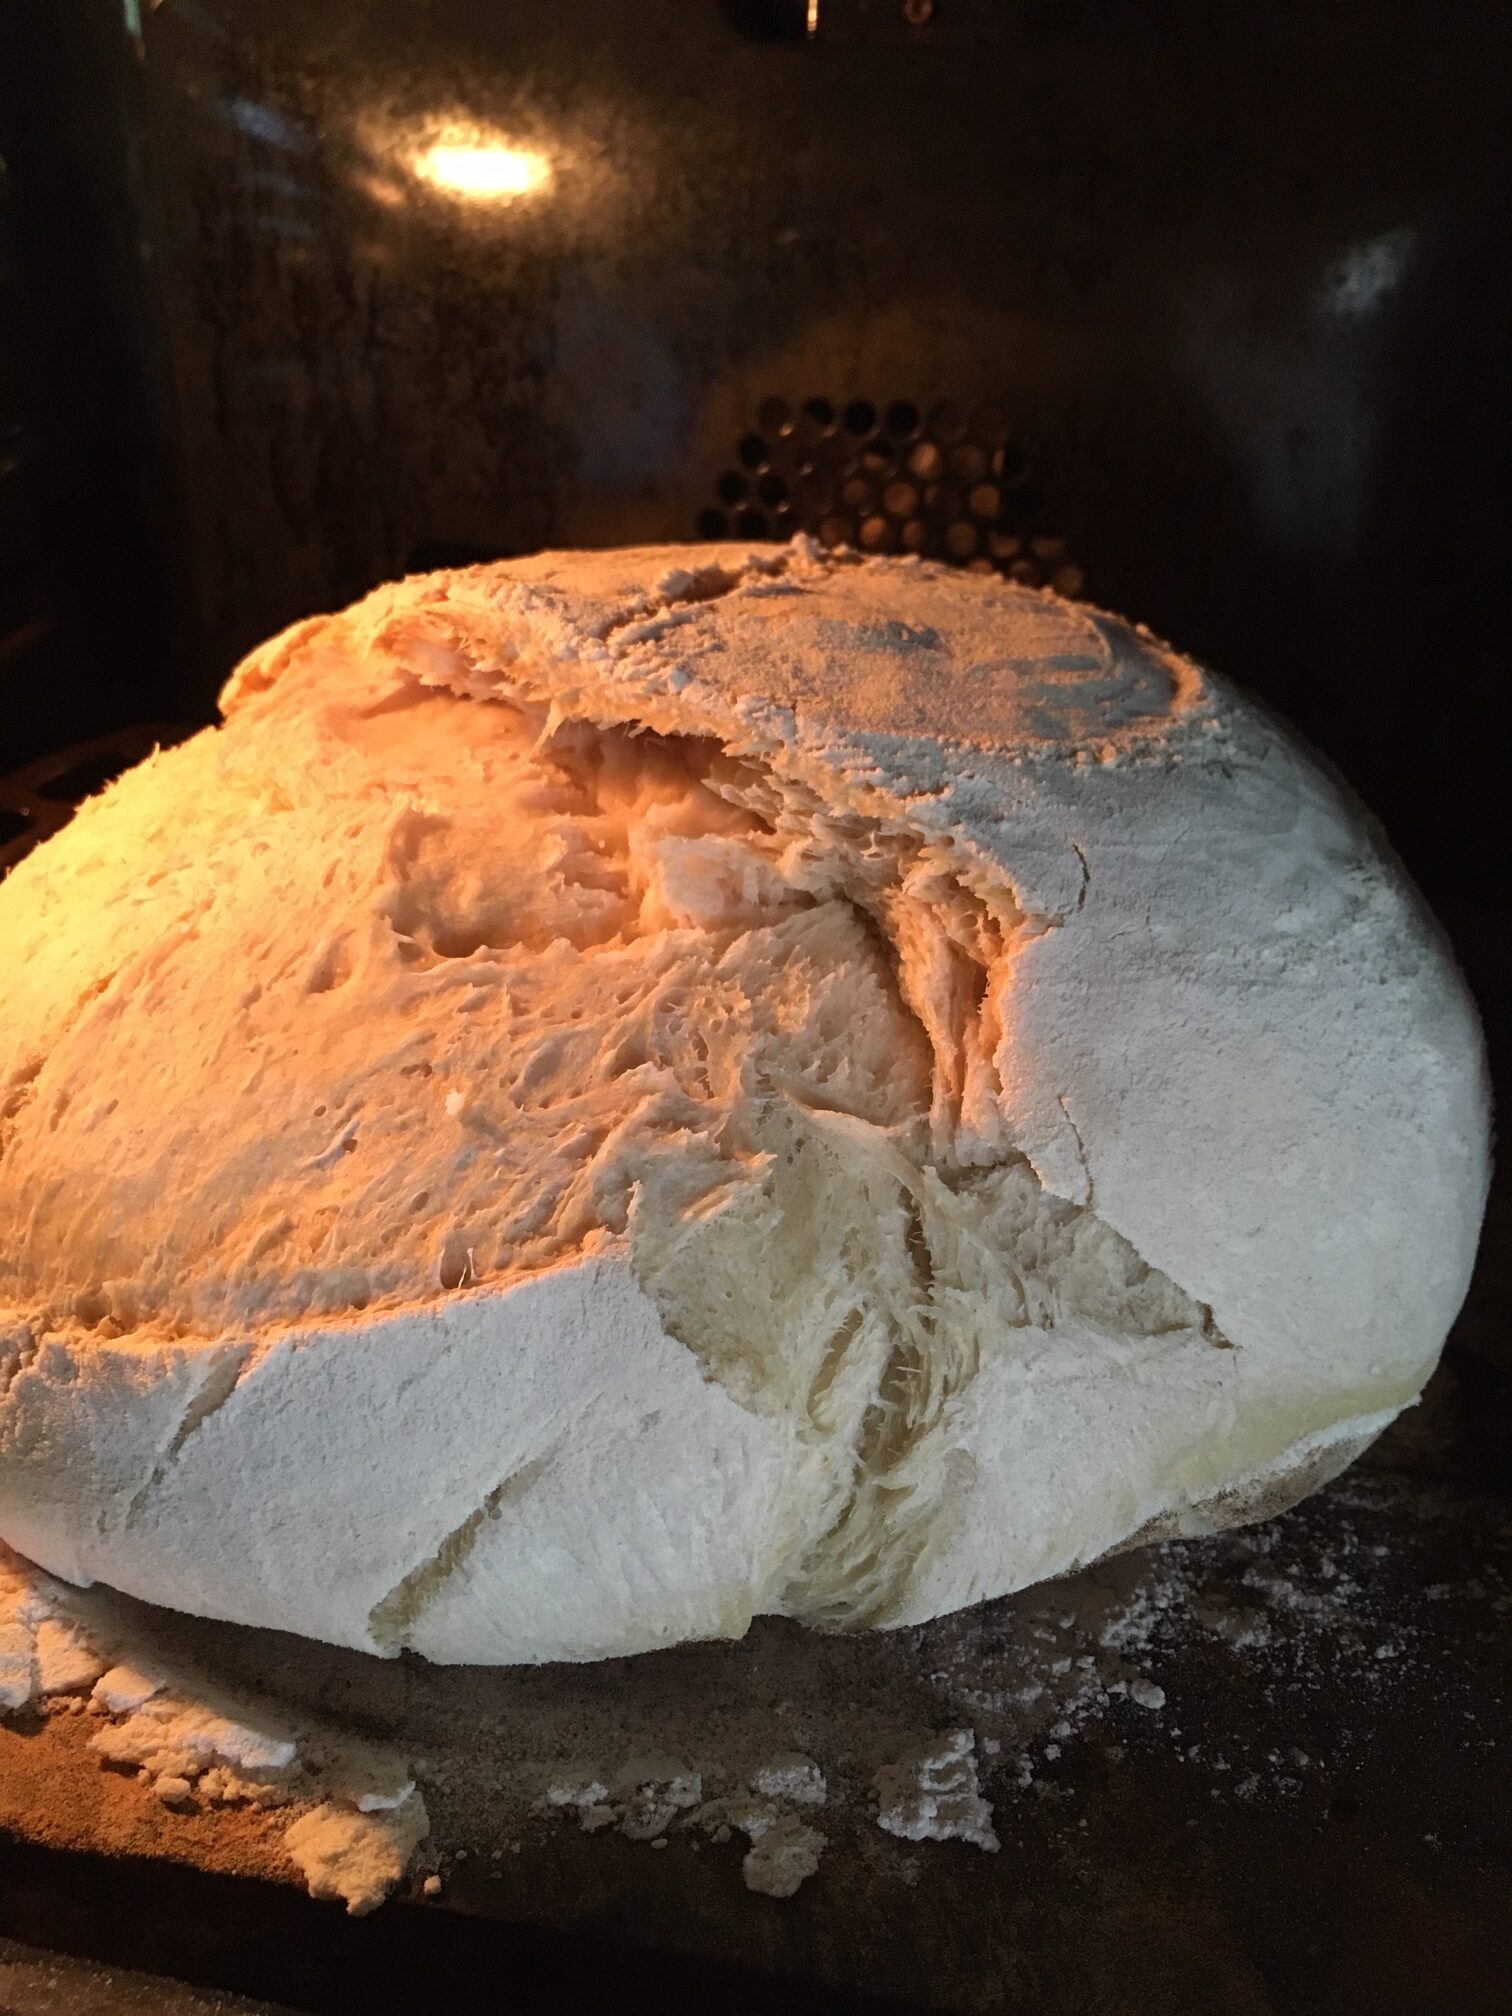
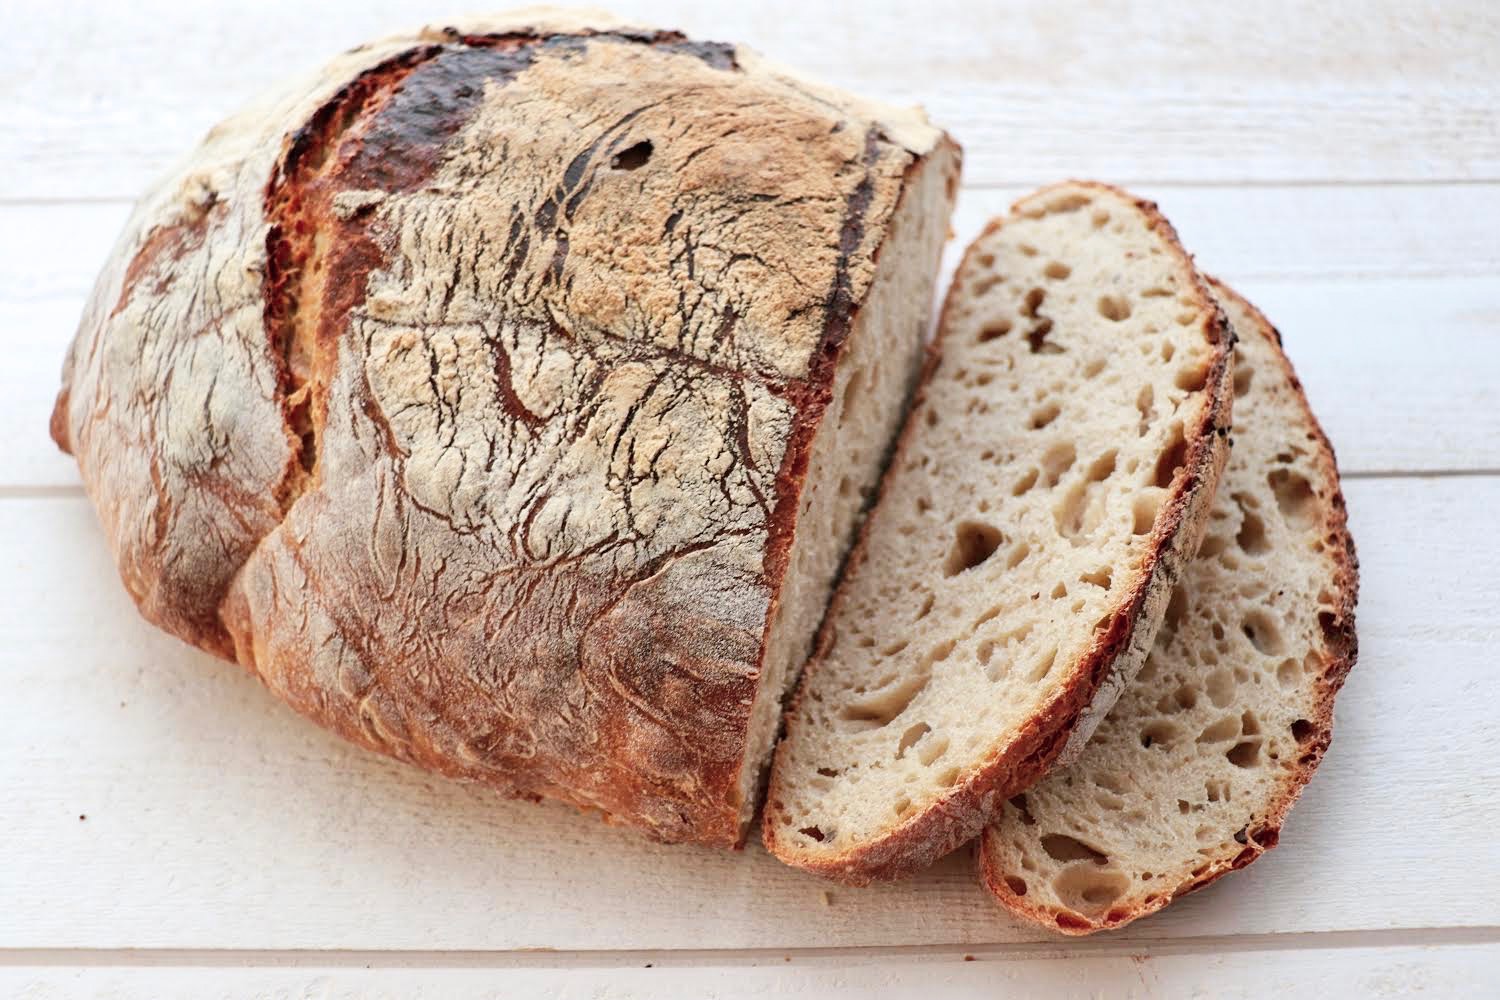
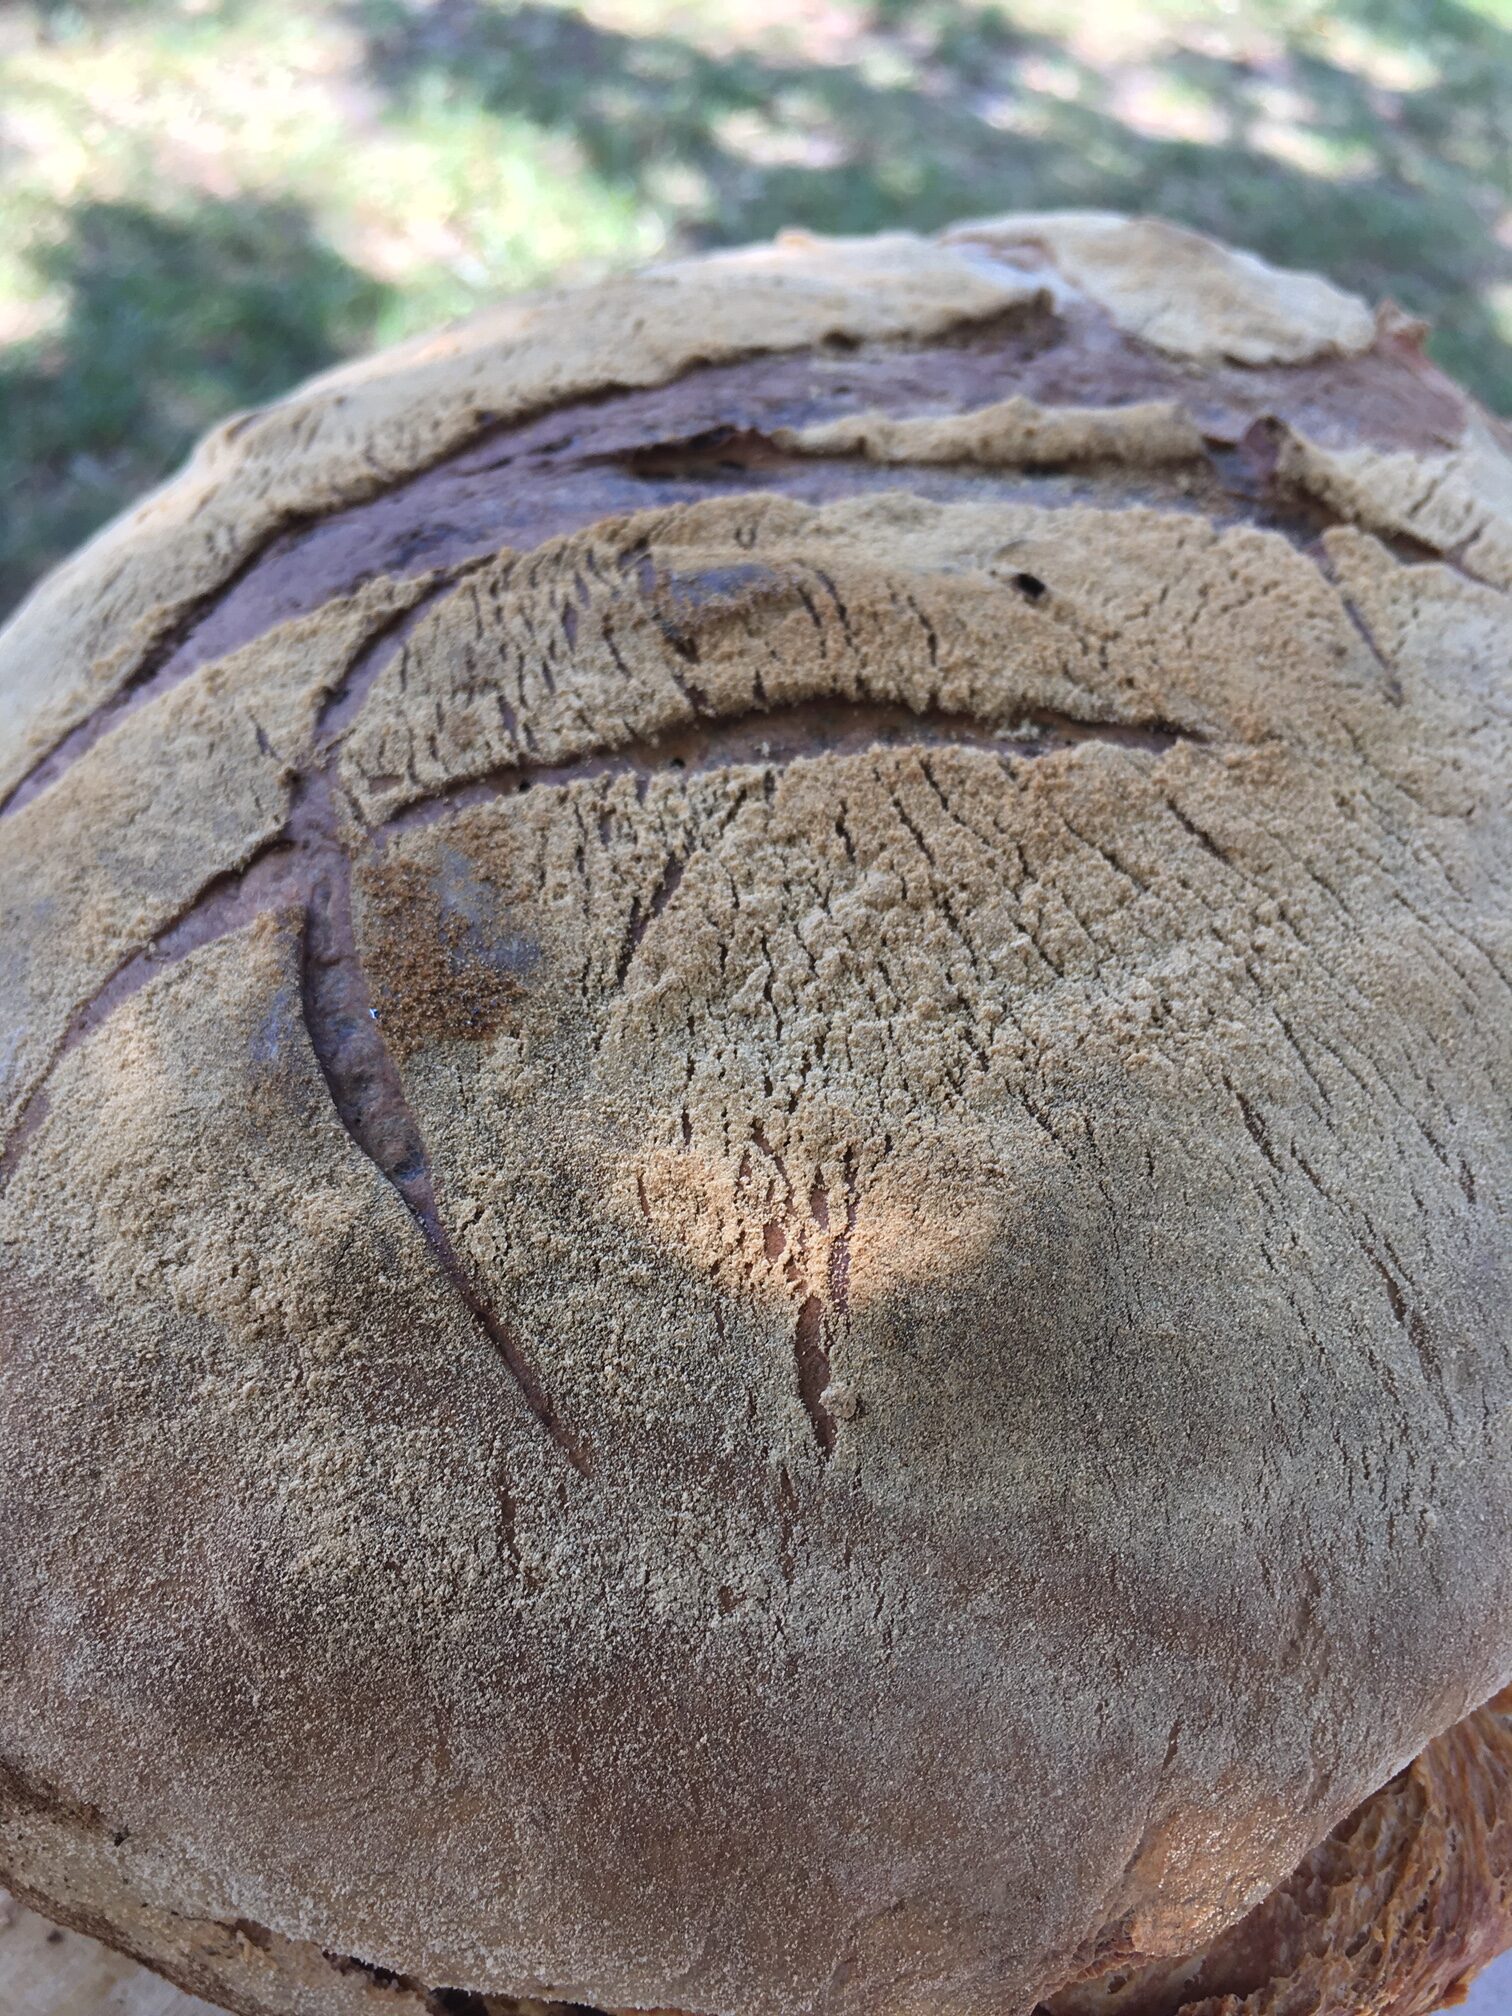
For the « grigne », do yourself a favor, you just need to make a few cuts about ten centimeters long at the top of the dough: not too deep, but enough so that the bread does not burst during baking.
Cook for 1 hour 15 minutes for a 1kg piece of dough (For a baguette, 22 minutes is enough at this temperature). I suggest 1h15 because I like a thick, well-cooked crust, and I like to hear the hollow knock under the bread once it is fully cooked. When the crust underneath is hard, the bread is done.
Take out your bread and let it rest for a few hours before eating (it still contains a lot of gas and humidity). Ideally, you should eat this bread in the evening or the next day and leave it intact all night to appreciate its full aroma in the morning…but I know how difficult that is 🙂
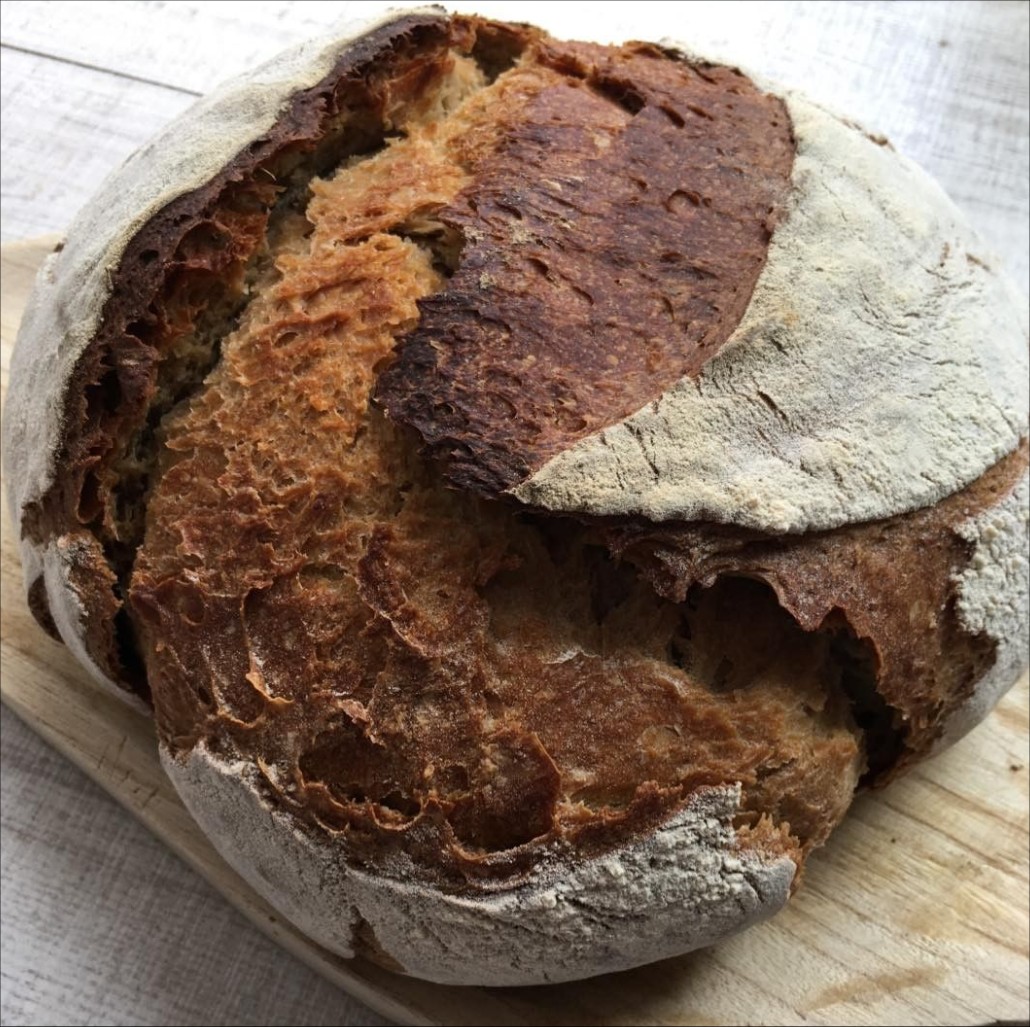
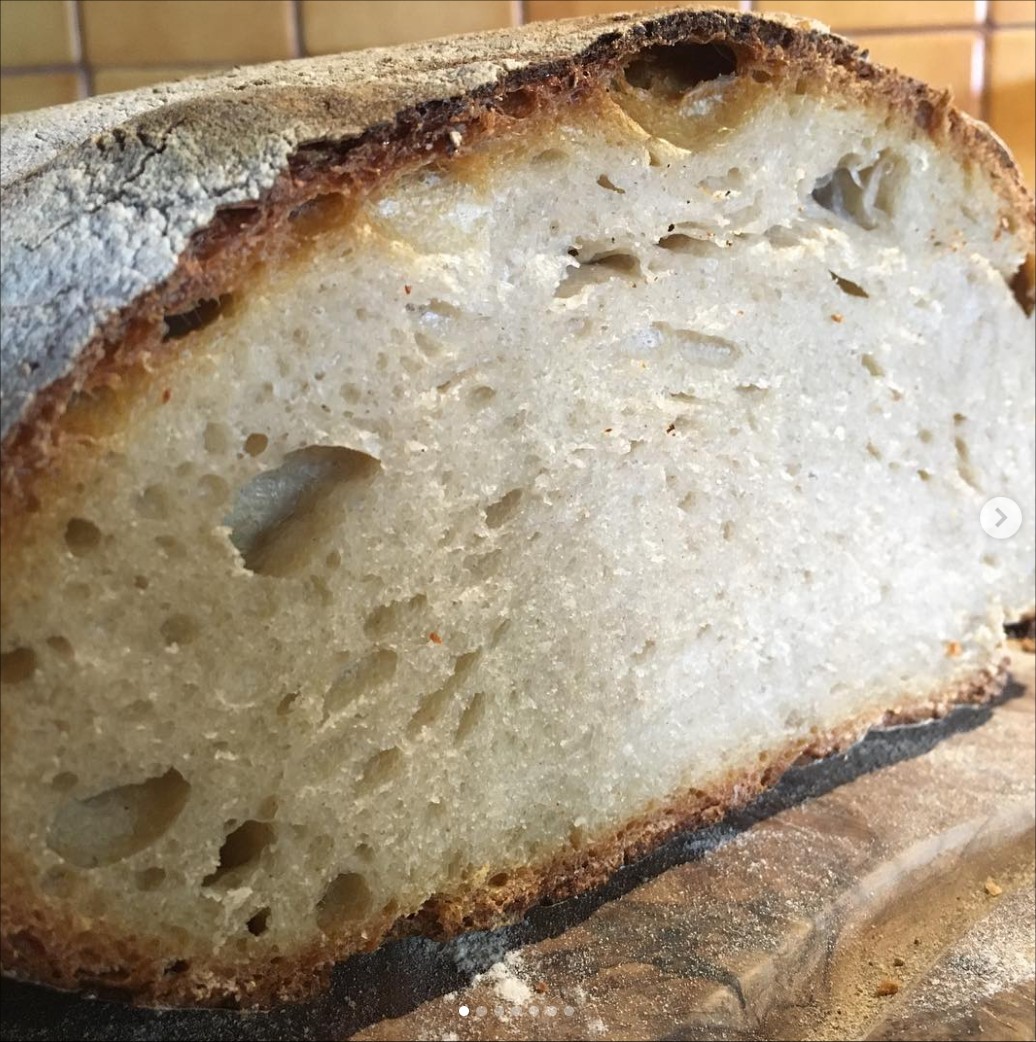
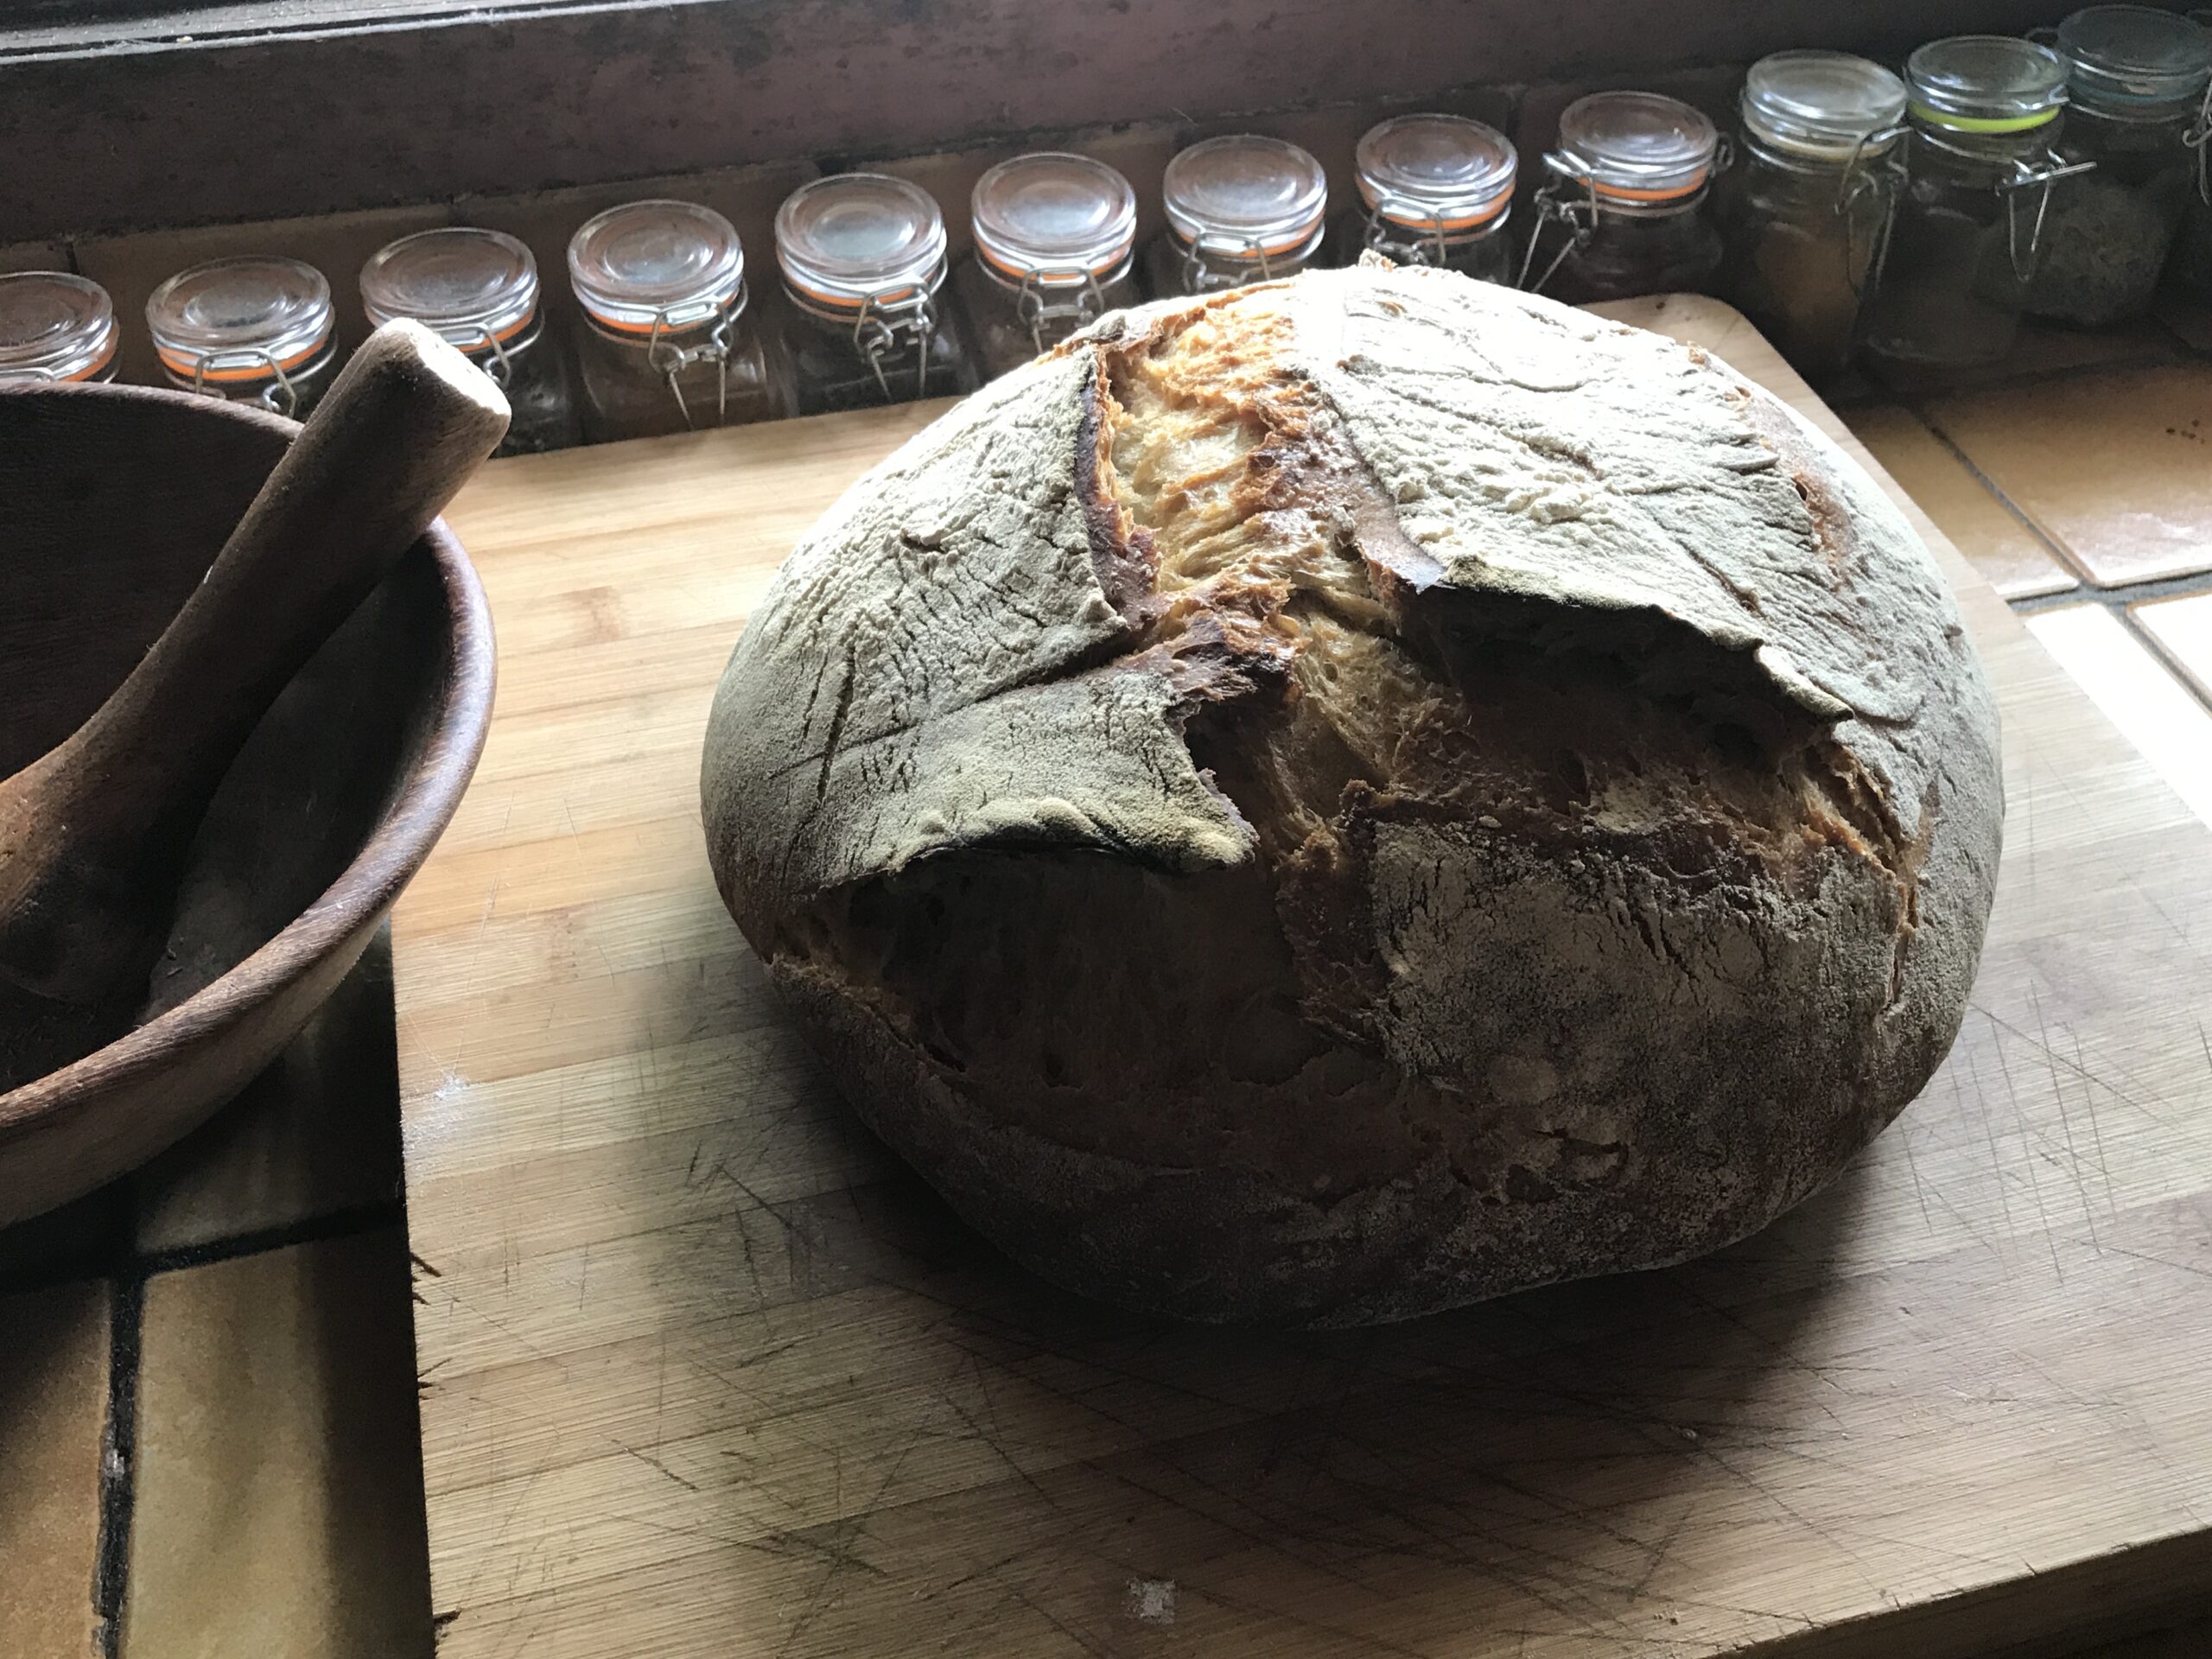
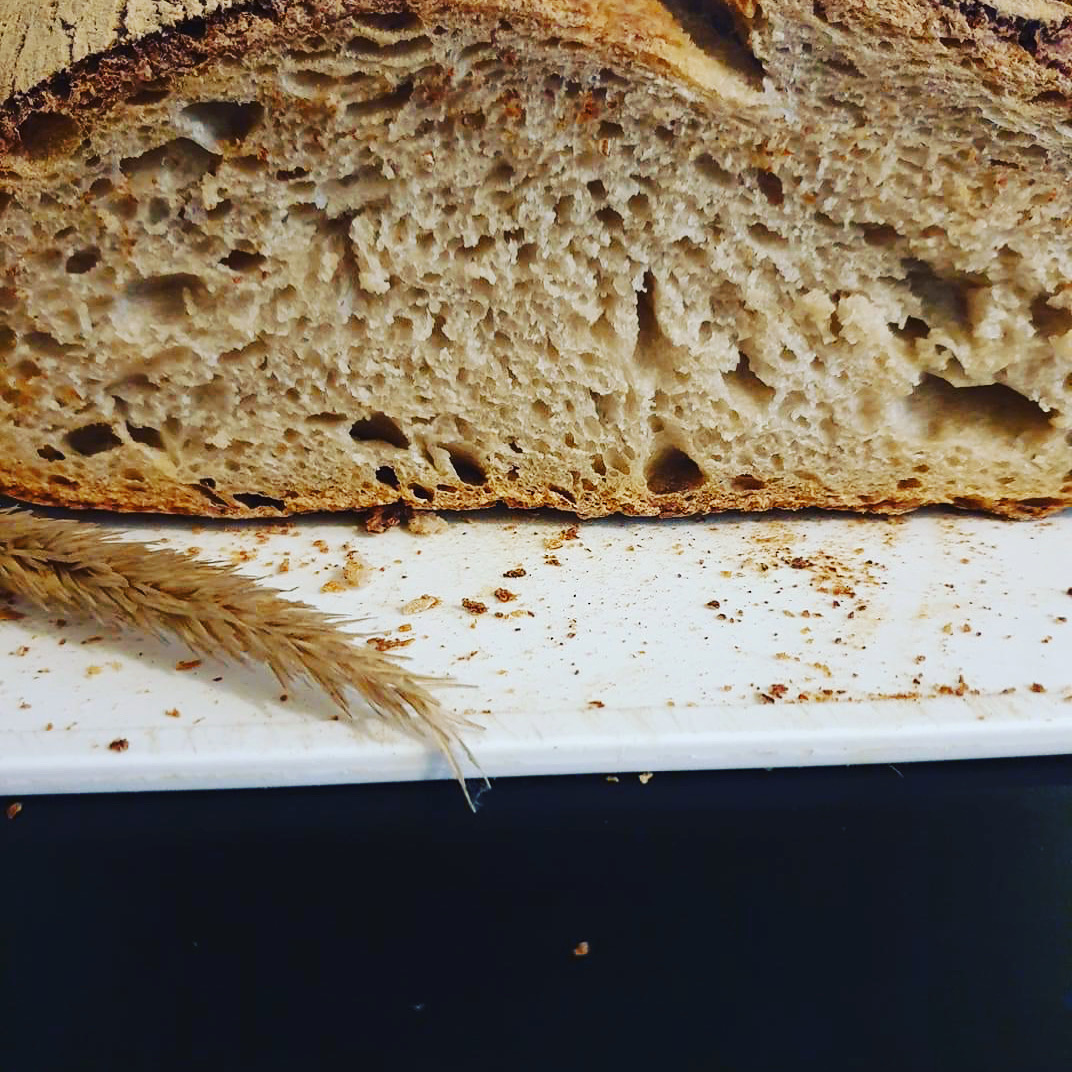
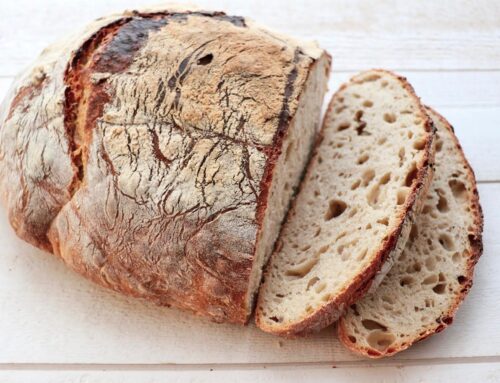
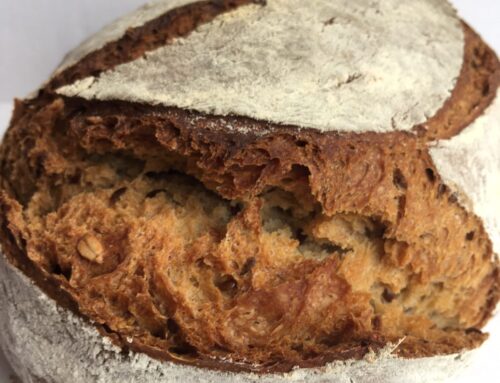
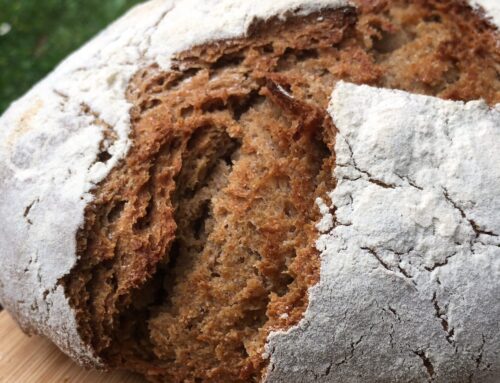
Here are some of my breads made with this recipe. All are different depending on the season, variation in temperature, timing, choice of flour, etc. but all delicious..


Laisser un commentaire